Simon Says Stamp Monday Challenge wants us to contemplate a ""Road Trip" for their March 19, 2018 challenge.
Now road trips are nothing new to me and mine. We have criss-crossed this nation numerous times by automobile, stopping when it felt right to see sights, to take in local food, to rest...We even took a road trip or three in Europe (one in Germany/Austria in the 70s, and several in the UK in the 90s...), so I feel comfortable with the concept. We even have a road trip planned for later this summer to the South Carolina Coast!
However, I have the flu (or what approximates the flu as I know it) and my brain, while it can wrap itself around the concept, seems to be struggling with the basics of creativity. I had an idea but I don't think it quite worked. But it is done, and I need to get this entered before tonight's deadline, so here goes...
I started with a piece of 12 x 12 scrapbook paper depicting a "Road Map" (How many people these days even know what one of these is, let alone how to use it? I miss the days of our in-car Rand McNally Atlas - we NEVER got misdirected by an anonymous voice on a GPS device when we had our atlas at hand...).This paper was pretty busy, though, and so I decided to mute it by stamping my image (of a vintage pick-up - we never drove a pick-up on any of our trips but, in my mind, the classic road trip was the Joad's truck in "Grapes of Wrath") on velum, die cut some appropriate words and attached them to the map:
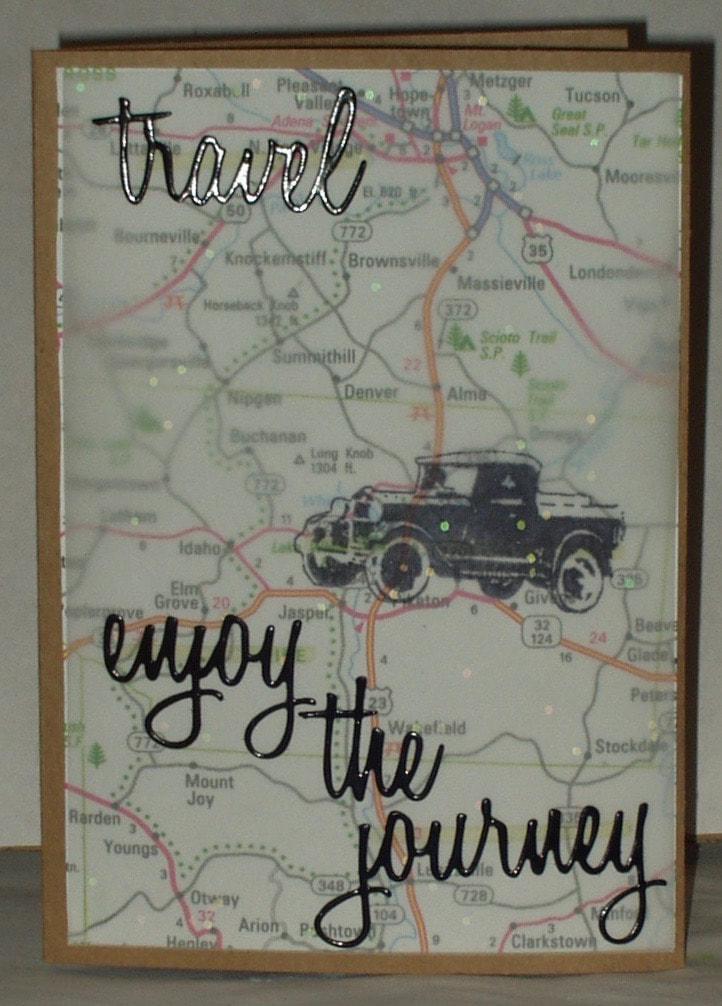
Products used in the making of this card were:
- Stamps: Studio 490 Wendy Vecchi "Gentleman's Art" (SCS059)
- Dies: Sizzix Thinlits "adventure" (660224)
- Inks: Archival "Jet Black"
- Papers: Paper Studio "kraft" card (607201); Hot Off The Press Paper Pizazz "Road Trip" (HOTP-20014); Paper Reflections Translucent Velum (PAK03864); scrap gloss black card
- Adhesive: RedLine 1/8' Embossing Tape; Xyron 250 sticker make; Simon Says Stamp Craft Tacky Glue


 RSS Feed


