Carol Stamps
  • Carol Stamps
  • Compendium of Curiosisties 3 Challenge - Gallery
  • Tim Holtz
    • 12 Tags of ...
    • Creative Chemistry 101
    • Creative Chemistry 102
    • Creative Chemistry 103
    • Summer of Creative Chemistry 2016
    • #hipforsummer 2017
    • #sharewithsizzix
    • #holtzforhalloween
    • #holtzfortheholidays
    • Share-a-Scare
    • Tim Holtz Christmas photo holder
  • Simon Says Stamp Challenges
    • Simon Says Create
  • Frilly and Funkie Challenges
  • Sunday Stamper
  • More Than Words
  • Creative Carte Blanche
  • Altenew
  • Seven Hills
  • Hero Arts
  • WOW! Embossing Powder
  • Graphic 45
  • Virginia's View Challenge
  • Dyan Reaveley classes, 2015
  • Just playing around
    • Art Swaps
    • Club Posh
    • Stencil Girl
    • Ranger Kits
    • Stamptember
  • Lindy's Stamp Gang
  • WOW! Challenges
  • Ellen Huston
  • OnLine Card Class
  • All About ATCs

12 Tags of 2015 - December

12/3/2015

1 Comment

 
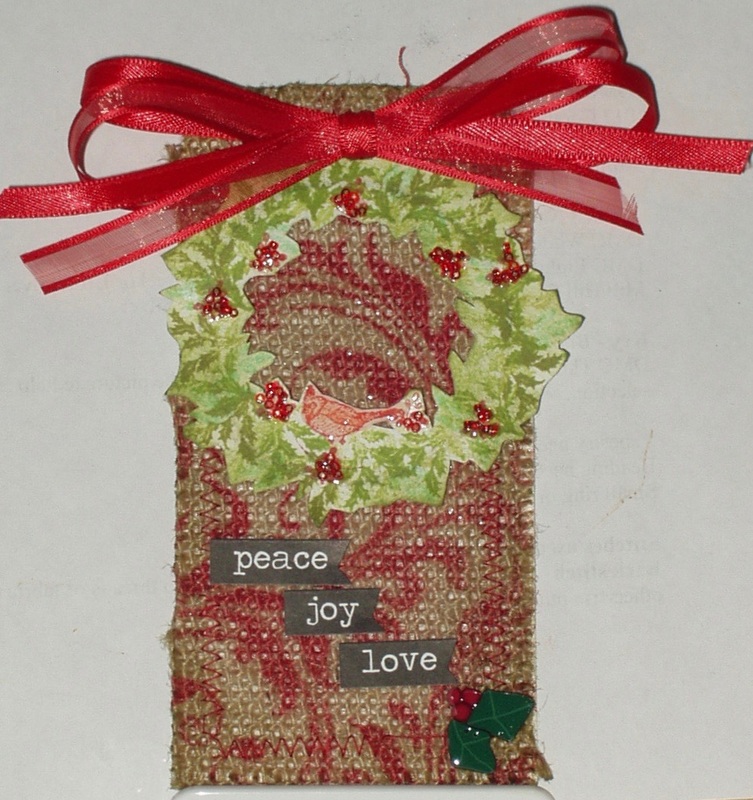
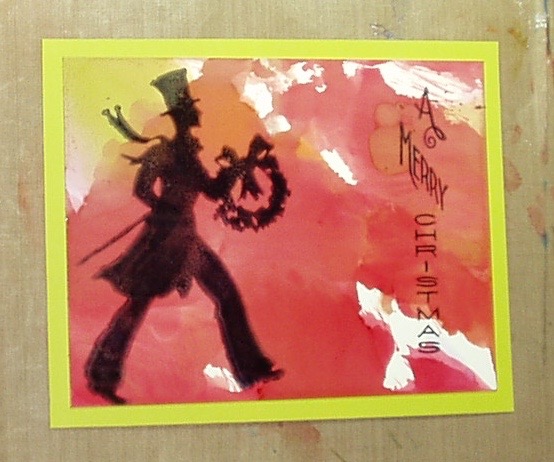
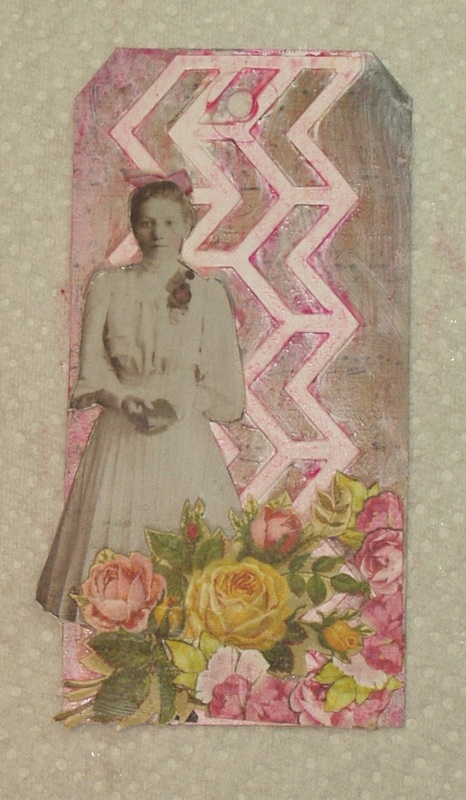
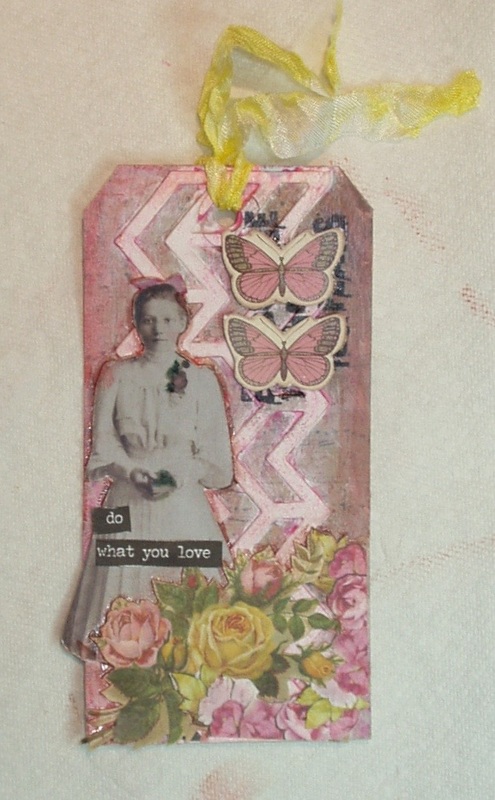
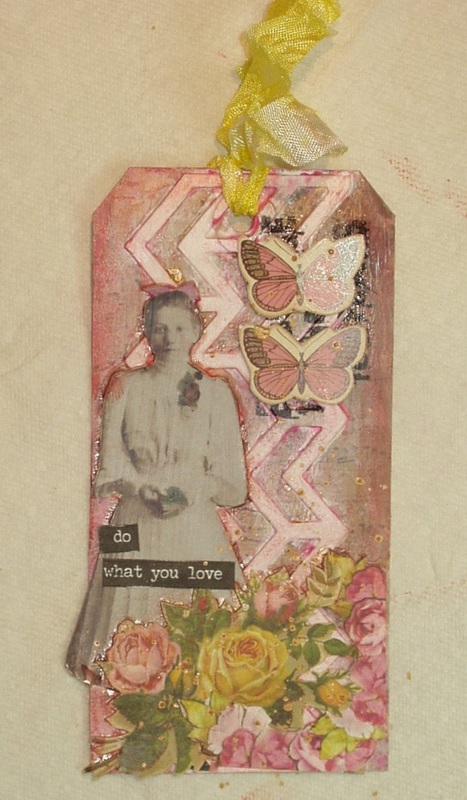
This is the last tag for 2015 from Tim Holtz’s 12 Tags series… and naturally, I don’t have most of the items he used. So I improvised, again!

First of all, I don’t have those punches, and I wasn’t really inclined to use festive greenly dies to improvise because those dies don’t always work for me. So I made my wreath using stamps (Two greenery stamps and one berry stamp, as well as a bird),four colors of green inks and one of red. on white card and then fussy cut it...

Picture
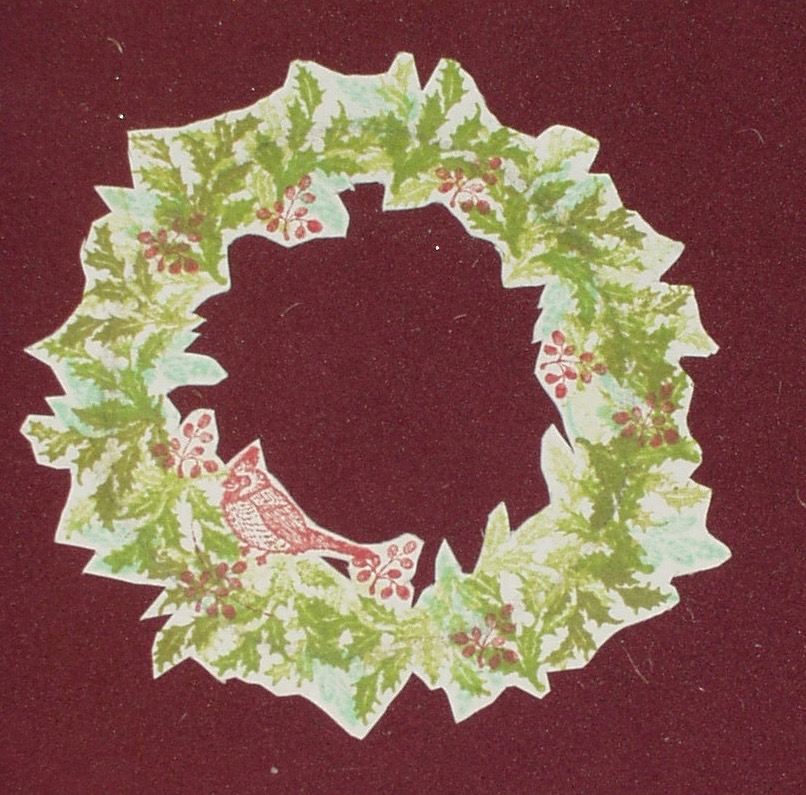
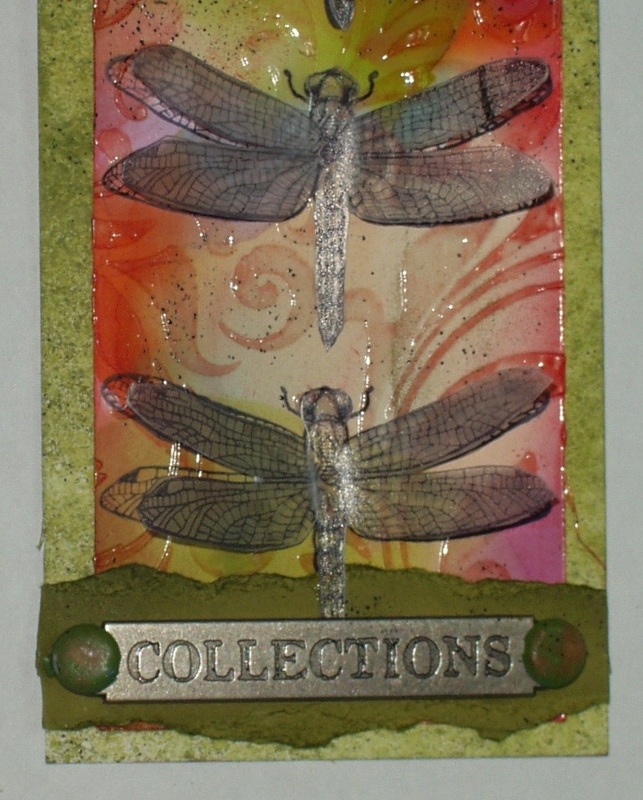
I added some Glossy Accents to the bird to make him (it is a cardinal and male cardinals are red, after all) stand out a little.
Picture
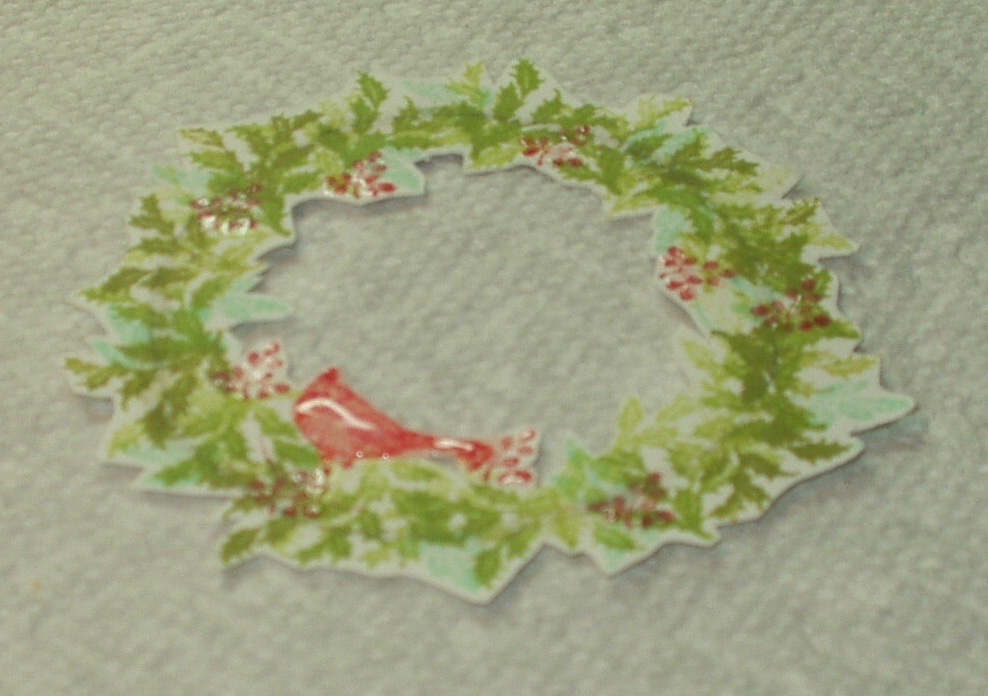
More Glossy Accents and some red seed beads  on the wreath.
Picture
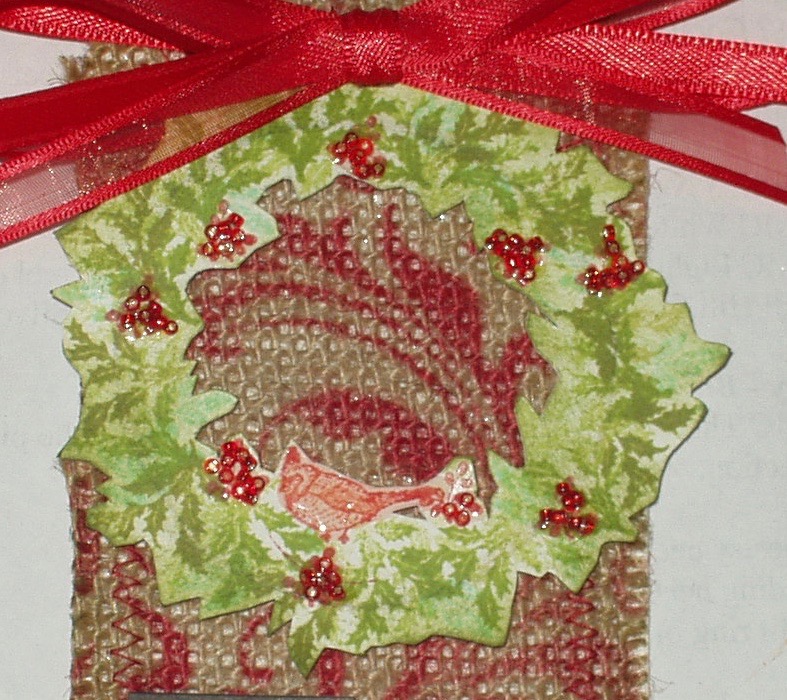
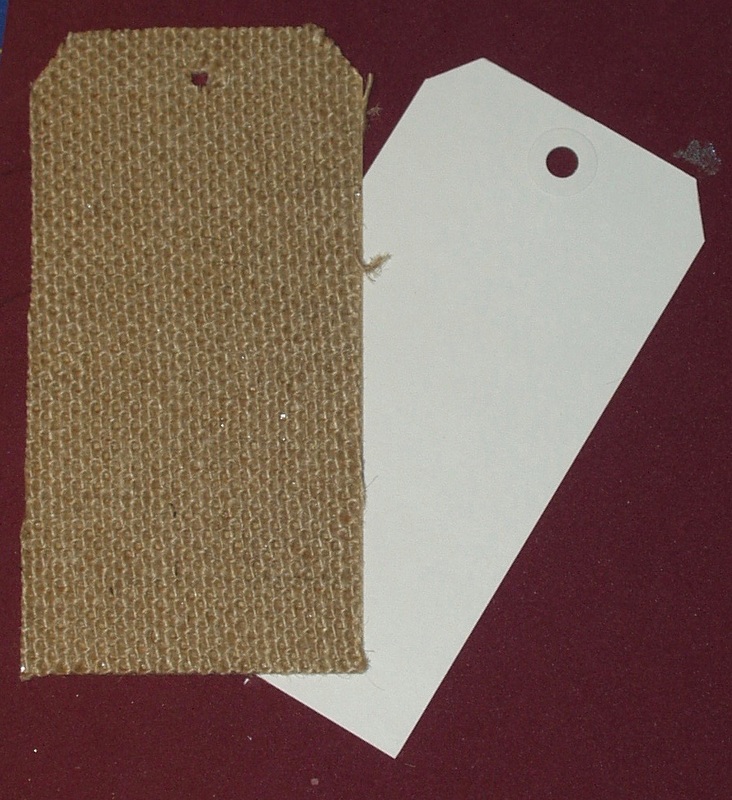
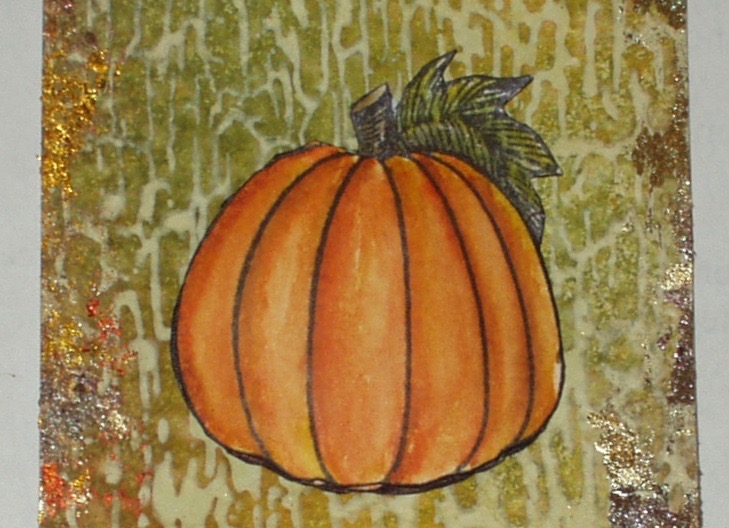
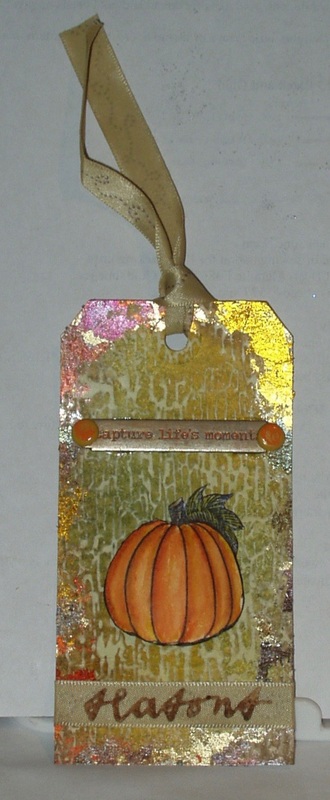
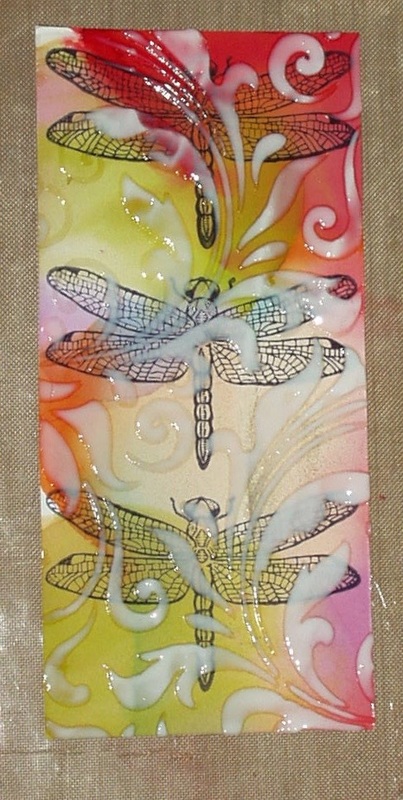
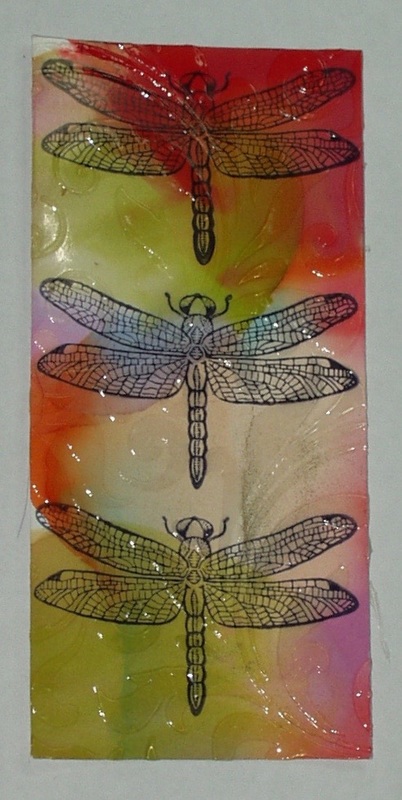
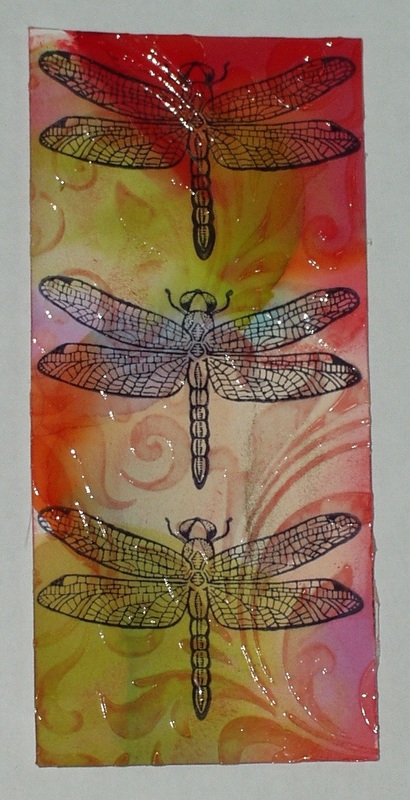
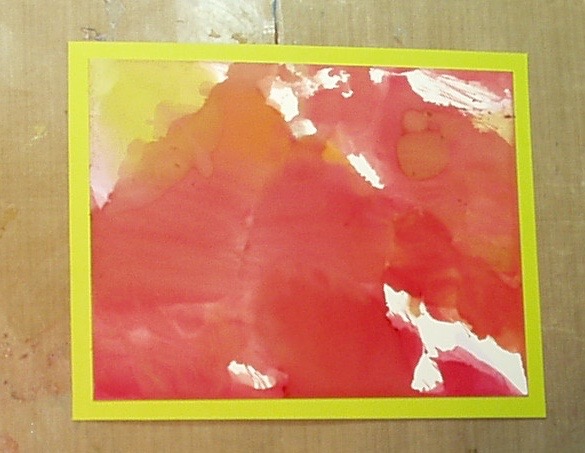
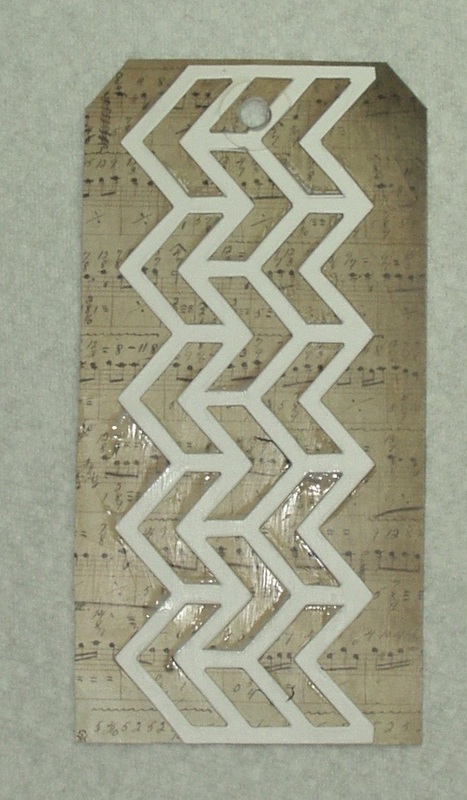
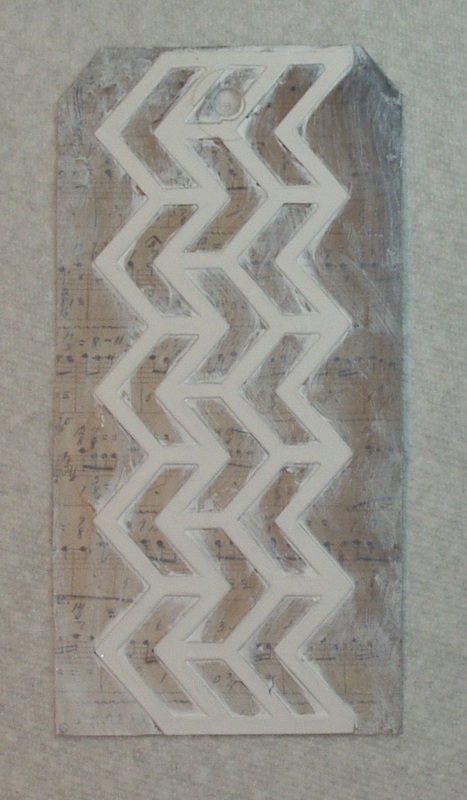
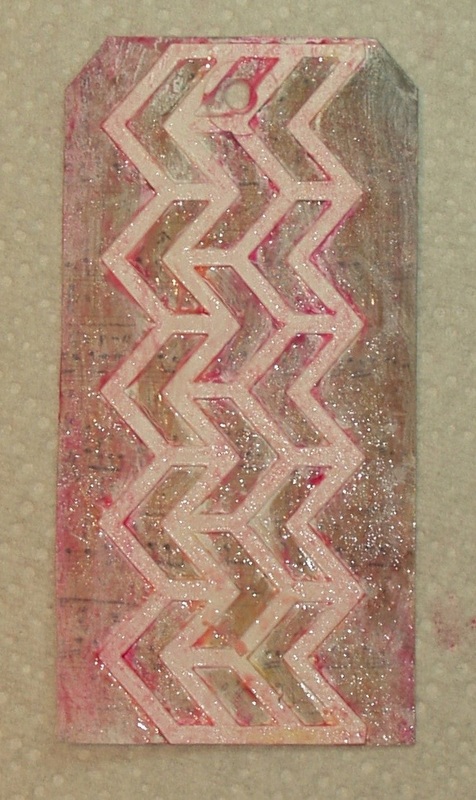
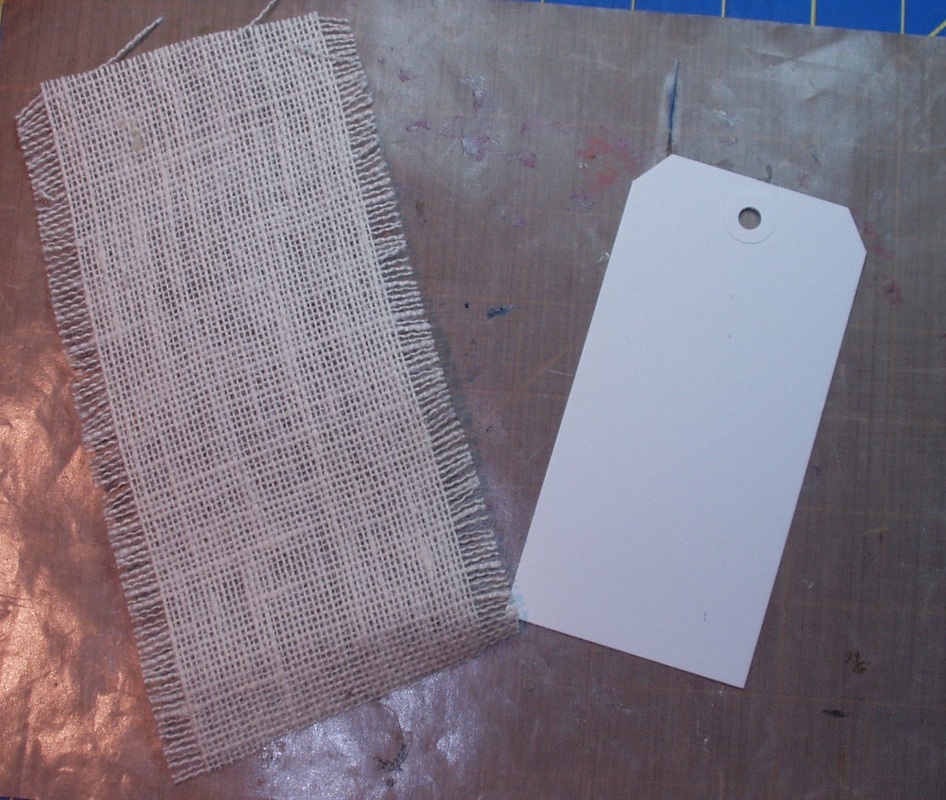
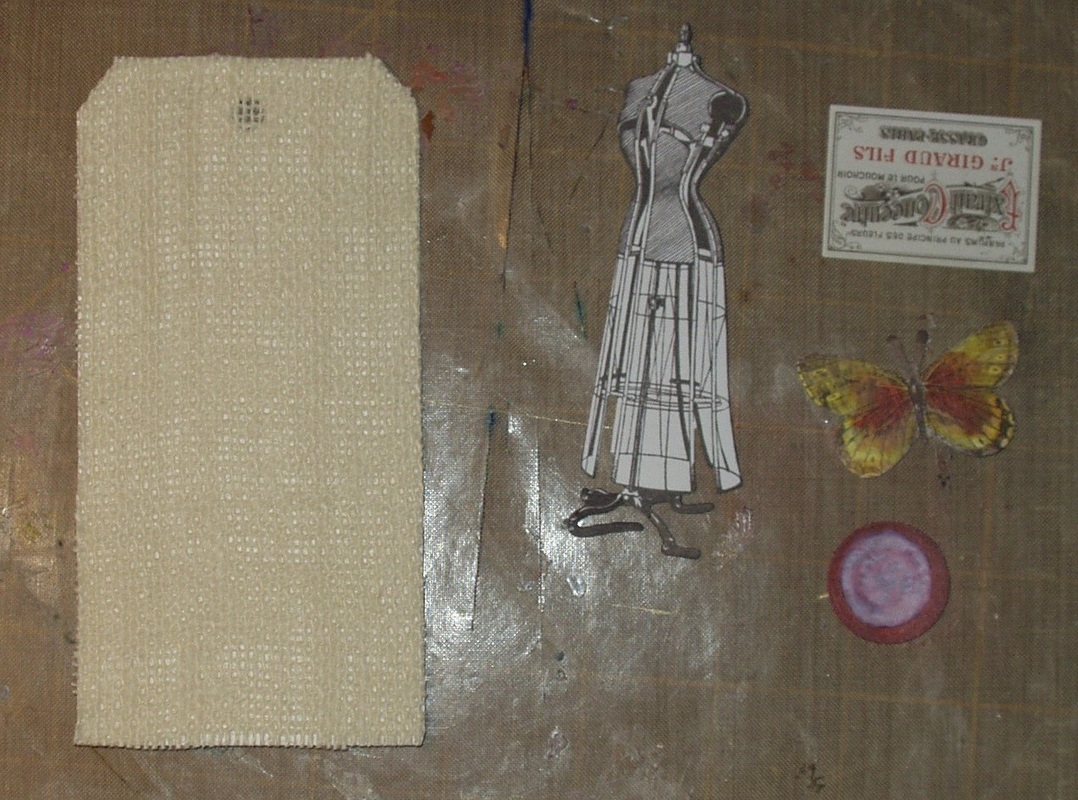
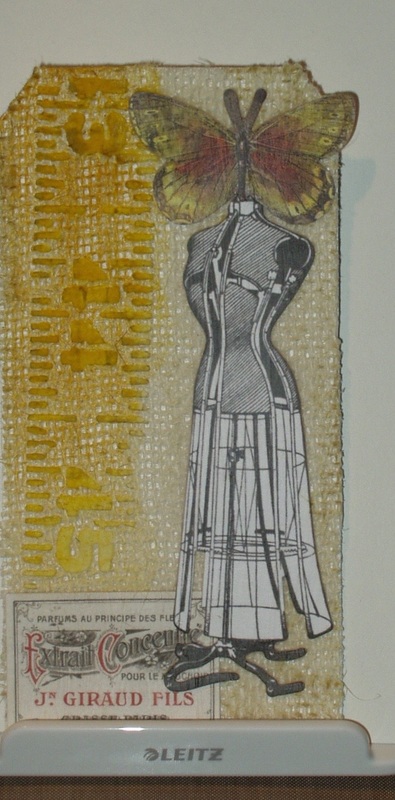
Next, I prepared a textured surface (burlap) as described in Tim’s step-by-step,

Picture
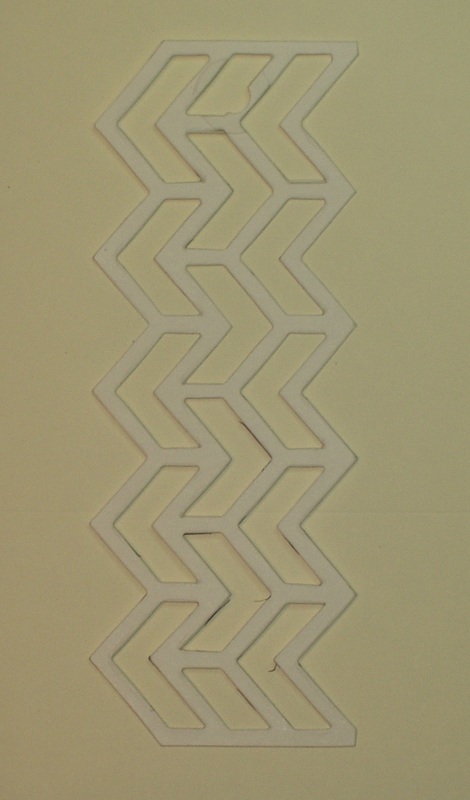
and used “Festive Berries” spray stain and the layering stencil “Flourish” (THS032).
Picture
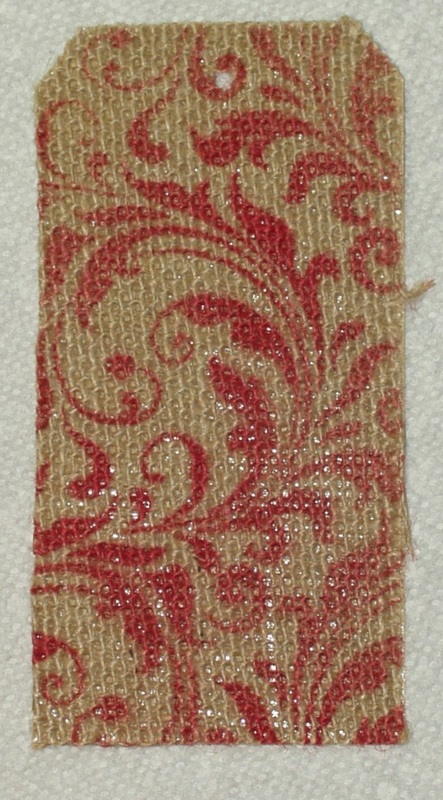
After adhering the burlap to my tag, I tried stitching and it worked, sort of— but you can’t see it easily on the final tag because the red thread I had in the machine blended in with the burlap. It was so invisible that I switched to a dark green thread but my needle ended up totally stuck in the tag, due to tension issues and issues with the adhesive on the back of the burlap. I had to take the machine apart (foot, needle, bobbin, etc.) and clean the bobbin case before I could free the needle from the tag! Oh well, I tried!

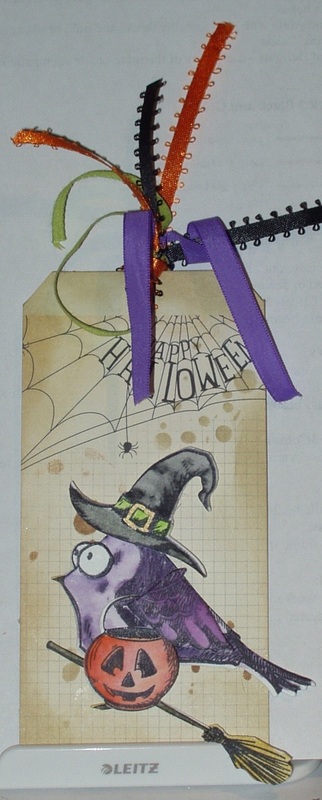
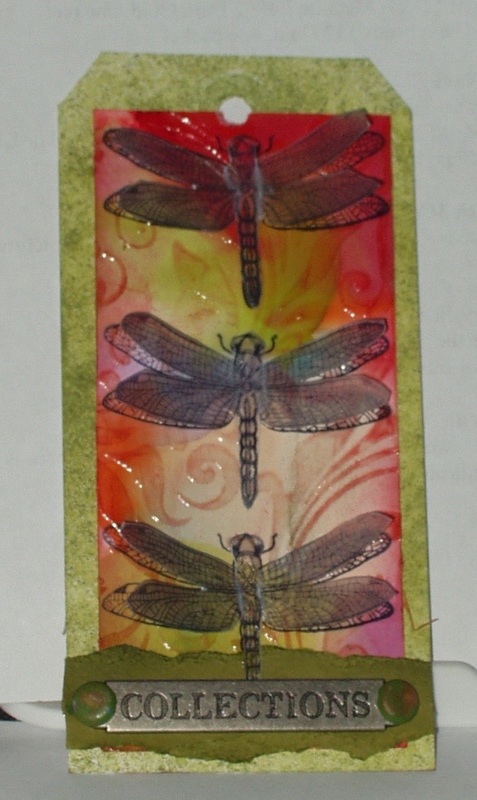
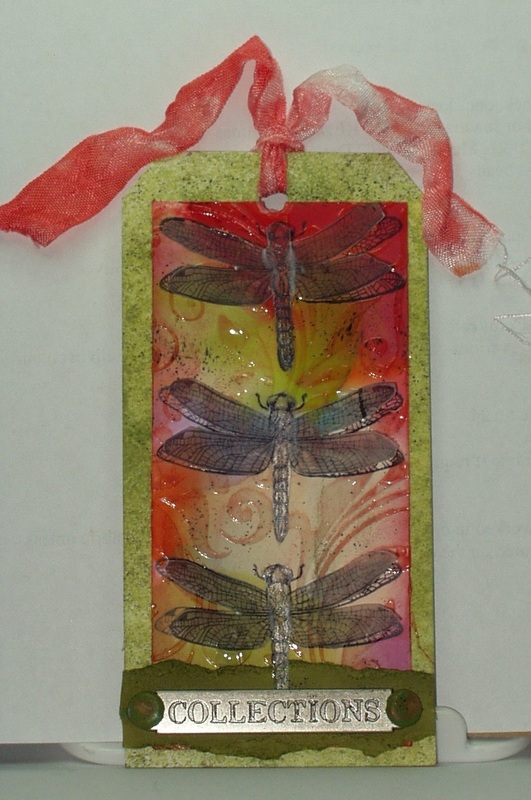
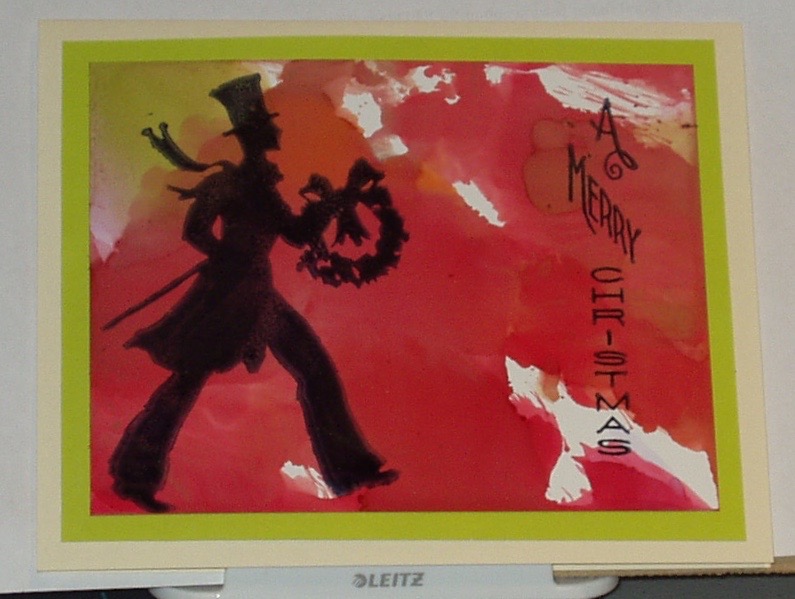
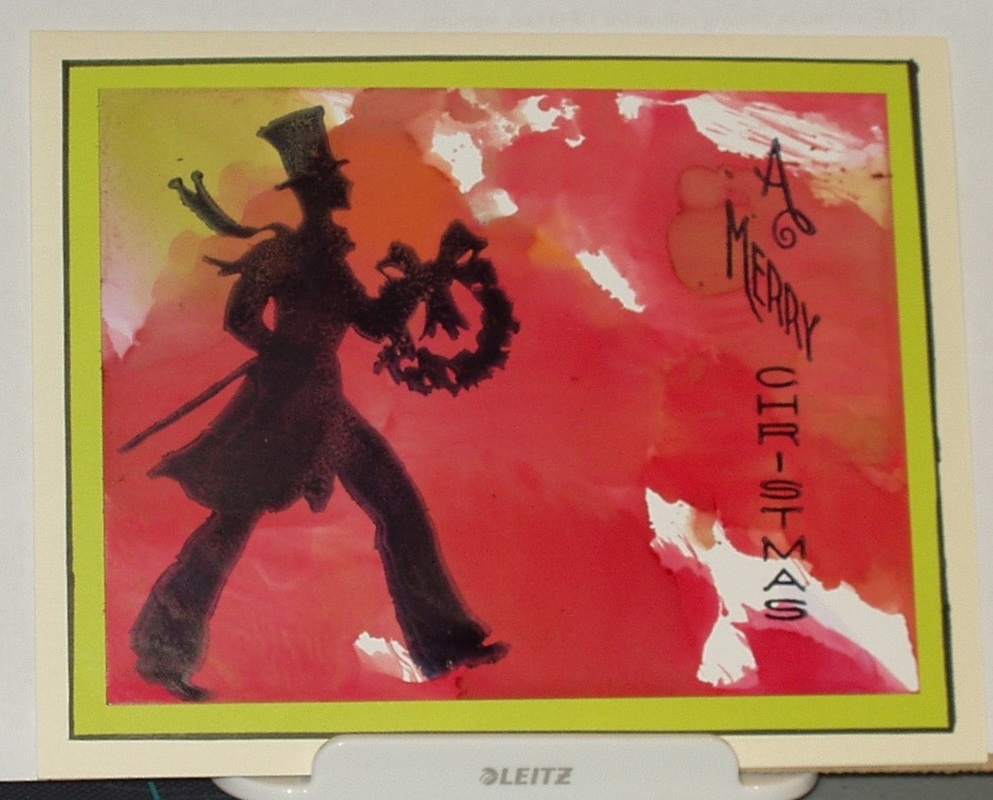
Next came assembly. I made a bow for the top of the tag using two kinds of red ribbon. I then popped the wreath up on foam squares just below the bow. Next, I cut some chat stickers into flags and attached them below the wreath. Finally, I used Glossy Accents to attach a holly button to the tag (and coated the button with the Glossy Accents to create more shine).


Picture
Products used in making this tag were:
  • Stamps: Rubber Stamp Tapestry “Cardinal Resting in Holly” (SLF18007) and “Summer’s Gold” (STL 34064) sets
  • Inks: Archival “Fern Green”, “Leaf Green”, “Vermilion”; Distress Ink “”Forest Moss”, “Cracked Pistachio”, “Peeled Paint”; Distress Spray Stain “Festive Berries”
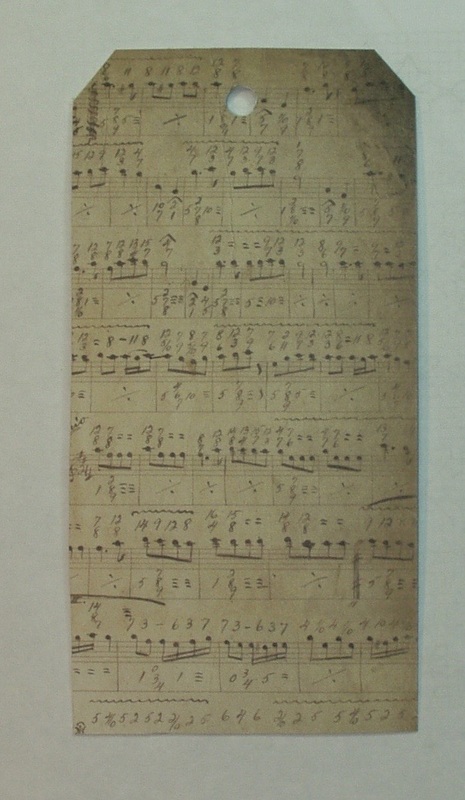
  • Papers: Paper reflections medium white tag, Textured Surfaces, scrap white card stock
  • Embelllishments: Bead treasures #15 seed beads “Red”; Ribbons Affray “Spool O’ Ribbon” (CA07795) and “Dancer” (C250); Just Another Button Company #5022; Idea-ology “Big Chat” Stickers (TH93192)


1 Comment

12 Tags of 2015 - November

11/2/2015

1 Comment

 
The November Tag of the Month in Tim Holtz’s 12 tags of 2015 series is a tribute to autumn. Autumn is my favorite season of the year — the colors, the smells, the crispness of the air, the foods that company Thanksgiving and tailgating, the sounds of geese practicing their take-out and landings and the shuffle of leaves as you walk along… and, and of course, football!

So I was eager to try my hand at this card but, as usual, I was short a few o the supplies in Tim’s list and so had to improvise. Still, my tag is pretty much a copy of Tim’s — no major creative diversions here. I blame that on my having my first cold of the season — sort of puts a damper on the creative juices.

Anyway, I started with the tag background and pretty much did what Tim did except 1) a different background stamp, 2) different color sprays (I only have a few of the sprays so far), and 3) I didn’t have foil transfer papers (so I went with gold leaf scraps instead These scraps were multi-colored, ranging from bright gold through purples, reds and oranges to a near-platinum shade, and my craft space is now sprinkled with bits and pieces! Clearly foil transfer is a neater, easier to control method but I sort of like the outcome of my foray into gold leafing! ):


Picture
Oh, and my tag is my usual small (5 1/4 x 2 5/8”) white tag… which limits how much embellishment can be done in such a small space…

Next, I tacked my pumpkin. Again, I didn’t have the stamp Tim used so I substituted another version, and I didn’t have fun foam so I went with layering four copies of the pumpkin, with the top copy embossed with myTen Second Studio. embossing tool I stamped the pumpkin, painted it with markers and a blending pen, fussy cut it, layered it (using foam do squares to lift the top layer:
Picture
That's a stack of three pumpkins glued together with a glue stick on the right, and the backside of the embossed top pumpkin, with foam squares, on the left.
And the final pumpkin looked like this when attached to the tag:
Picture
Still more things I didn’t have: the alphabet dies. So I took a chance, used the cork textured surface with a Thinlits  Handwritten Holiday die (it worked BUT... the cork stuck to the die and the release paper stayed behind so getting that little word out of there and onto the ribbon was tricky!), attached it to a scrap of ribbon which was very close in color to "Frayed Burlap" Distress Ink, and tinted the cork with “Frayed Burlap” to darken it a little:
Picture
Next, I smeared “Carved Pumpkin” distress paint on a word band (no arrows in my stash of idea-ology!) and wiped it off so that the paint highlighted the words, smeared more paint on two brads, and attached the word band to the tag.
Picture
After adding a length of the same ribbon used to attached the die-cut cork, my tag was done:
Picture
Products used in creating this tag were:
  • Papers: Paper reflections Creative Tags (medium: 5 1/4 x 2 5/8); Distress Water Color Paper; Textured Surfaces Cork
  • Stamps: JudiKins 2400-J; Rubber Soul
  • Dies: Thinlits “Handwritten Holidays” (660979)
  • Inks: Distress Paints “Antique Linen”, “Carved Pumpkin”, Distress Spray Stains “Fossilized Amber”, “Peeled Paint”; Distress Ink “Frayed Burlap”; Distress Markers “Carved Pumpkin:, “Fossilized Amber”, “Rusty Hinge”, “Wild Honey”, “Walnut Stain”, “Crushed Olive”, “Forest Moss”, “Peeled Paint”, “Vintage Photo” “Ground Espresso”; Archival “Jet Black”
  • Embellishments: Amy’s Magic Gold Leaf Flakes; Idea-ology Word Bands (TH93000), Hot of the Press “Autumn” Brad Pack (*1134), scrap ribbon
  • Adhesives: Ranger Collage Stick, Multi Medium Matte, Glossy Accents, Foam squares


1 Comment

12 Tags of 2015 - October

10/1/2015

6 Comments

 
Tim Holtz's October tag for 2015 showcases his new dimensional Halloween dies. I, however, don't own any of these dies, so I had to come up with something that worked on my small tag format ("5 1/4 x 2 5/8") and still had some dimensionality. I settled on the "Bird Crazy" set of birds ("Bird Crazy" stamps CMS212 and dies "660954; "Crazy Things" stamps CMS237 and dies 660953) and went with the Halloween theme.

I backed a white tag with Authentique  paper from the "Moonlit" 6x6 pad, added some "splatter" using the "Splatters" layering stencil (THS009) and "Distress Inks ("Old Paper" and "Vintage "Photo", distressed the edges with more "Old Paper" inks and set it aside to dry.

I then stamped my bird, a witch's hat, broom and trick-or-treat pumpkin bucket in Archival "Jet Black" on Distress water color paper, water colored them with Distress Markers and a detailed water pen, die cut them with the matching dies.

 The next step was assembly, using Ranger's collage glue and foam dots. Ribbon scraps in orange, black, lime green and purple completed the tag:

Picture
Products used to make this tag were:
  • Stamps: :Bird Crazy" (CMS212) and "Crazy ThIngs" (CMS 237)
  • Dies: "Bird Crazy" (6600954) and "Crazy Things" (660953)
  • Inks: Archival "Jet Black"; Distress Inks "Old Paper" and "Vintage Photo"; Distress Markers ""Dusty Concord", "Seedless Preserves", "Black Soot", "Hickory Smoke", "Scattered Straw", Walnut Stain", Twisted Citron", "Ripe Persimmon"; and Marvy Uchida "Liquid Gold"
  • Embellishments: scrap ribbons

6 Comments

12 Tags of August 2015 - September; and a bonus...

9/7/2015

3 Comments

 
Tim set forth real challenge this time in his 12 Tags of September, for me at least!  First, I use smaller tags than he does so trying to fit everything on meant I had to go smaller with stamps and embellishments which, for my klutsy fingers, meant some really tedious fussy cutting and heating and some not-so-successful attempts with Idea-ology’s “Frosted” medium. Second — of all the gel and texture media I have acquired since getting addicted to all things Ranger, the one I did NOT have was Texture Medium Transparent (neither gloss nor matte!)!, so I had to order it (them — might as well cover all bases while I was at it!) and hope it (they) arrived within the month. Luckily, it was (they were) in stock and came before the Labor Day weekend shut down postal service for four agonizing days!

So I set forth, step by step… with a few changes along the way to acommodate my small tag size and my need, right now, for autumnal colors!

First I created a background using Ranger’s Alcohol Ink yardstick (glossy side), seven alcohol inks (“Citrus”, “Cool Peri”, “Pink Sherbet”, “Sunset Orange”, “Peach Bellini”, “Cloudy Blue”, “Poppy Field”), Gold Fixative and Blending Solution. I swiped several sheets through my ink mixture and this is the one I chose for the tag (another I used a for a card I will describe later in this post):

Picture
One of these days I will get the color balance right because, as you can see, the “Poppy Field” and “Sunset Orange” tended to overwhelm my other color choices…but  a few did appear and I trimmed the piece to fit my tag (in my case, that was to something in the order of 2.25” x 4.5”). Then I stamped three dragonflies (All Night Media #508F) in Archival “Jet Black” on the background piece:
Picture
and on a sheet of Idea-ology “Frosted”:
Picture
I took a white tag (2.5/8” x 5.14”) and sprayed it with “Peeled Paint” Distress Spray Stain and water:
Picture
I searched my paper scraps file and found a piece of green cardstock almost the same color as “Peeled Paint:, tore off a strip, “distressed” the card with more “Peeled Paint” Distress Ink and mounted an Idea-ology Word Band (“Observations” with two HOTP brads (Hot of the Press Autumn Brad Pack, 81134). I  dulled down the green color of the brads with “Vintage Photo” Distress Paint:
Picture
When the stamped dragonflies had dried (and the Texture Paste had arrived), I applied the medium through the “Flourish” Layering Stencil (THS 0032):
Picture
It did indeed look a little scary, all white and runny looking but I waited overnight and, the next morning, the tag had dried clear:
Picture
I used a blending tool and Archival Ink (“Vermilion”) to lightly touch the tops of the stenciled pattern:
Picture
and also to blend around the edges of the background.

Now to the “frosted” dragonflies. I cut the sheet apart and fussy cut them out:
Picture
and then heated them with my heat tool and attempted to bend them to my will. Either I didn’t heat them enough or my fingers were too klutzy because there was a clear indication of a fold in the wings at the body, a whitish line that looked like embossed vellum — a white line. AAACK! I didn’t want to curl my dragonfly wings — I wanted them to stand up so I tried again. Not a lot of luck but I wasn’t going to cut more of the little buggers out so…

Time for final assembly!

I attached the background and the word band to the tag with red-line tape. I carefully applied Glossy Accents to the dragonfly bodies and applied them to the stamped images, making sure that the body of the lowest dragonfly slid under the word band but over the green cardstock…

Picture
I then used a Distress Marker (“Black Soot”) and a Distress Marker Spritzer to add a little texture to the tag:
Picture
and added a piece of seam tape, dyed red (from a Funkie Junkie shipment) for my final tag:
Picture
I started out thinking autumnal and ended up at Christmas! Oh well, I like it anyway, even if dragonflies aren't traditional Christmas symbols!

~~~~~~~~~~~~~~~~~~~~~~~~~~~
Now for that bonus...

Not one to let all that alcohol ink and mixative go to waste, I had swiped a second piece of alcohol ink cardstock over my craft sheet and came up with this, which I mounted on a scrap piece of Lasting Impressions paper (“Lily Pond Solid” which was surprisingly close to the “Citrus” color in the corner of the card):
Picture
This color combination looked Chistmassy to me so I stamped an image and a sentiment from the “Deco Christmas” set (CMS176) in Archival “Jet Black”:
Picture
mounted the layers to a folded piece of ivory card from The Write Stack:
Picture
and then edged the green layer with a permanent black pen for a finished card.
Picture
My first handmade Christmas card of 2015! I’m linking it to the Tim Holtz Exclusive  post  for  the Simon Says Stamp’s STAMPtember®…

Products used in the making of this tag and card were (not necessarily in order):
  • Inks: Ranger’s Alcohol Ink (“Citrus”, “Cool Peri”, “Pink Sherbet”, “Sunset Orange”, “Peach Bellini”, “Cloudy Blue” and “Poppy Field”); “Gold Fixative; Alcohol Ink Blending Solution: Archival “jet Black” and “Vermillion”; Distress Spray Stain “Peeled Paint”; Distress Ink “Peeled Paint”; Distress Paint “Vintage Photo”, Bic Grip Permanent Pen “Black”
  • Stamps: All Night Media 508F, CMS176 “Deco Christmas”
  • Papers: Alcohol Ink Cardstock; small white tag; Idea-ology “Frosted” sheet; Lasting Impressions “Lily Pad Solid” paper, The Write Stack pressured ivory card base; and scrap cardstock (green)
  • Embellishments: Idea-ology Word Bands “Observations”; Hot Off the Press Autumn Brad Pack *81134); Seam Binding

~~~~~~~~~~~~~~~~~~~~~~~~~~~
P.S. I was so thrilled that my August tag won and I want to thank Mario Tim and Joy from Inspiration Emporium for the selection and the wonderful gift! And to everyone who commented on my tag, thank you very much! I would reply to all of you personally if I could...
3 Comments

12  Tags of 2015 - August

8/4/2015

12 Comments

 
A LOT of steps in this one and I tried, really I did, to follow the instructions to the letter but... a) I didn't want to make a carbon copy of Tim's tag and b) I didn't want a dark and "gloomy" card. So I started going through my collection of found relatives and that set me on my path to a card which reminds me very much of the closing scenes of the musical "Carousel". That meant girls in white dresses, light flowery colors and music...

So, to start...the card base, using a music score paper from Idea-ology 8 x 8 Paper Stash "Menagerie" and a 5.25 x 2.58 tag from "Paper Reflections":
Picture
and a die cut from the same size tag using the Frameworks "Chevron" (659428):
Picture
I assembled the card per Tim's instructions:
Picture
covered it with gesso (Liquitex Acrylic Gesso) and wiped it clean"
Picture
and colored it with Distress Inks ("Picked Raspberry", "Spun Sugar" and "Squeezed Lemonade"):

Picture
The tag was still wet with Multi Medium Matte when I took this - therefore the sparkle
There were several days of drying overnight with this so far so while I was waiting for the card to be totally dry, I cut out a "Found Relative"  (TH93121) and colored her ribbon,  rose corsage and book with Distress Markers ("Picked Raspberry", "Spun Sugar", "Peeled Paint" and "Pine Needles"):
Picture
Sorry for the glare... she was kind of shiny
Edited to add that I cut out a bouquet of roses from an ephemera packet and some flowers and butterflies from two Funkie Junkie gift tags:
When the background tag was totally dry, I started assembly. I layered the girl, the rose bouquet and the rose "borders" on the card, overlapping them slighlty, coated them with Multi Medium Matter and heat dried, edged the girl and the ephemera with "Fired Brick" Distress Marker, and the card edges with "Fired Brick" Distress Paint:
Picture
Final assembly included "Chit Chat stickers, a stamped saying in Archival "Jet Black" form "French Connection" stamp set (CSS27850), which didn't work out so I covered it with the two fussy cut butterflies (attached with "Glossy Accents") and knotted a piece of died Crinkle Ribbon (from another Funkie Junkie freebie).
Picture
Finally, I covered the girl's face with a scrap of toweling and dripped "Tarnished Brass" Distress Stain Spray over the card (by tapping on the nozzle with a pair of tweezers) .

The final tag: "On Her Graduation"! Can't you just hear Shirley Jones singing "As You Walk Through the Storm"?
Picture
Product used in this tag:
  • Stamps: "French Connection" CSS 27850
  • Papers: Paper Reflections medium (5 1/4 x 2 5/8) white tags, Idea-ology 8 x 8 Paper Stash "Menagerie"
  • Inks: Distress Inks (Squeezed Lemonade", "Spun Sugar", "Picked Raspberry"), Archival "Jet Black", "Distress Markers ("Spun Sugar", "Piscked Raspberry" "Pine Needles", "Peeled Paint", Fired Brick"), Distress Paint (Fired Brick"Distress Spray Stain  ("Tarnished Brass")
  • Ephemera: Idea-ology" "Thrift Shop" TH93114 and "Chit Chat" sticker, two tags form Funkie Junkie Boutique freebies, Crinkle Ribbon from a Funkie Junkie freebie
  • Media: Ranger's Multi Medium Matter, Distress Micro Glaze, and Gossy Accents, "Chit Chat Stickers' Liquitex Acrylic Gesso
12 Comments

12 Tags of 2015 - May

5/12/2015

0 Comments

 
Picture
As in April, I didn't have all of the product used in Tim Holtz's example for the May tag for 2015. But I did have items I thought might serve as substitutes. In addition, I use smaller tags than Tim does so it was clear I was going to have to scale back a bit on the number of embellishments. However, I think I managed to come up with a reasonable version of the May tag:

I started with the burlap background, but I didn't have any of the textured surfaces used, so I searched my stash and found some white burlap ribbon of just the right width:
I glued it to my to with matte medium and let it dry before trimming the edges. While waiting, I searched through my ephemera collections and picked out a few (from the "Thrift Shop" collection) that would fit on the tag:

Picture
I altered the butterfly ("Squeezed Lemonade" and "Ripe Persimmon") and the spool label ("Picket Fence"  with distress markers (but elected to not use the spool label in the end...). I then applied texture paste to the upper right corner of the tag through a layering stencil ("Measured", THS012) and, when it was dry, blended "Fossilized Amber" and "Old paper" over the raised area. I also touched the edges of the tag with the "old Paper" pad as well. I glued on the ephemera dress form, advertisement and butterfly with matte medium and then painted over them with more matte medium:

Picture
Next step was to come up with a photo but I didn't have one the right size. However, I did have the silhouette from the "Framed Silhouette" Alterations set and decided to go with that. I stamped the frame and the silhouette in India Ink Black and the label in Archival Chrome Yellow. I die cut  the images, glued the silhouette behind the frame and applied a remnant rub ("Botanical) to the label .

I also was unable to find the "Tiny Tattered Floral" die anywhere so I went with a Heartfelt Creations die and stamp set called "Classic Sunflower" (stamp HCPF-3626 and die HCD1-753). I stamped the sunflowers onto "Tangerine Daisies" paper from Paper Preserves Using India Ink Black, die cut the image and selected three of the smaller flowers from the result:
Picture
Next I colored the centers of the flowers with Gathered Twigs" distress marker, shaped the flowers and then added size 10/0 seed beads in the color "Tortoise (Bead Treasures) to the centers:

Picture
I stained a length of crinkle ribbon with "Fossilized Amber" and "Abandoned Coral" distress inks:

Picture
Final assembly resulted in:

Picture
May 2015
0 Comments

!2 Tags of 2015 - April

4/19/2015

0 Comments

 
Picture
I've been fighting a busy schedule, a lack of sleep and a very nasty (two weeks now) cold and sinus infection, so my creativity is at a real low. But I finally mustered enough energy together yesterday to put together a small tag using Tim's tutorial as a very literal guide. But, lack of some ingredients (notably his water color papers) and my tendency toward smaller tags (I use 3 x 5 tags), means I had to modify the end result a little.

I glued some Bazill navy cardstock to a white tag, stamped it with Versamark ink and  "A Little Bit Scenic Silhouette" stamps (by Sheena Douglas, Bristol, UK), and heat embossed with Deep Impressions clear embossing powder to create my background tag instead of distressing a manila tag. That led me to a blue color scheme so I used Iced Spruce and Salty Ocean Distress Markers to spritz a wetted down piece of speciaity stamping paper (smooth matte finish), stamped flowers and stems  from "Flower Garden" (CMS215) in Archival Jet Black and colored images with Distress Markers (Tumbled Glass and Everygreen Bough). The dies used were Thinlits Adventure 660212 and 650224 and the charm is a freebie from a British card-making magazine, altered with Sailboat Blue alcohol ink to kill the bright silvery shine. A pale blue ribbon from my stash finished off the tag.

0 Comments

12 Tags of 2015 - March

3/12/2015

0 Comments

 
The challenge this month was to "embrace imperfection and enjoy the artful mind". Well, I'm not sure about the artful mind part but imperfection became the main focus of this card.

First f all, I lucked out and found a set of "Sketchbook" tissue tapes on sale so I snapped them up (I have some on order but who knows when they will arrive and I wanted to start this tag!). Trouble is, I seem to have gotten a bad batch of tape as it wouldn't come off the roll except in tiny little strips and pieces. I used these little strips anyway (imperfection #1), but they don't really have the same impact that they would have had is they were intact (here's hoping my order has none of these faulty rolls).

 I did a background using six colors (Squeezed Lemonade, Abandoned Coral, Picked Raspberry, Spiced Marmalade, Dusty Concord and Seedless Preserves)of Distress Paints and water on a small tag. I was trying to get away from my recent aquamarine fixation so I avoided blues! But... Second imperfection --- I should have chosen something other than Dusty Concord as it went all grey on me and made the background too dark.

Next was to stamp on the background and I chose a Holly Berry House stamp (116005SL, Scarab Small) for my image. Now I don't have black archival ink so I went with Color Box Black but it didn't stamp very intensely on the background (3rd imperfection),  I embossed with Ranger SuperFine Detail clear embossing powder (4th imperfection - black detail would possibly have made the image stand out more) and heat embossed the scarab image.

Stencil time next - I chose THS021 (Speckles) and applied texture paste followed by detail gold embossing powder while the paste was still wet. Removed the stencil ( and gave it a good wash!) and waited for the texture paste to dry thoroughly before heat embossing. Fifth imperfection - "Speckles" has LOT of small holes )which made clean-up a bear as some of these holes were harder to clear of paste) which the embossing powder would not go through so despite my best effort, there are lots of little white dots of texture paste scattered around the pattern.

For ephemera, I really didn't have any idea-ology bits and pieces that worked for me but I did have some Making Memories Mini-Nature plaques and a ribbon slide (maker unknown) that did fit so... I smeared "Old Paper" distress Paint over both brass-colored pieces and then wiped them so the detail stood out. After the paint was dry, I used some Seedless Preserves Distress Paint to touch up the frame of the mini-nature plaque and to tint the ribbon slide. Some purple ribbons (Adhesive grosgrain from JoAnn Scrap Essentials 29562 and some organza ribbon, source unknown) to finish the tag.

So, here is March's tag, imperfections and all:
Picture
What I did was learn what NOT to do in future. I consider that "embracing imperfection"!
0 Comments

12 Tags of 2015 - February

2/5/2015

0 Comments

 
As Tim said, he month of February is all about about the things we love, so what better theme for a tag than my simple love of needlework? I'm not a Valentine kind of gal so I stayed away from the traditional hearts, flowers and colors of red and pink. And as a result of this avoidance PLUS using ephemera form my stash, my tag is a bit dark and gritty looking.

I used cardstock which had quilting lies of stitchery on it, a piece of a cross-stitch chart, a cutting from the Wallflower cardstock, and a bobbin with some #336 DMC floss wond around it as the basis for my collage for this tag. Additional product used were stickers from both the "Lost & Found" and Crowded Attic" Salvage Sticker booklets, chat stickers, some washi tape, a strip of "Indusctrial" foil border, a word band (rather poorly distressed), a philosophy disc and some ideology "trimmings".. Accented with Black Soot Distress marker and touched up with a little Picket Fence Distress Paint, this what what my tag eventually became:

.
Picture
0 Comments

12 Tags of 2105 - January

1/3/2015

1 Comment

 
Picture
Apologies for the glare. My spritzed Liquid Silver Pen kind of got away from me, and it does NOT wipe off!!
I have followed these tag tutorials for two years now and never had the courage to actually submit one. But I made a resolution last year to break out of my creativity box and got a head start with taking the Compendium of Curiosities 3 Challenges throughout 2014. Now it's time to test that creativity and start some tags! So here is my version of the January 2015 tag:

To me, January is suppose to be blue and white (although so far this year, we have had very little white and the blue has given away to grey!), so my intent was to make such a wintery welcome to 2015. I didn't have all the bits and pieces Tim used so I improvised with scraps form my stash and came up with my own version in shades of blue and white which, oddly enough, tends toward the gray of today's skies! Go figure!

Materials used, in no particular order, were:
  • a medium white tag
  • Melange Tissue Wrap
  • Core'dinations Distress cardstock in Weathered Wood (it backs the "Here & Now framed Alpha Part)
  • Chit Chat Stickers
  • circular "label"
  • Glue & Seal (LOTS of it!) and Crystal Glaze
  • Distress Paints: Picket Fence, Faded Jeans, Stormy Sky and Tumbled Glass
  • Distress Spray: Stormy Sky and Brushed Pewter
  • Distress Markers: Picket Fence and Faded Jeans
  • Marvy Uchida Liquid Silver Pen
  • Framed Alpha Parts, Word Band, Philosophy Tag, numbered brad and Crystal Star
  • Kreinik Cord (032c), a scrap of unknown maker ribbon, and a piece of Crinkle ribbon
  • Distress Marker Spritzer


1 Comment

    Author

    Born in New Jersey, I grew up in Southeastern Ohio. Attended university at Bowling Green State University (B.Sci  in biological science, 1964), University of Southern California (M. Sci in biological science, 1967) and University of Florida (Ph. D in zoology, 1971).
    Worked in environmental consulting for a little more than a decade and then seven years as an instructor in biological science at various community colleges in California and Texas. Moved to London in 1992, then Beijing (1996) and Saudi Arabia (1998), before returning to NW Ohio in 2002. I am currently living in NW Ohio with my husband and three Bombay cats.  I love to read (mystery, science fiction, history) and stitch (have done crewel, currently experimenting with free embroidery and needlepoint but blackwork and cross stitch are my main genres); have been known to knit; and now I'm heavily into papercrafting!
    Retired upon the return to the US so lots of time for our hobbies...

    Archives

    December 2019
    November 2019
    October 2019
    September 2019
    August 2019
    July 2019
    June 2019
    May 2019
    April 2019
    March 2019
    February 2019
    January 2019
    December 2018
    November 2018
    October 2018
    September 2018
    August 2018
    July 2018
    June 2018
    May 2018
    April 2018
    March 2018
    February 2018
    January 2018
    December 2017
    November 2017
    October 2017
    September 2017
    August 2017
    July 2017
    June 2017
    May 2017
    April 2017
    March 2017
    February 2017
    January 2017
    December 2016
    November 2016
    October 2016
    September 2016
    August 2016
    July 2016
    June 2016
    May 2016
    April 2016
    March 2016
    February 2016
    January 2016
    December 2015
    November 2015
    October 2015
    September 2015
    August 2015
    July 2015
    June 2015
    May 2015
    April 2015
    March 2015
    February 2015
    January 2015
    December 2014
    November 2014
    October 2014
    September 2014
    August 2014
    July 2014
    June 2014
    May 2014
    April 2014

    Categories

    All
    12 Tags Of 2015
    12 Tags Of 2016
    2018 Craft Space Clean-up
    All About ATCs
    Altenew
    Altenew Academy
    Art Swap
    Christmas Project
    Club Posh
    Compendium Of Curiosities
    Create 2014
    Create 2017
    Creative Carte Blacnhe
    Creative Chemistry 101
    Creative Chemistry 102
    Creative Chemistry 103
    Dina Wakely
    Dyan Reaveley
    Ellen Hutson
    Frilly & Funky
    Funkie Junkie Style
    Graphic 45
    Guest Designer
    Hero Arts
    #hipforsummer
    #holtzforhalloween
    #holtzfortheholidays
    Honey Bee
    InkRoad
    Just Playing Around
    Lindy's Stamp Gang
    More Than Words
    OnLIne Card Class
    Seven Hills
    #sharewithsizzix
    Simon Says Stamp
    Stamptember
    Summer Of Creative Chemistry 2016
    Sunday Stamper
    Tim Holtz Kits
    WOW!

    RSS Feed

    Picture
    Picture
    Picture
    PAST PARTICIPATION

    Picture
    Picture
    Picture
    Picture
    Picture
    CHALLENGE BLOGS
    Simon Says Stamp Monday Challenge Blog
    Picture
    Picture
    Picture

    So proud!

    Picture
    for my August 2015 tag!
    for my entry into "Author, Author". October 5, 2016
 honored to be asked to be guest designer for Simon Says Stamp Monday Challenge, September 2017

for my entry in the Frilly and Funkie November 22, 2017 Challenge: Give Thanks
for my entry in the Frilly and Funkie December 9, 2017 Challenge: Most Memorable Gift
Proudly powered by Weebly