This week, the challenge being presented by Linda Ledbetter at Studio L3 and sponsored by Inspriation Emporium, is to use the Distress Watercoloring technique (part 1) as illustreated on page 39 of Tim Holtz's Compendium of Curiosities 3.
Since I will not be available to do any papercrafting in the next challenge period (although I will be intermittantly connected to the internet, there are a number of events coming up in our life on the next two weeks that will totally put all crafting of any kind aside for a while...), I went simple this time. Using the larger version of a spool of thread in the blueprint stamps series (painted with festive berries and barn door for the thread, iced spruce for the needle and gathered twigs for the spool) and a freebie caption stamp from a UK card-making magazine, I put together a 5" X 6.5" greeting card/note card by layering the watercolored image onto coordinating red paper and gathered twigs-"enhanced" tan paper on a white card. Added a loop of red thread and voila!
Since I will not be available to do any papercrafting in the next challenge period (although I will be intermittantly connected to the internet, there are a number of events coming up in our life on the next two weeks that will totally put all crafting of any kind aside for a while...), I went simple this time. Using the larger version of a spool of thread in the blueprint stamps series (painted with festive berries and barn door for the thread, iced spruce for the needle and gathered twigs for the spool) and a freebie caption stamp from a UK card-making magazine, I put together a 5" X 6.5" greeting card/note card by layering the watercolored image onto coordinating red paper and gathered twigs-"enhanced" tan paper on a white card. Added a loop of red thread and voila!
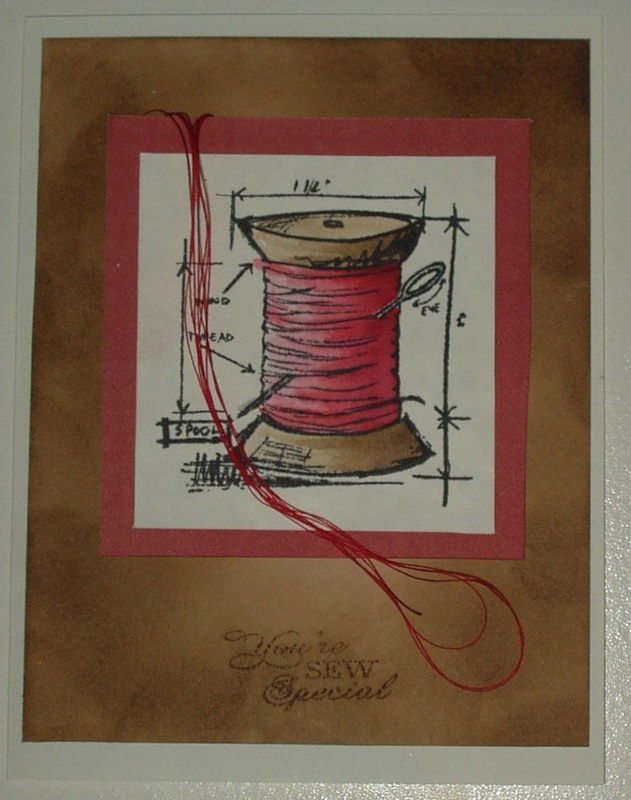
"You're SEW Special"
If I had a little more time, I might play with this image a bit more but two hours was all the time I had this morning to devote to this challenge.
 RSS Feed


