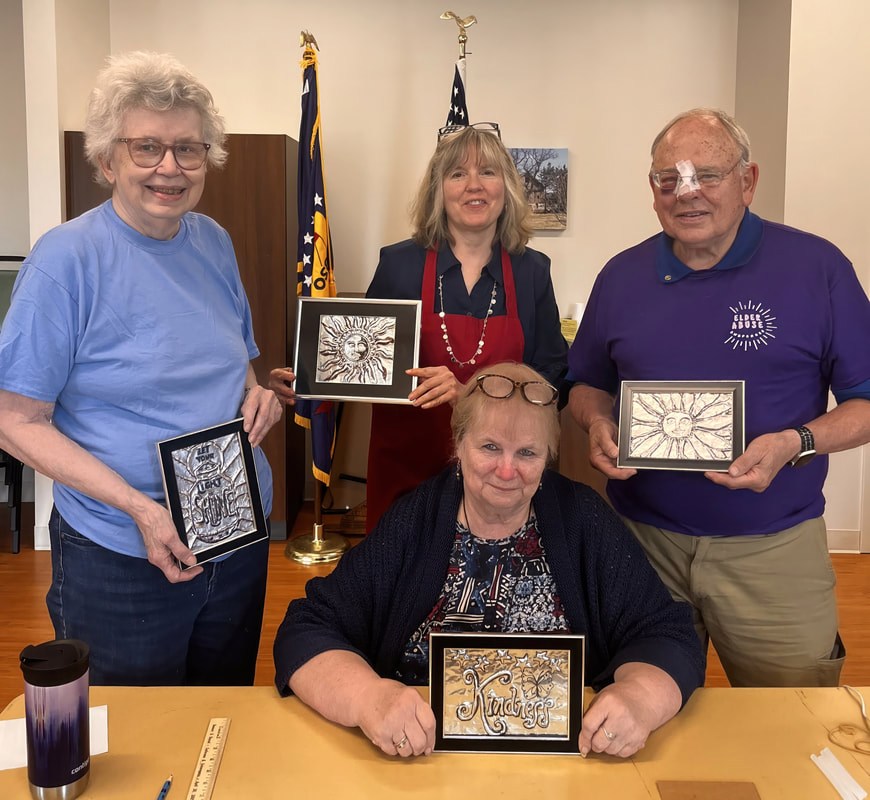
Here is the Instructor (center standing), my husband (right, standing) and I (left standing) with another student (Jen, seated) and the products of our efforts. The technique reminded me a lot of the metal embossing classes I took on an Alaskan Cruise, using Aluminum foil and rubber cement instead of metal sheets and an embossing stylus.
|
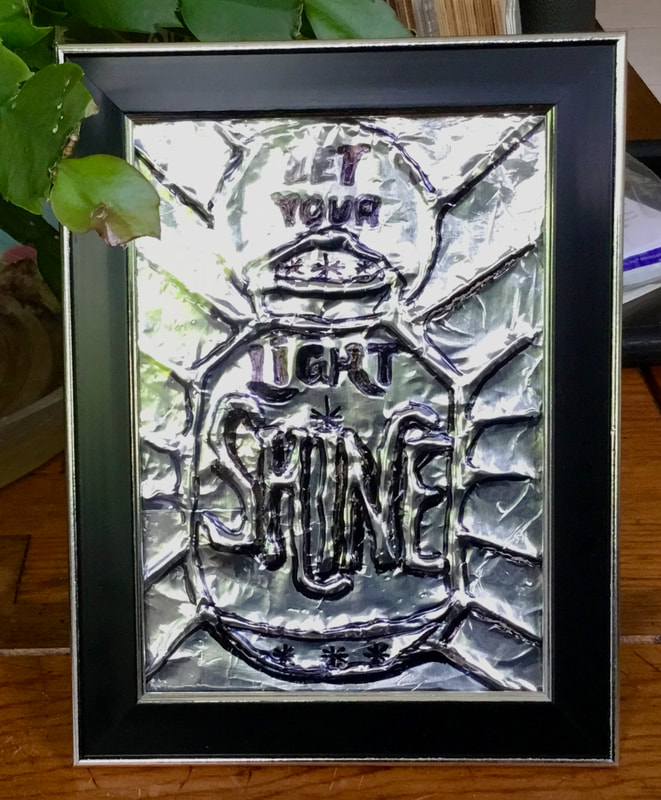
On June 15, Mary Soneson (instructor) offered a class on "foil embossing" at the Wood County SeniorCenter in Bowling Green. Here is the Instructor (center standing), my husband (right, standing) and I (left standing) with another student (Jen, seated) and the products of our efforts. The technique reminded me a lot of the metal embossing classes I took on an Alaskan Cruise, using Aluminum foil and rubber cement instead of metal sheets and an embossing stylus. A closer look at my project...I think I bit off more than I could chew here!
0 Comments
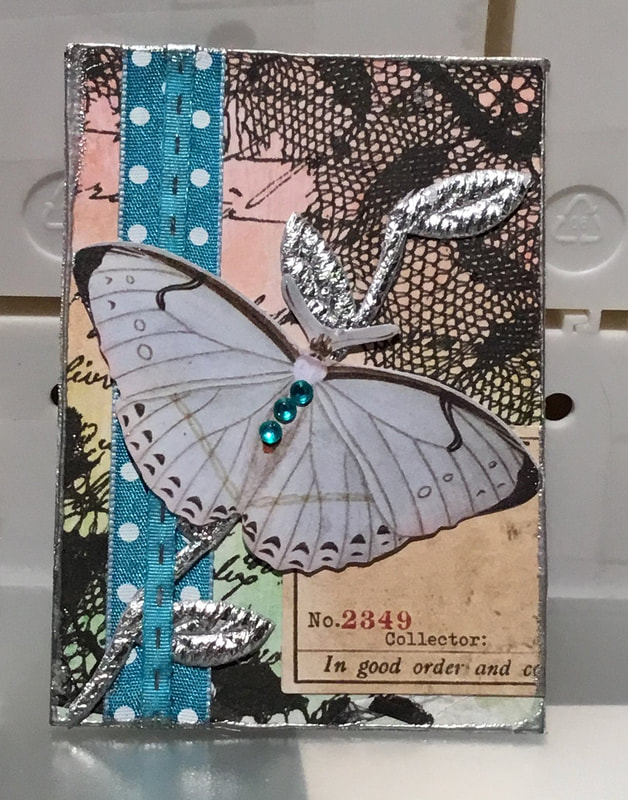
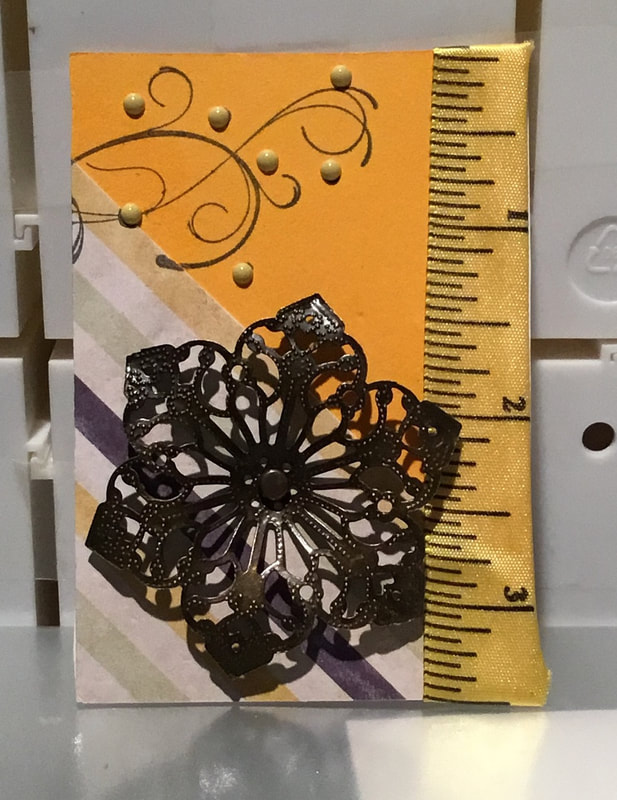
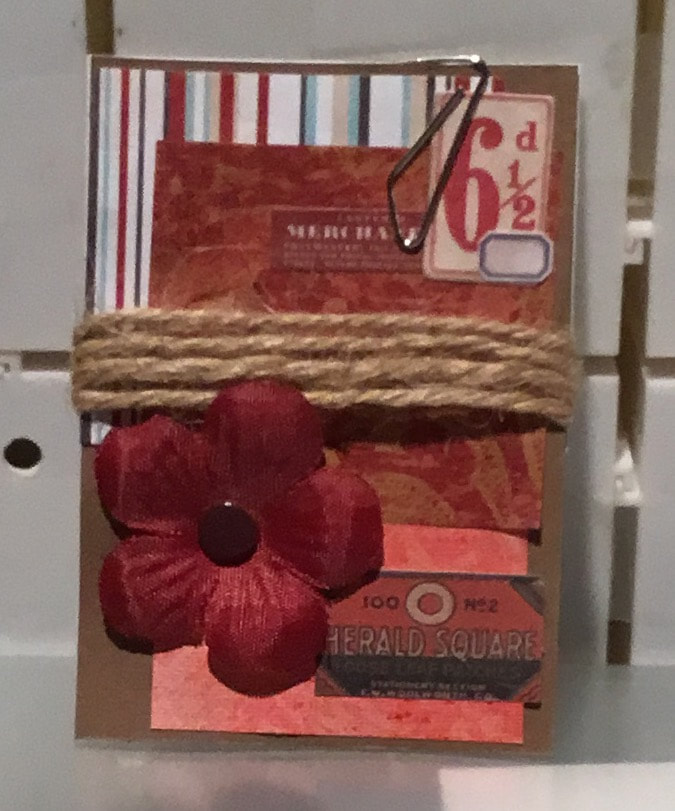
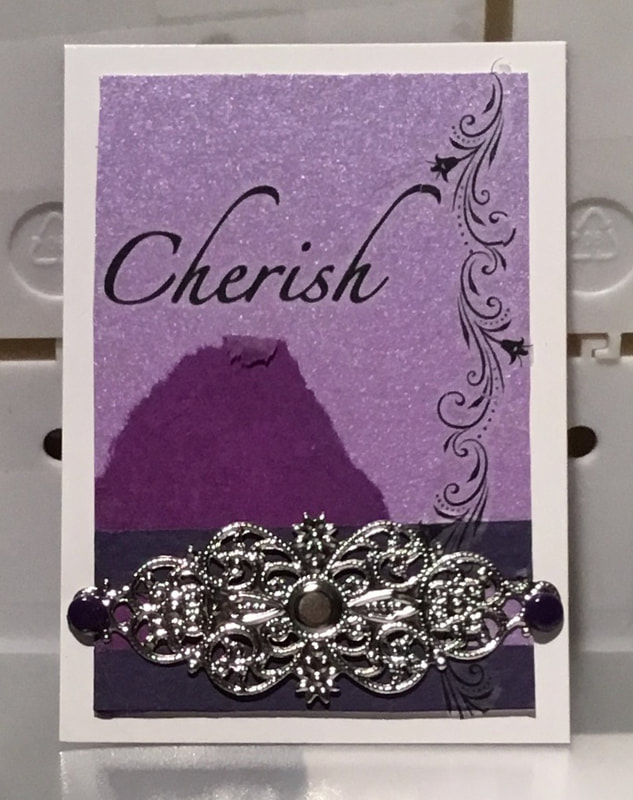
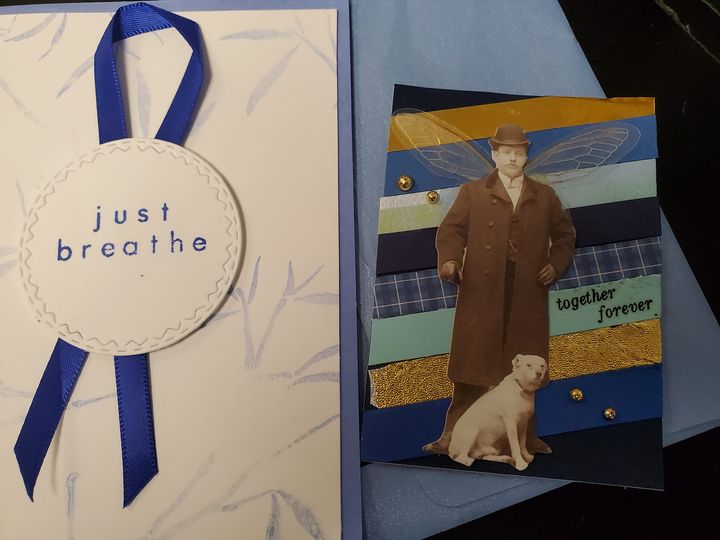
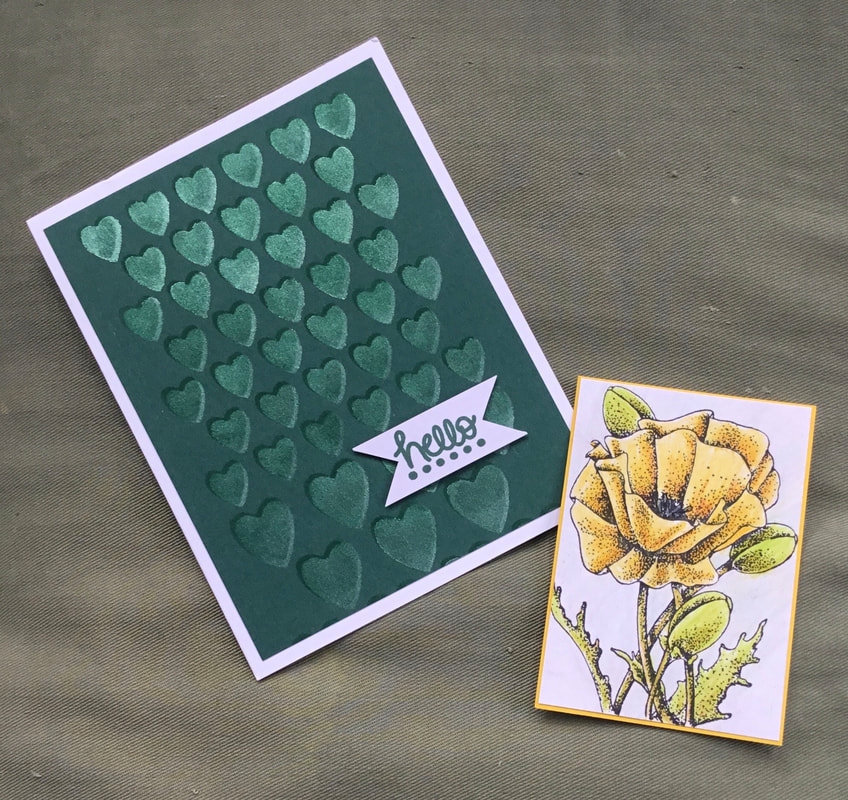
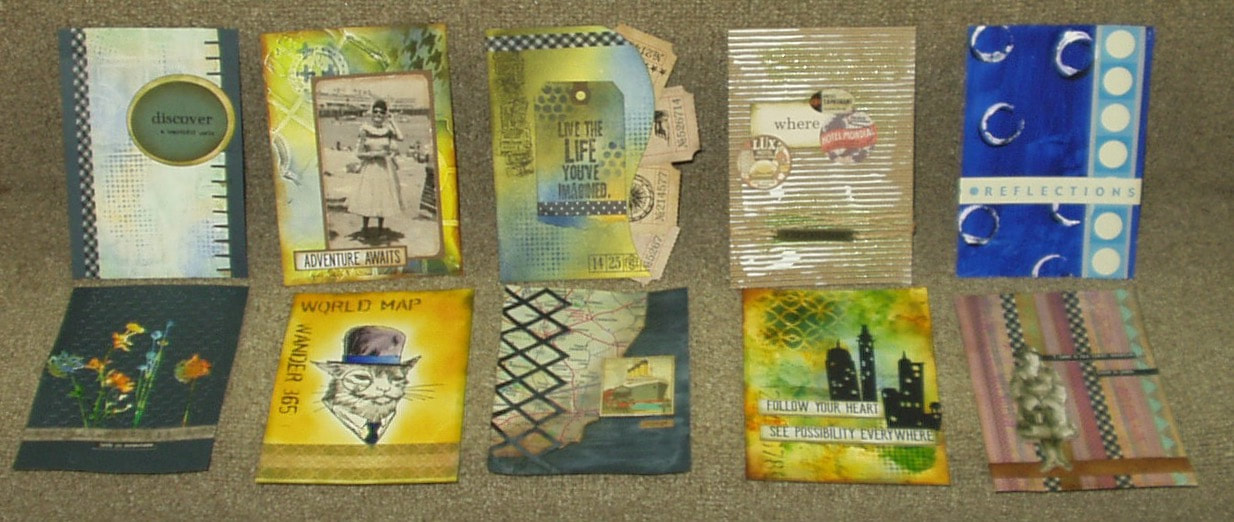
I'm still in the middle of reorganizing my space but in the last few weeks, I have managed to sit down and create a few ATCs using scraps and bits and bobs uncovered while sorting, filing and storing my craft stash. There is no material list for these as I have no idea where any of the scraps came from! A sixth ATC was created fro a swap in a Facebook group I belong to. I mailed it in a card made "years" ago! And this is the card and ATC I received from my swap partner:
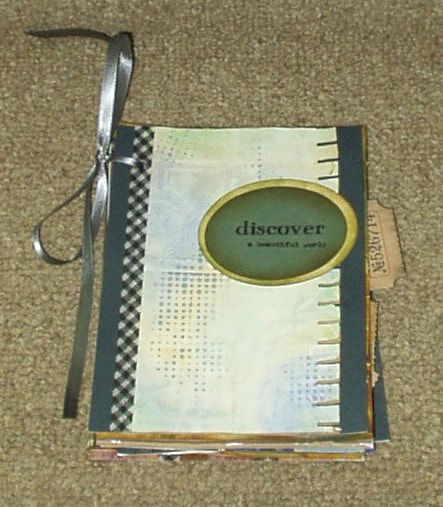
... so it's time to catch up. Back around December, 2020, I stopped doing card-making challenges, enrolling instead in a series of online classes. Since these were paid classes, sharing the how-I-got-there isn't legit (one of the classes can still be enrolled in if you wish; the other is closed). But the teacher did give me permission to post pictures of my products from these classes. Both classes were taught by Marjie Kemper. The first class was to make an art journal in five days. we were given prompts for each page but the design was our own. My final journal looks like this: The second class was devoted to mixed media techniques. Given that the class spanned 19 months, there are way to many photos to post here. I have, however, created a tab at the top of this page, under "more", entitled Marjie Kemper Classes. You can find all these photos (and individual page photos of the album above) on this page.
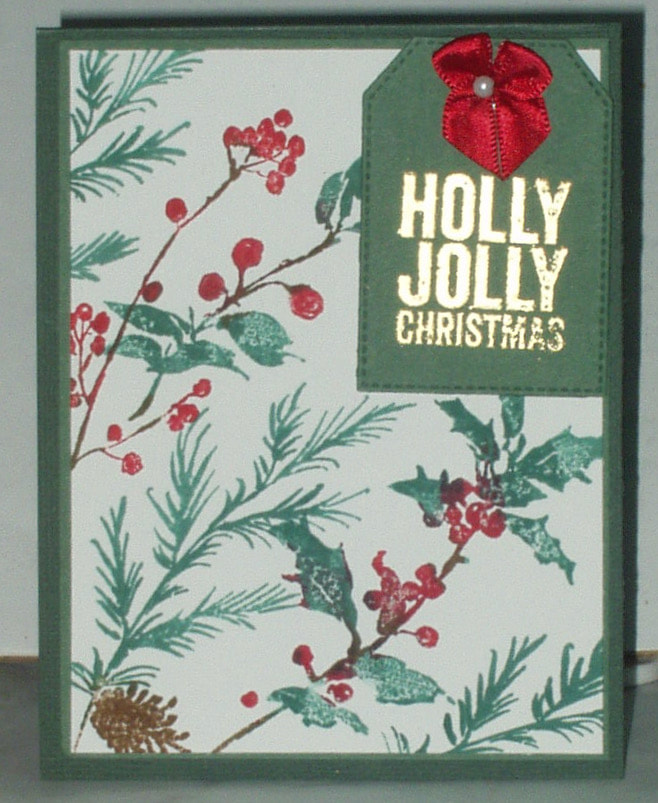
There were monthly "challenge" where prompts were given which wee were free to follow as we wanted. My challenge results were fifteen tags, one art journal cover one ATC and a small acrylic journal. Photos of these items can be seenunder the title "Challenges" on the page linked in the tab at the top of this page entitled Marjie Kemper classes. There were also monthly "projects" where detailed tutorials on various techniques and approaches were given. Again, we were given free reign in how we interpret them, but he techniques and process is owned my Ms. Kemper. My products of this segment of the class were seven art journal two-page spreads, an accordion-style art journal, a junk journal, a journal cover for a blank board book, three "canvases", an altered frame, and three Altered book page spreads. Afai, the photos of these items can be seen under the title "Projects" on the page linked in the tab at the top of this page entitled Marjie Kemper classes. If you wish to learn the techniques used in Mixed Media Art or refine your skill in that area, I cannot think of a better way than to take a class or two to more from Marjie Kemper. ~~~~~ These were not my only online classes in the past year. I spent a lot of time watching virtual classes (2 weekend card-making sessions each from three different companies, a technique series from a fourth, and a pair of card-making classes from the Online-Card Class website) from various craft companies. However, I have not made any of the cards taught in those classes - YET! I plan on spending a lot of 2022 catching up with those as well as attending spring sessions from two additional companies. I will post any results on this blog. Having attended several of the Simon Says Stamp Create in-person crafting class weekends, I can honestly say that virtual classes do not (for me) have the same feeling of personal interaction, BUT... There have been many of these classes offered in person, pre-Covid, across the country, that I would not/could not attend given the cost of travel, housing, etc. Virtual online classes allow me to taste the techniques of instructors otherwise inaccessible to me and/or way outside my budget. While many of these classes may be going back to in-person, some have said that the virtual crafting classes were so popular that they will continue to carry some in parallel with their in-person schedule. If you are tempted, I recommend you keep an eye on your favorite brands to see if they are offering similar sessions during 2022. I find it hard to believe that it's been a year since I posted on my stamping blog. It's not that I haven't been stamping... I have been doing mixed media in a closed series of on-line classes where sharing the pictures of my completions is problematic, and I have been registered in seven (! WHAT was I thinking?) online-virtual card-making weekends with lots of new accompanying stash but... You see, I simply am not set up to "craft-along" while watching streaming videos on FaceBook or YouTube. I don't have computer capability in the basement crafting corner and my iPads run their batteries down rapidly with streaming classes, so I sit, watch, swapping out devices as batteries run down, take the odd note, and put everything aside for a more convenient time. So far, that time has NOT raised its head out of the chaos that is my crafting space and so there are several kitted up parcels in mesh bags in a basket on my craft room floor, waiting. But I have an exchange card to make and the urge to create hit me yesterday so I started making that card. I can't show it yet, because it is a Christmas exchange and I haven't mailed it yet, but, as a result of this urge, I made a second card today which I will show here: Products used in the making of this card were:
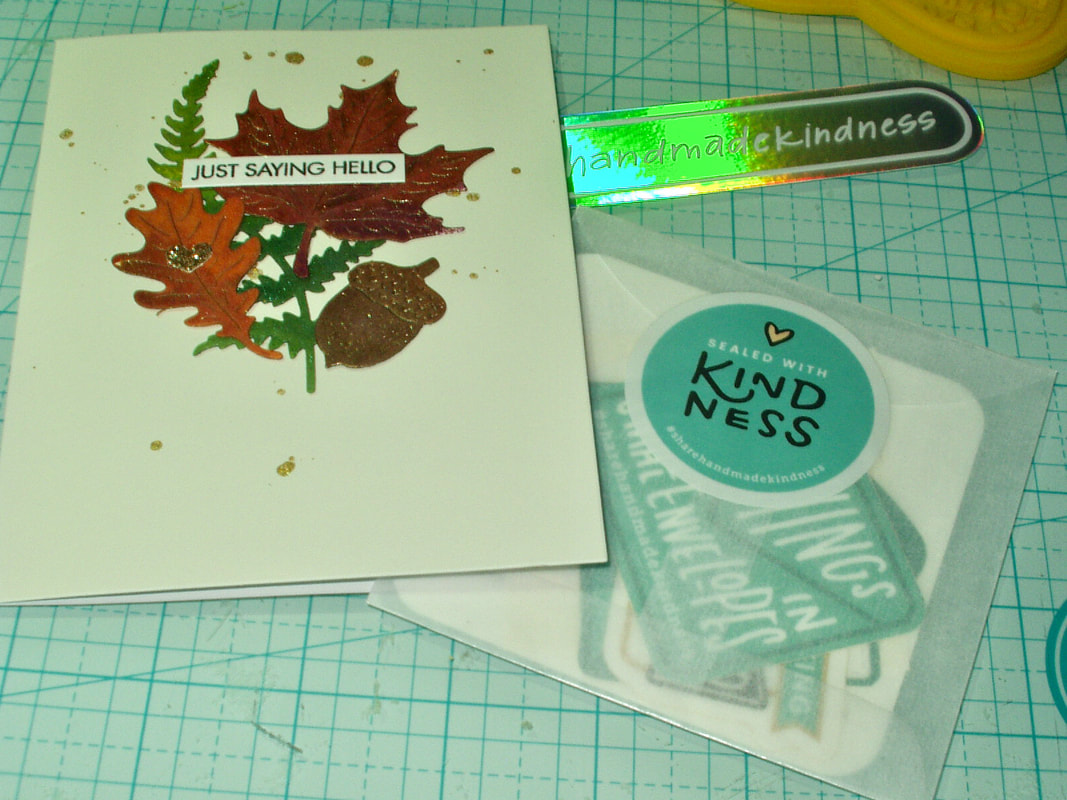
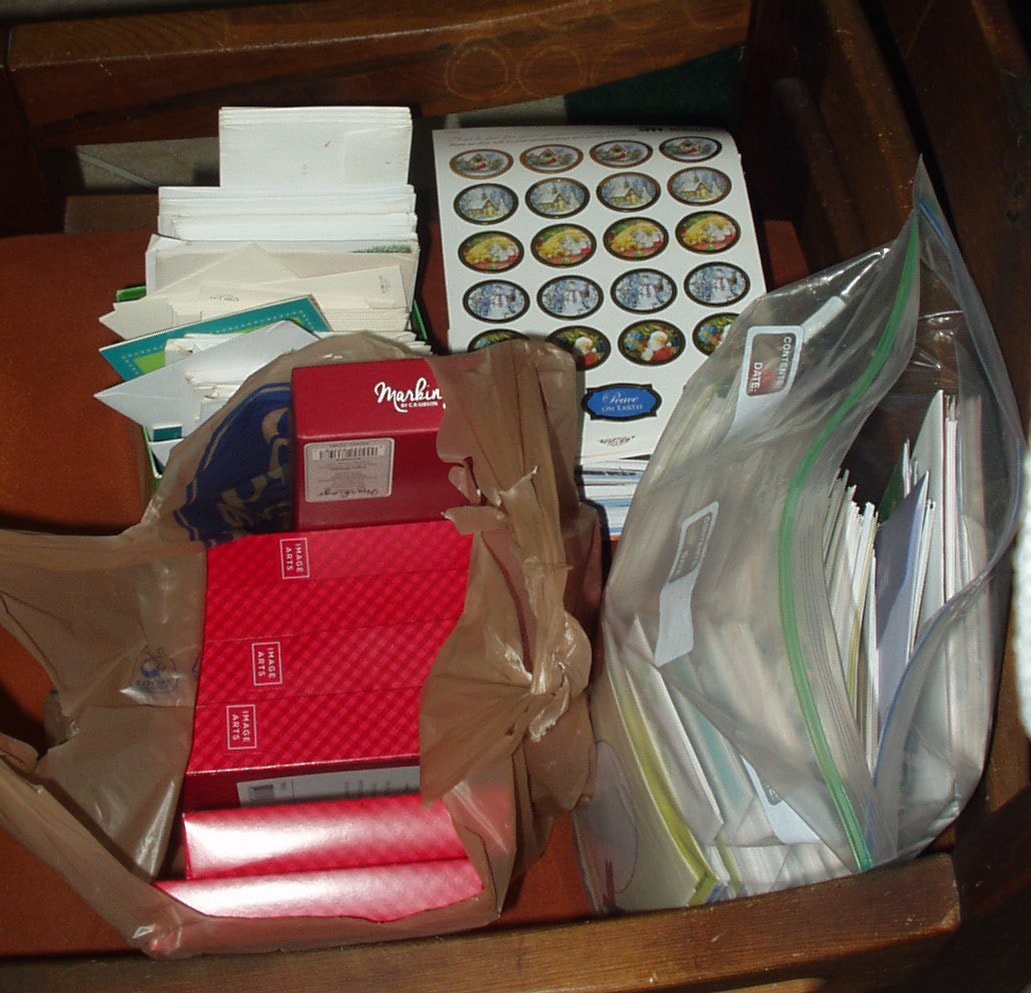
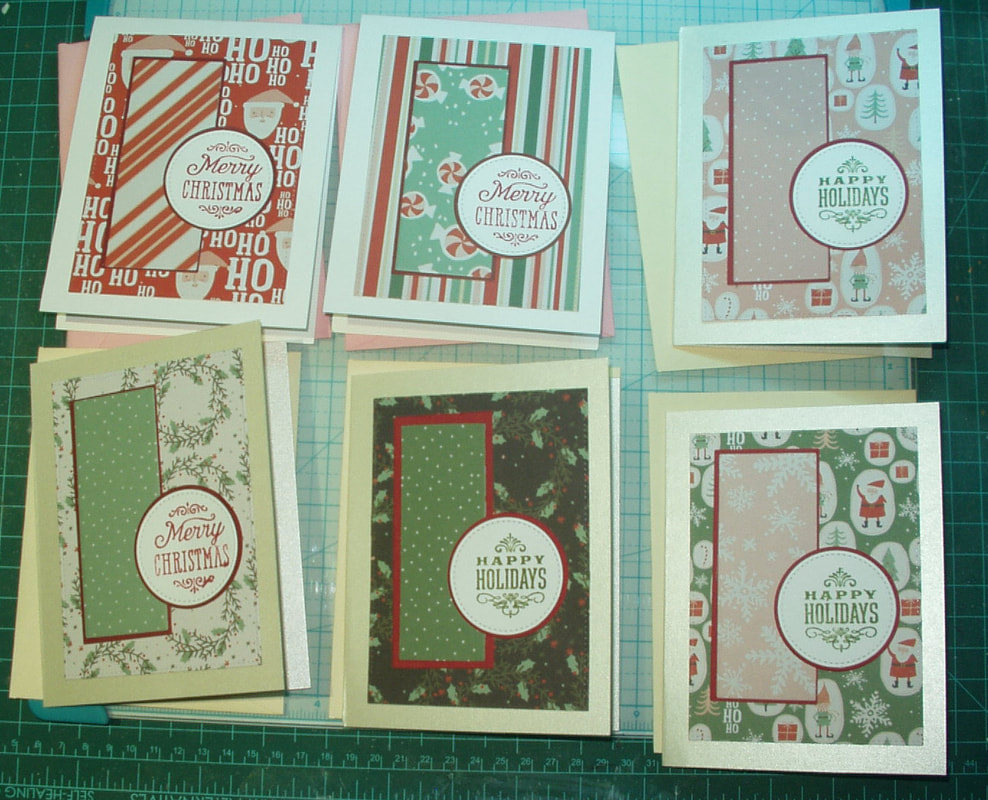
Stamps: Stamper Anonymous "Winter Watercolor" (CMS443) and "Bold Tidings Mini" (CMS440) Dies: GinaK "Tag Trio" Inks: Distress Its: "Pine Needles", "Evergreen Bough", "Candied Apple", "Ffestive Berries", "Gathered Twigs" and "Vintage Photo"; Versamark Embossing Powder: GinaK "Fine Detailed Gold" Papers: Neena Solar white 110# yardstick; Bazzill green cardstock, two shades Embellishments: red bow with pearl from my stash (source unknown) Adhesives: GInaK "Connect" glue ~~~~~ Happy Mail! ~~~~~ In today's post, a card from the marvelous Jenifer McGuire! She was a participant in one of the steaming classes I had signed up for and made a promise to sent cards to every participant (as I understand, there were over 3000!). Want a wonderful way to, as she often says, "Share Homemade Kindness"! After sorting through all the purchased cards left over from last year (the two piles on the left), "charity" cards received in past years (the zip lock bag in the front right), and "charity" cards received in the mail this past year (the pile under the stickers in the back right)... ..., I guess it is time to update our mailing list and get started on addressing and signing this year's outgoing cards. Meanwhile, I spent three hours mass producing some cards using tips and tricks I learned in a GinaK Stamp & Chat Video. All materials from my stash... These cards aren't meant for incision in a gift box like in the video, but for an online swap with stitchery friends from facebook...
Products used in the making of these cards were:
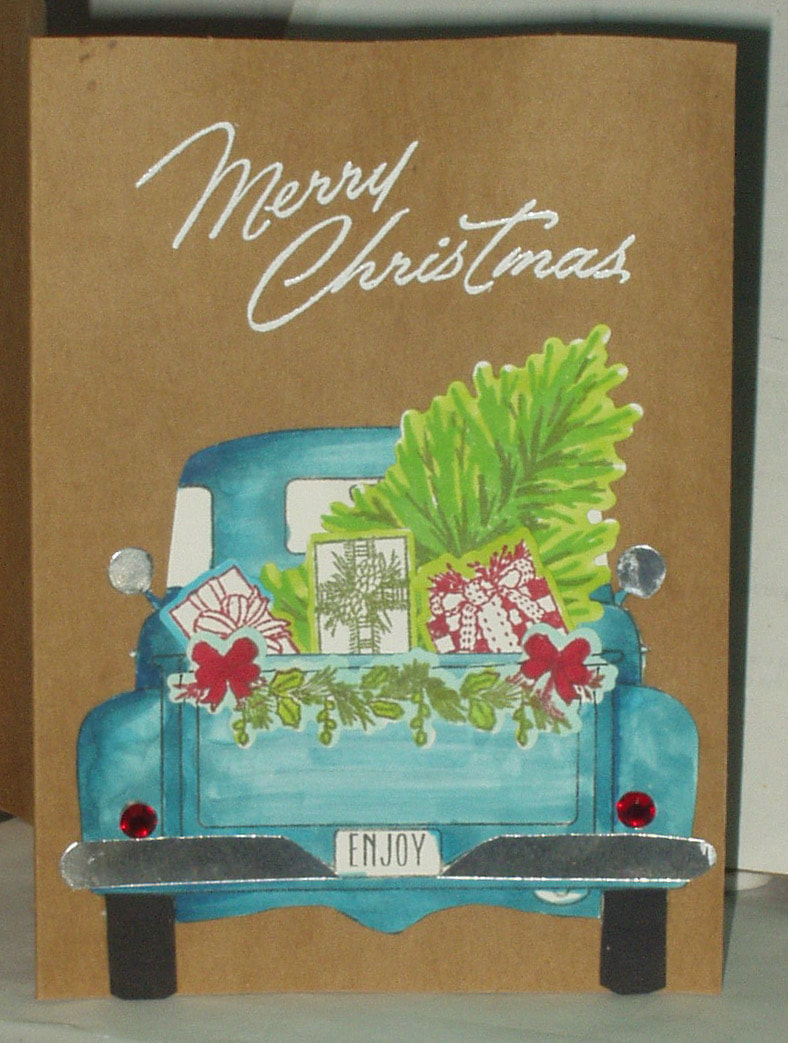
The Simon Says Stamp Wednesday Challenge for November 18, 2020 was "Christmas". I received a new set of Honey Bee Stamps stamp sets, dies and stencils on Tuesday and decided to try out a couple of them. I didn't have much more than a basic plan to stamp, color and die cut images and let the card evolve: The stamps and dies were too large for an A2 card so I made a 5 x 7 card instead.
I stamped the truck image and license plate from one set and the tree, garland and packages from a second on white layering-weight card stock and die cut with the coordinating dies (I had done four packages but one went walk-about as I was combating a spill of water on my desk top...). I fussy cut the truck to remove the white halo. I also die-cut (and then altered to fit) a bumper, rear view mirrors and tires from silver and black cardstock scraps, respectively. After coloring the truck, trees and packages with Altenew Artist Markers, I assembled the card. I cut a slit in the truck bed and inserted tree and packages in the slit; glued the bumper mirrors and ties on the truck and adhered the completed image to a kraft card base. I heat embossed the sentiment in white and added two crimson gem for taillights Products used in the making of this card were:
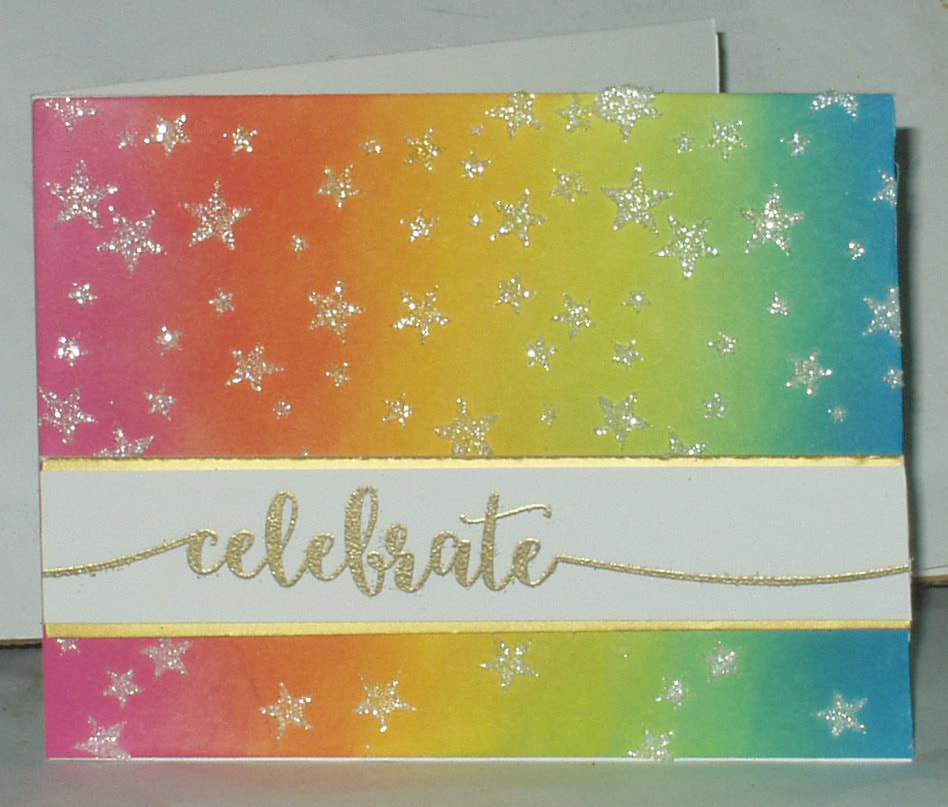
The Funkie Junkie Boutique Blog has a challenge for November 11, 2020: ""Your challenge is to create a shabby chic or vintage project to celebrate someone or something special. Since celebrations are happy occasions, your project should be made with lots of happy, bright colours. Keep your dull or neutral colours to a minimum please because as winter approaches we will have lots of that naturally so your bright colours must be predominant." I don't have a someone or something special to celebrate at this moment so I decided to make a generic card which can have an addition sentiment added when such an occasion arises. I started with a cut of Neena Solar White 110lb car stock and blended a rainbow of Distress Oxide inks. I applied Distress Micro Glaze to stabilize the colors because I didn't want the glitter gel, that I applied next through a stencil, to absorb the color.I stamped the sentiment in Versamark on white card and heat embossed with gold embossing powder. I matted the sentiment with metallic gold cardstock and popped it up with foam tape. The panel was mounted on an A2 side-folding card: I debated using a rainbow of gems or even gold baubles but decided that glittery stars were enough bling for this clean and simple card.
Products used in making this card were:
The Simon Says Stamp Monday Challenge for November 16 2020 was "Happy Holidays". Another clean-and-simple card (with a little bling): Products used in the making of this card were:
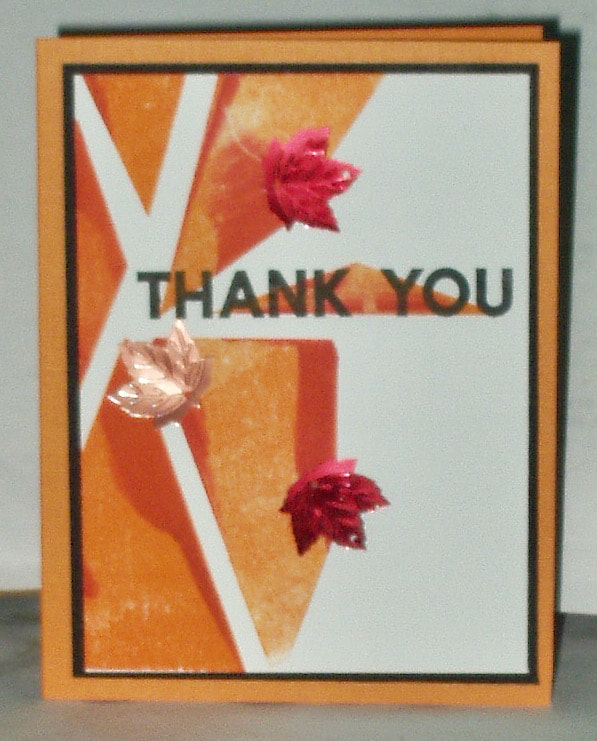
The Simon Says Stamp Wednesday Challenge for November 11, 2020 was "Thanks/Thanksgiving". I opted for a clean-and-simple simple (with a bit of bling) thank you card: Products used in the making of this card were:
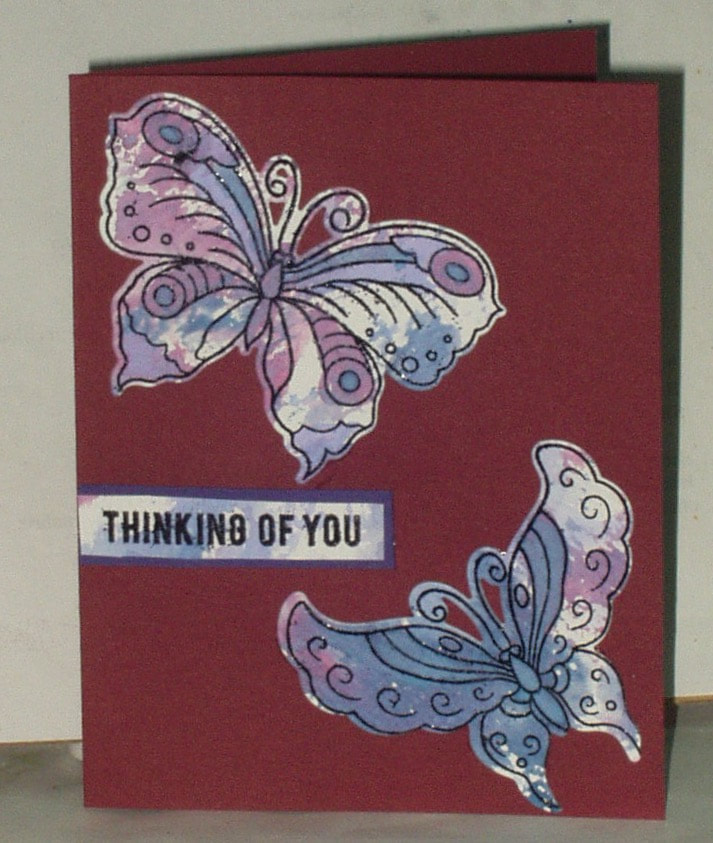
The Simon Says Stamp Wednesday Challenge, November 4, 2020, was "Thinking of You"... I started with some watercolor paper and Distress Oxide Inks. I smooshed the aper to create a background and stamped images and a sentiment on this background. I then die-cut the images and trimmed out the sentient, the latter of which was matted on a scrap of coordinating cardstock. The images looked a little bland once die-cut, so I used the same Distress Oxide Inks to watercolor some of the detail in teh wings. I then attached the images and sentiment to a pre-folded card base: Products used in the making of this card were:
I'm also entering this in the Simon Says Stamp Monday Challenge, November 9, 2020: Remebrance/Thinking of You |
AuthorBorn in New Jersey, I grew up in Southeastern Ohio. Attended university at Bowling Green State University (B.Sci in biological science, 1964), University of Southern California (M. Sci in biological science, 1967) and University of Florida (Ph. D in zoology, 1971). Archives
June 2023
Categories
All
PAST PARTICIPATION
CHALLENGE BLOGS
So proud!
for my entry in the Funkie Junkie Boutique Blog Challenge, August 14, 2019 "Let’s Do It Again"
Online Card Classes |
 RSS Feed
