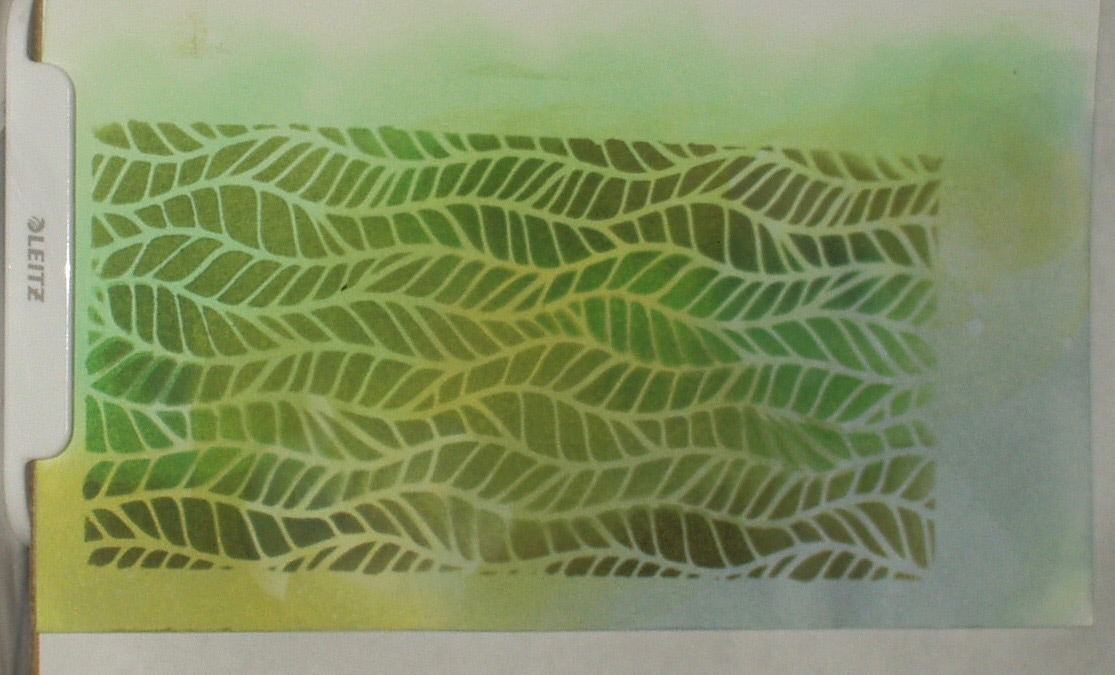
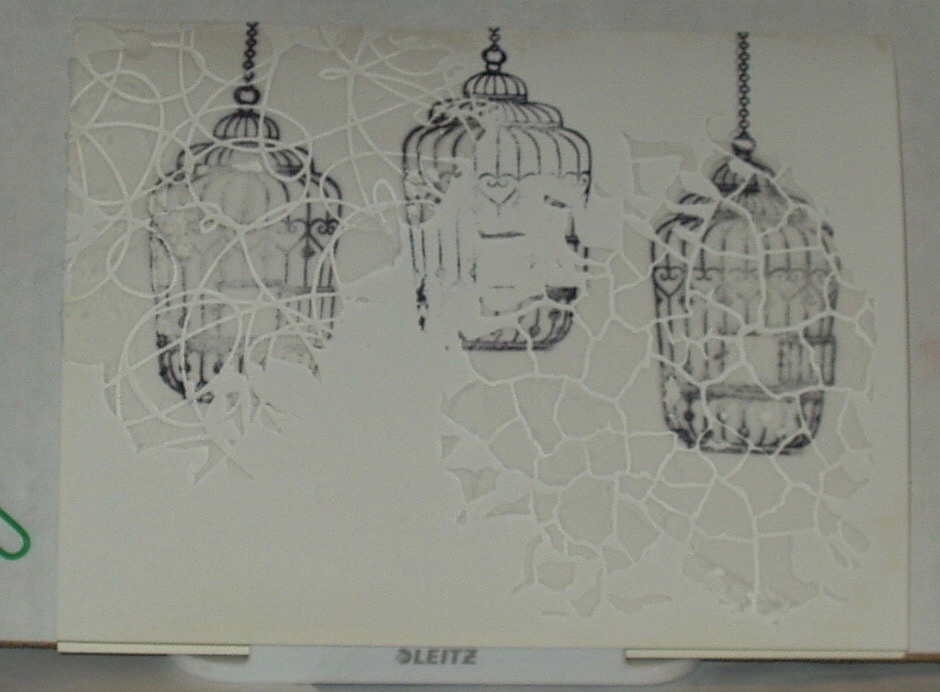
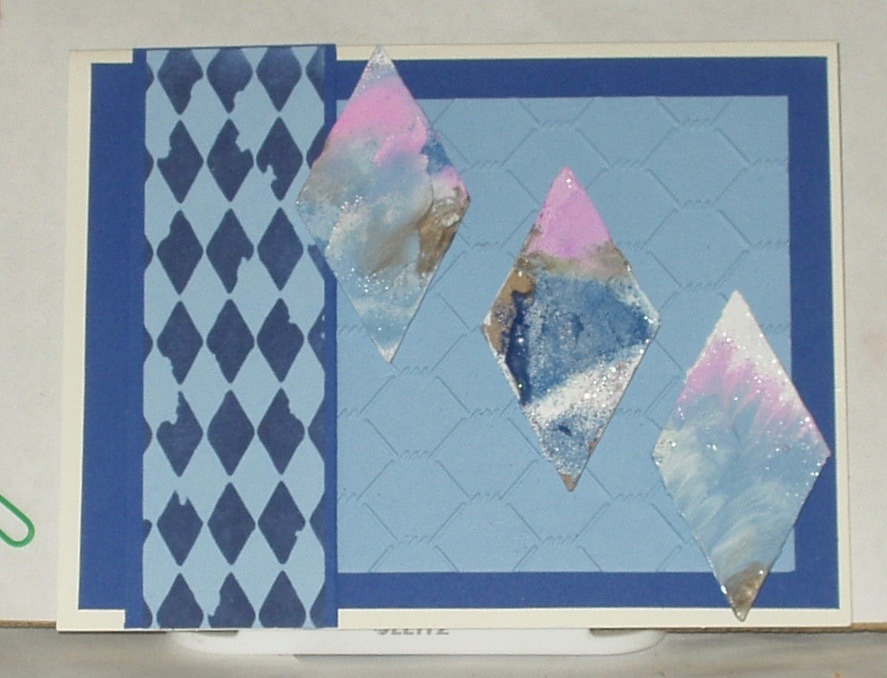
The Simon Says Stamp Wednesday Challenge, June 28, 2017 is "Anything Goes"! This gives me the opportunity to play with some of my stash and try out a double embossing technique demonstrated by Carolyne Knott in the latest issue of Cardmaking & Papercraft (Issue 170, June 2017; pages 18 - 22, "Double The Fun"). Not that my double embossing worked the way hers did --- I have HORRIBLE luck with embossing folders, and I have little patience with getting stray pieces of EP out of embossed textures.
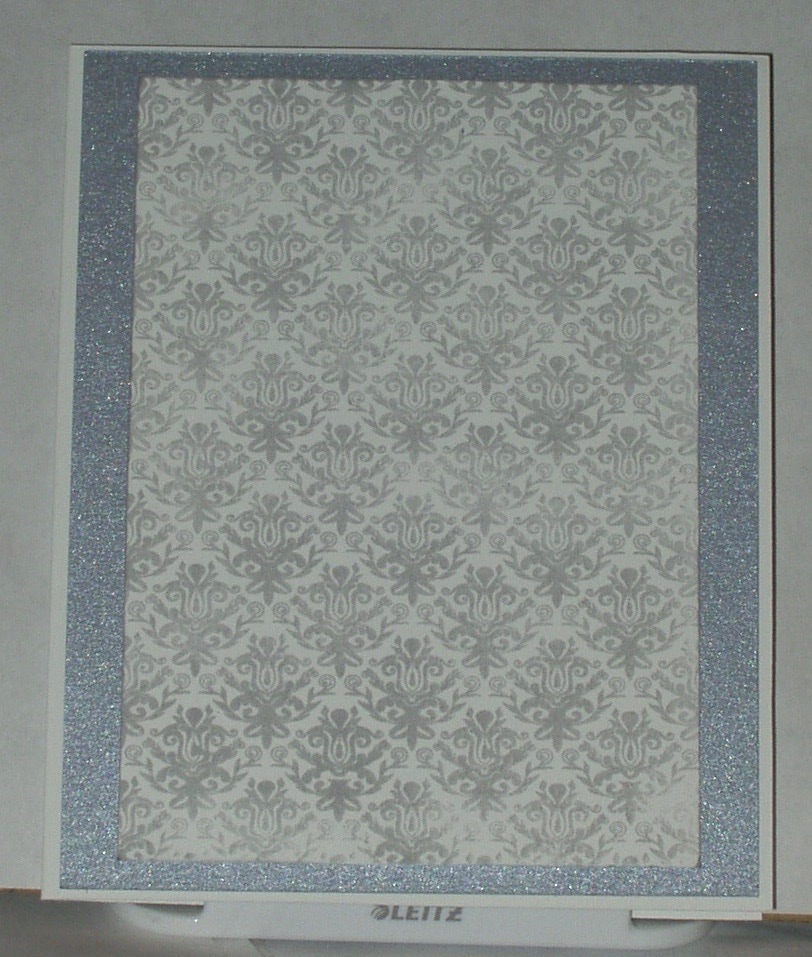
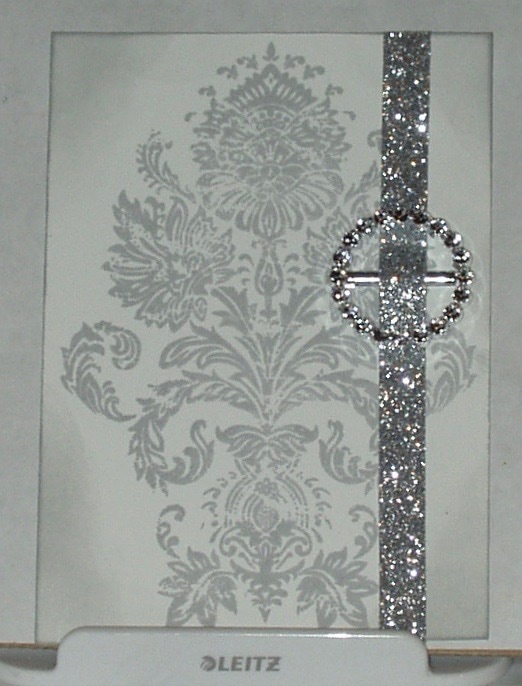
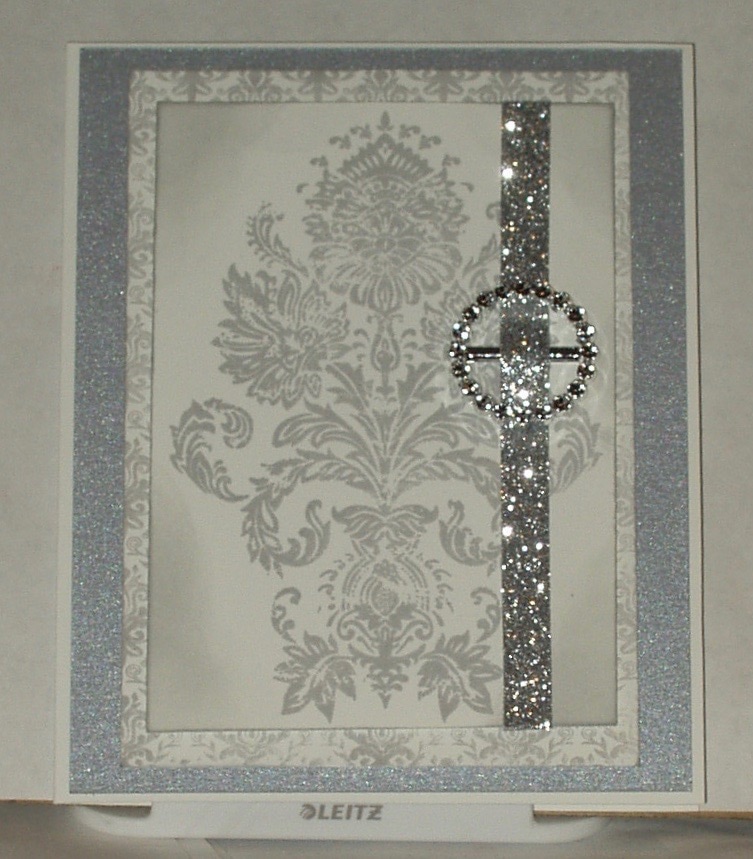
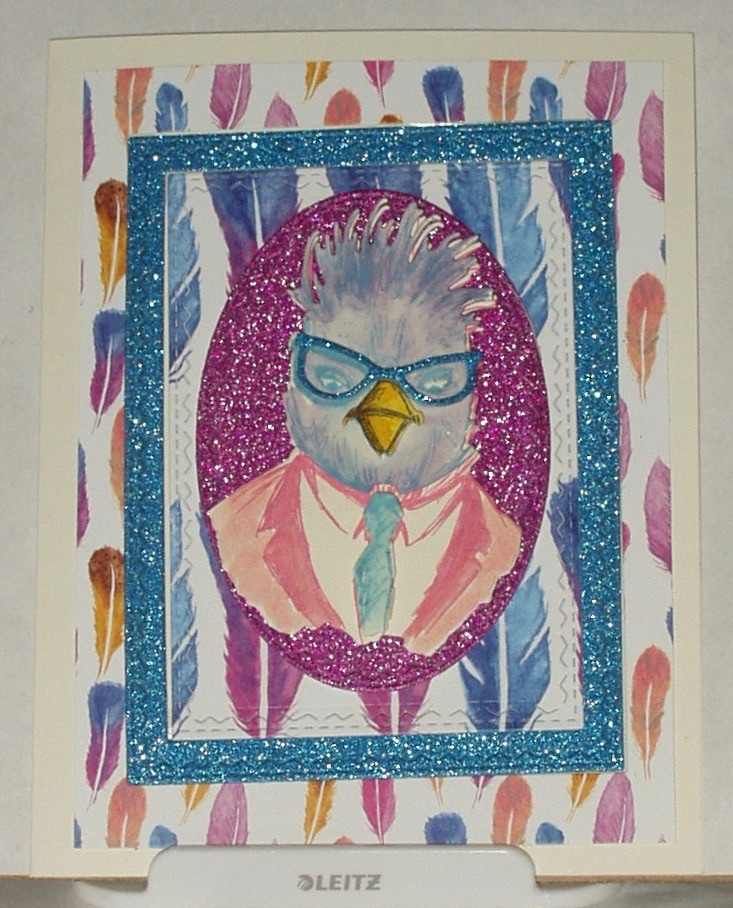
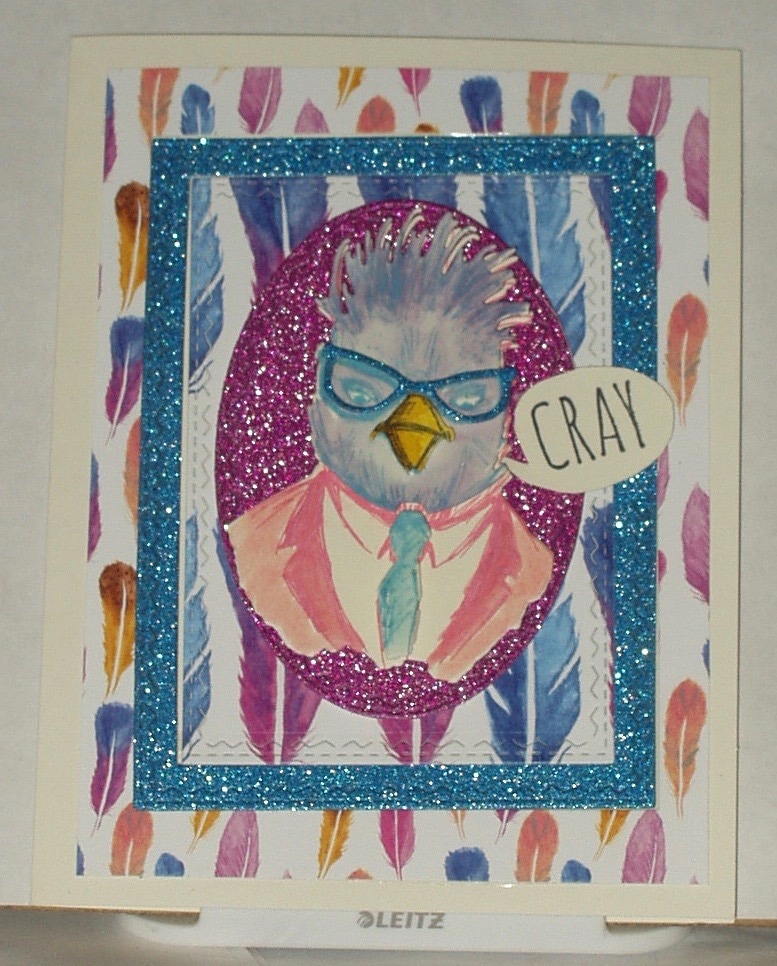
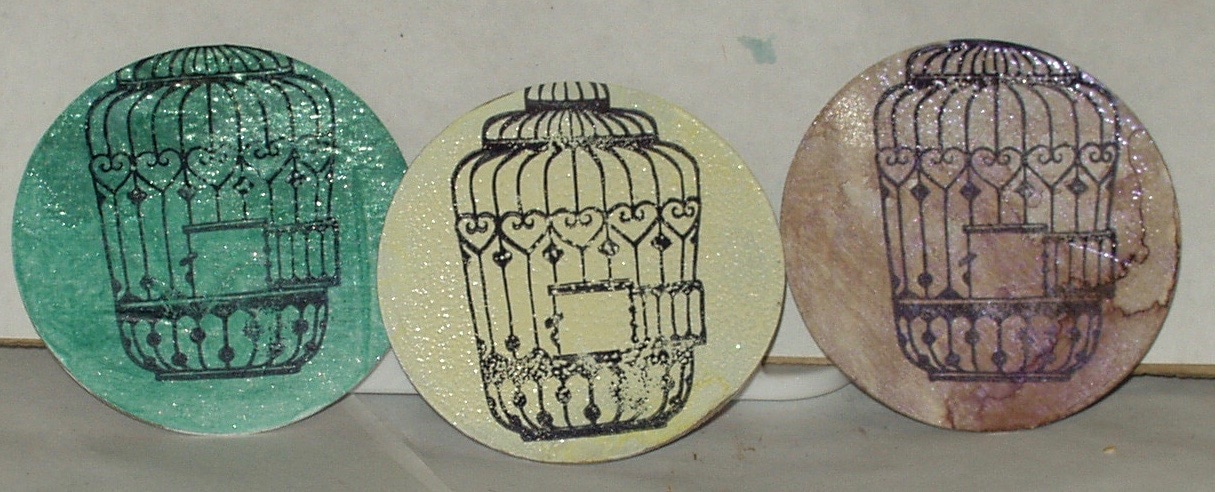
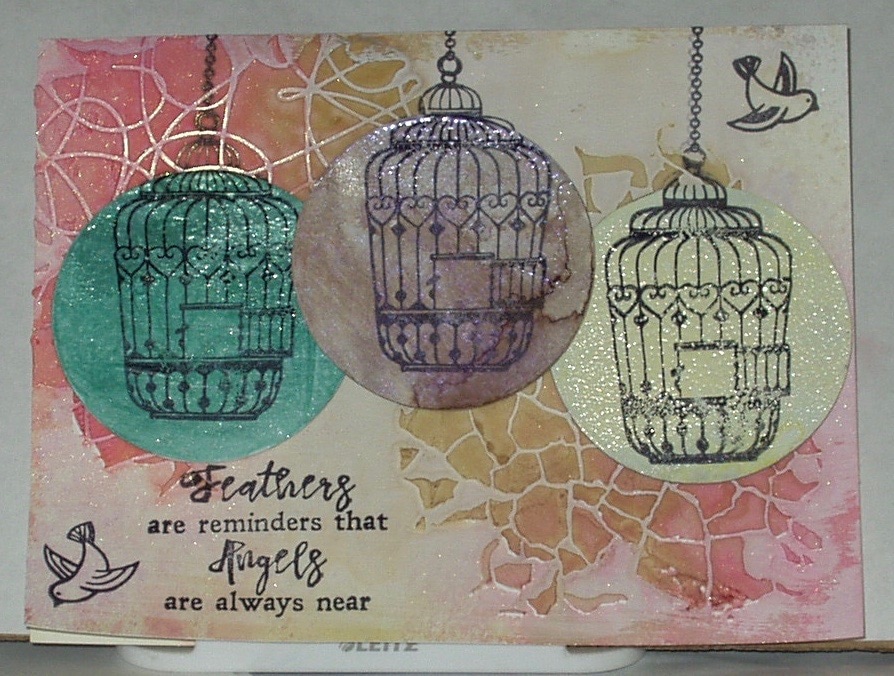
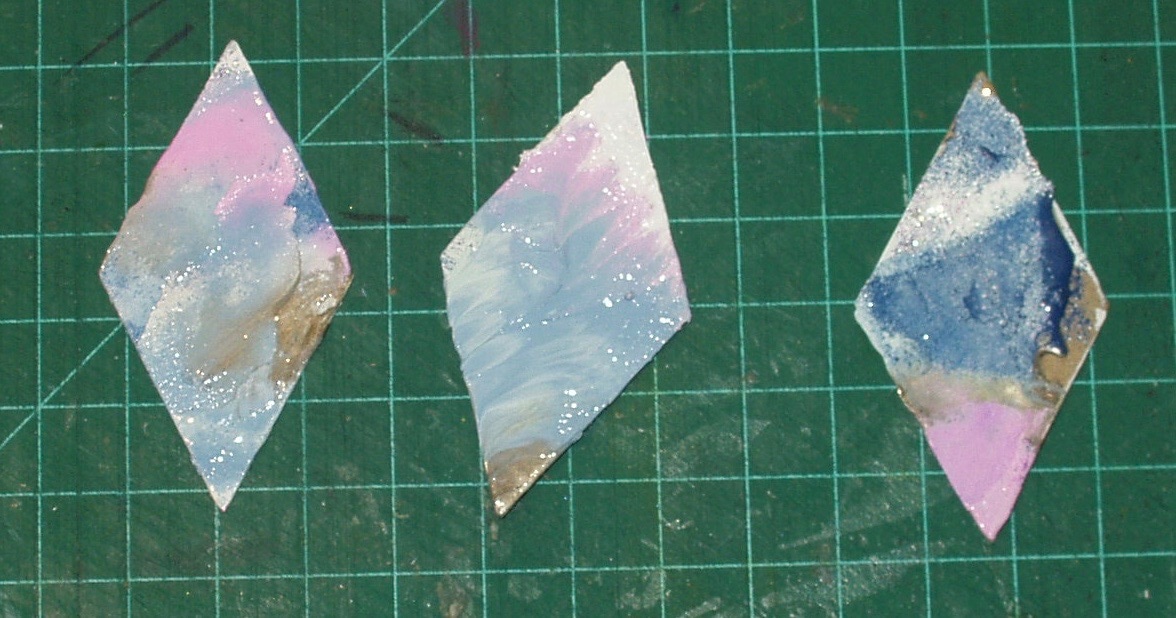
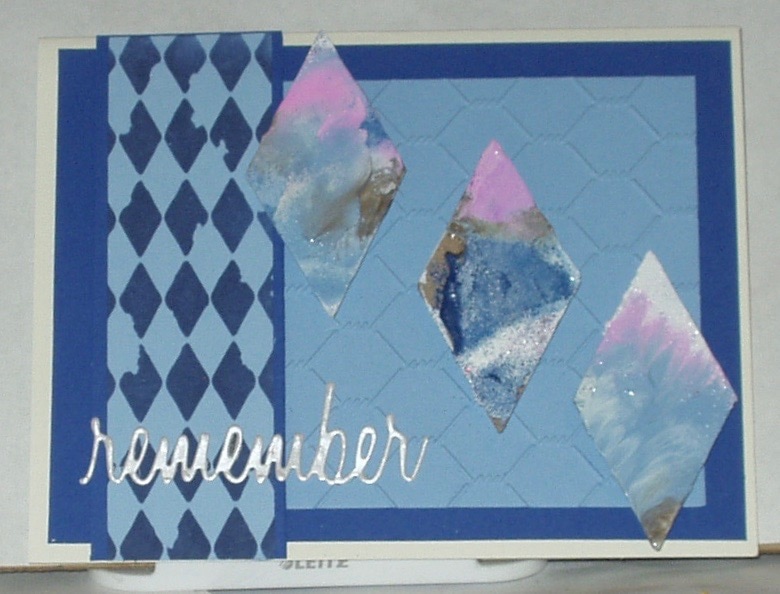
Still, I liked the look of the end result - some shimmer from Lindy's Gang embossing powder and some color from WOW! embossing powder :
Still, I liked the look of the end result - some shimmer from Lindy's Gang embossing powder and some color from WOW! embossing powder :
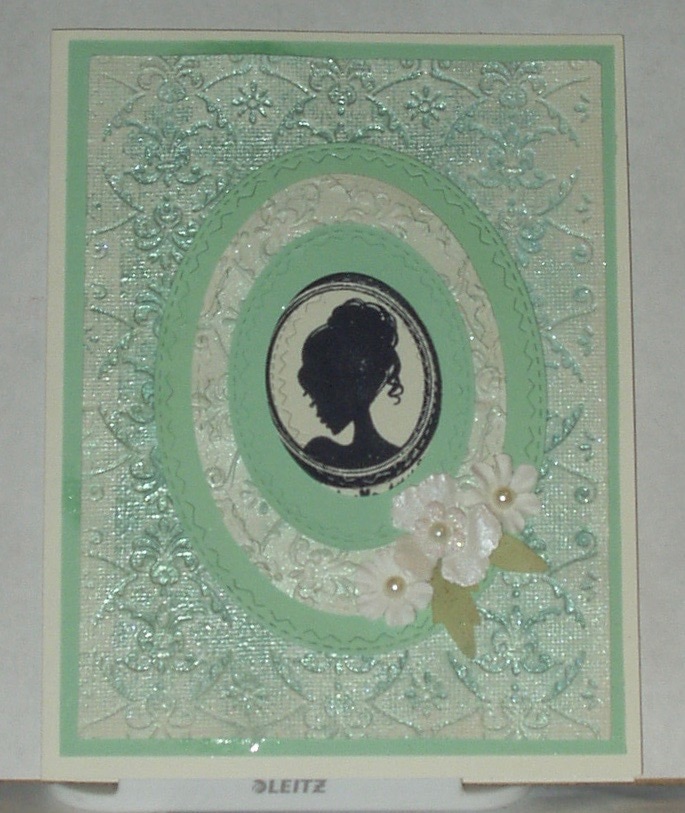
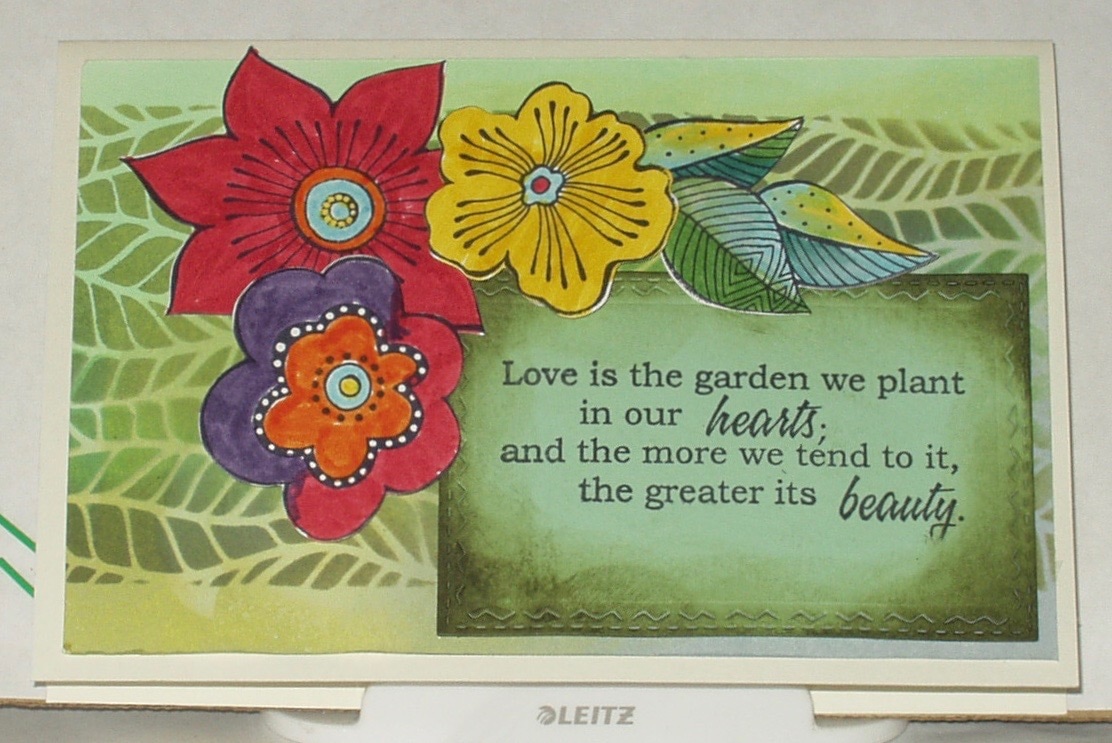
Products used in the making of this card were:
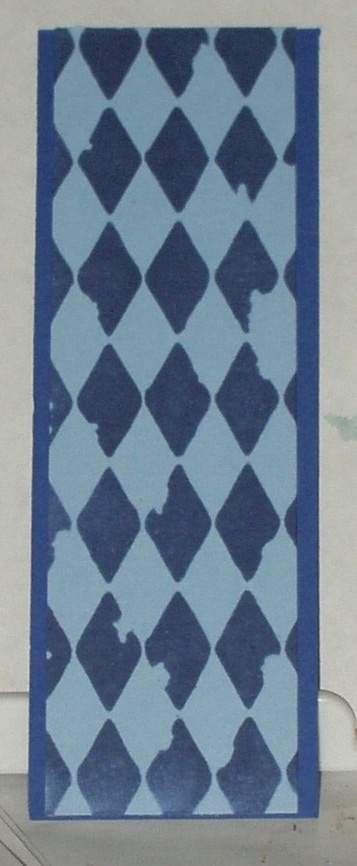
- Stamps: "Cameo" by designer Theresa Tibbetts, a freebie on an earlier issue of Cardmaking & Papercraft
- Embossing Folders: coordinating folder for "Cameo", also by Theresa Tibbetts
- Dies: Sizzix Thinlints "Stitched Ovals" (661188)
- Inks: Archival "Jet Black" and Versamark
- Embossing Powders: Lindy's Gang "Desert Moon Turquoise" and Wow! "Mint macaroon" (WL06R)
- Embellishments: Prima flowers "Raelynn - Ravishing" (574796) and "Pure - Alexa" (581848)
- Adhesives: VIva Las Vegas Miracle Tape; EK Tools 3D Foam Squares; Distress Collage Medium


 RSS Feed


