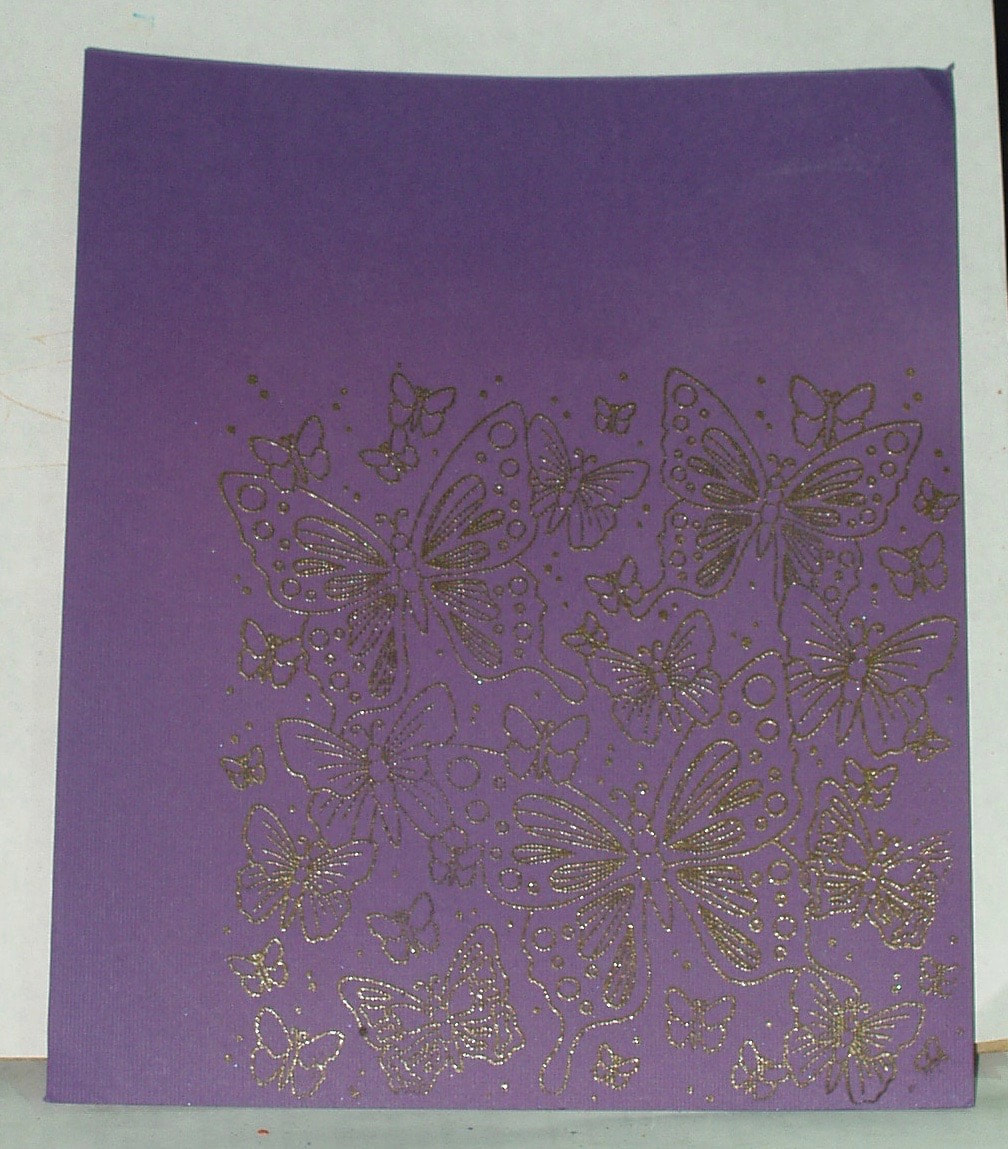
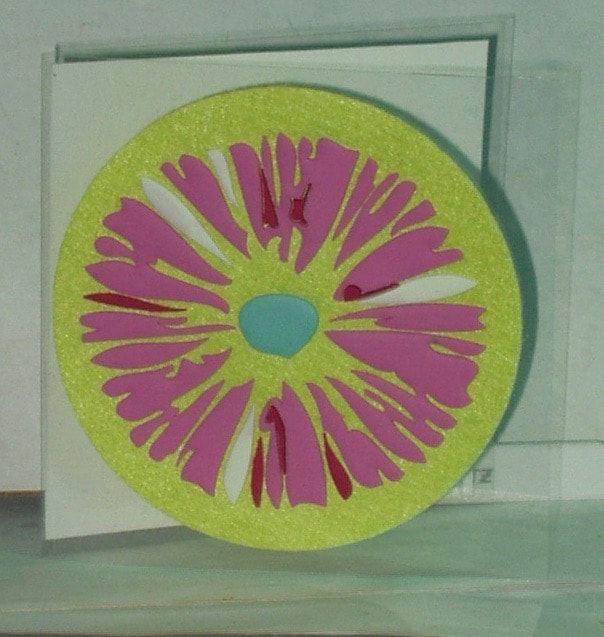
I finally got around to making some trading coins for the All About Artist Trading Cards and Artist Trading Coins class (see my previous post about Artist Trading Cards). I wanted to use up a lot of left-over bit and bobs, primary of which was the purple background I abandoned here. Unlike the one in the monochrome card, I used an embossing glitter instead of gold embossing powder:
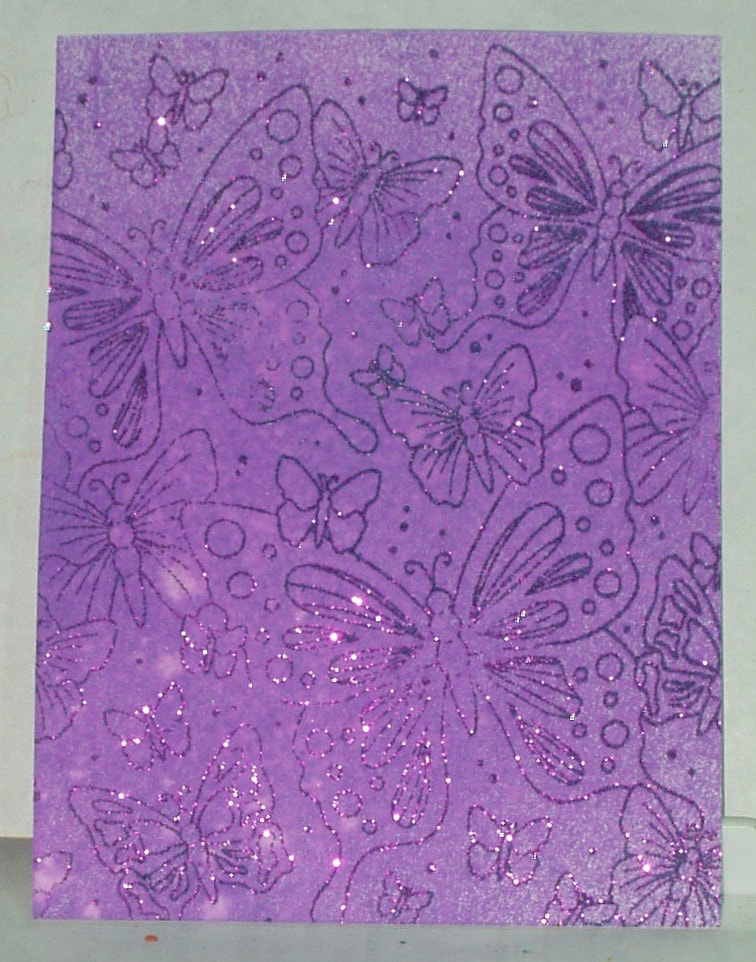
But much of the glitter rubbed off so I put the piece aside to cut into later. Later was now.
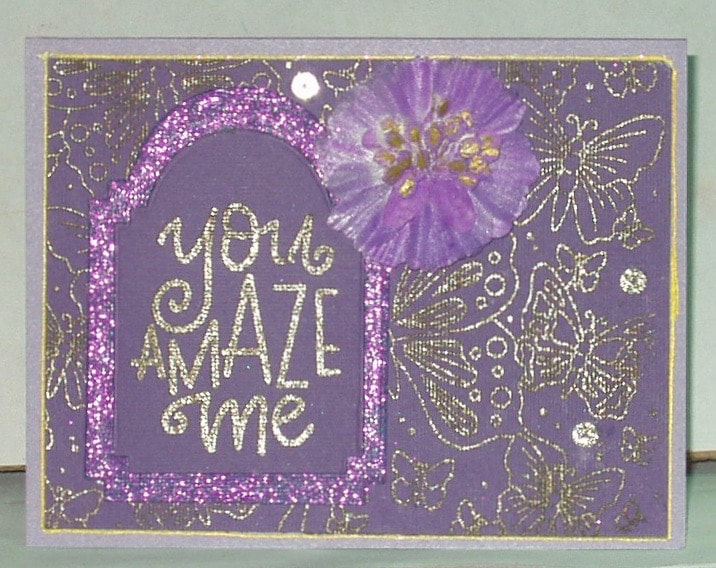
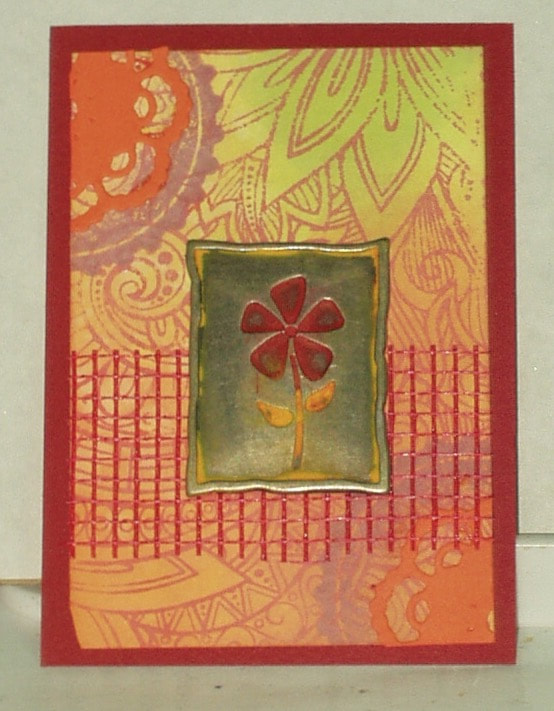
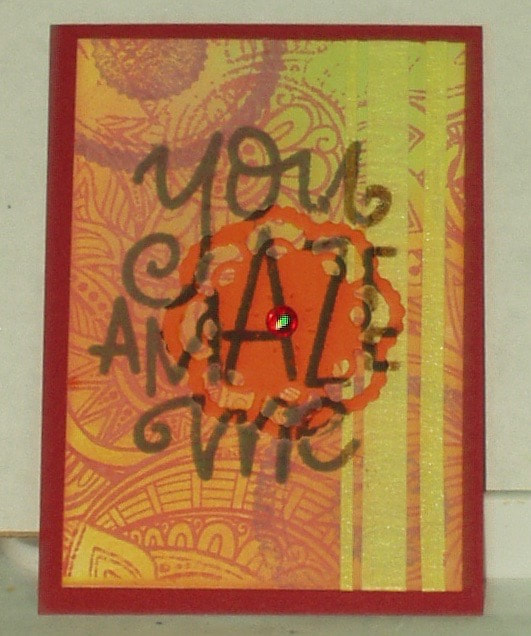
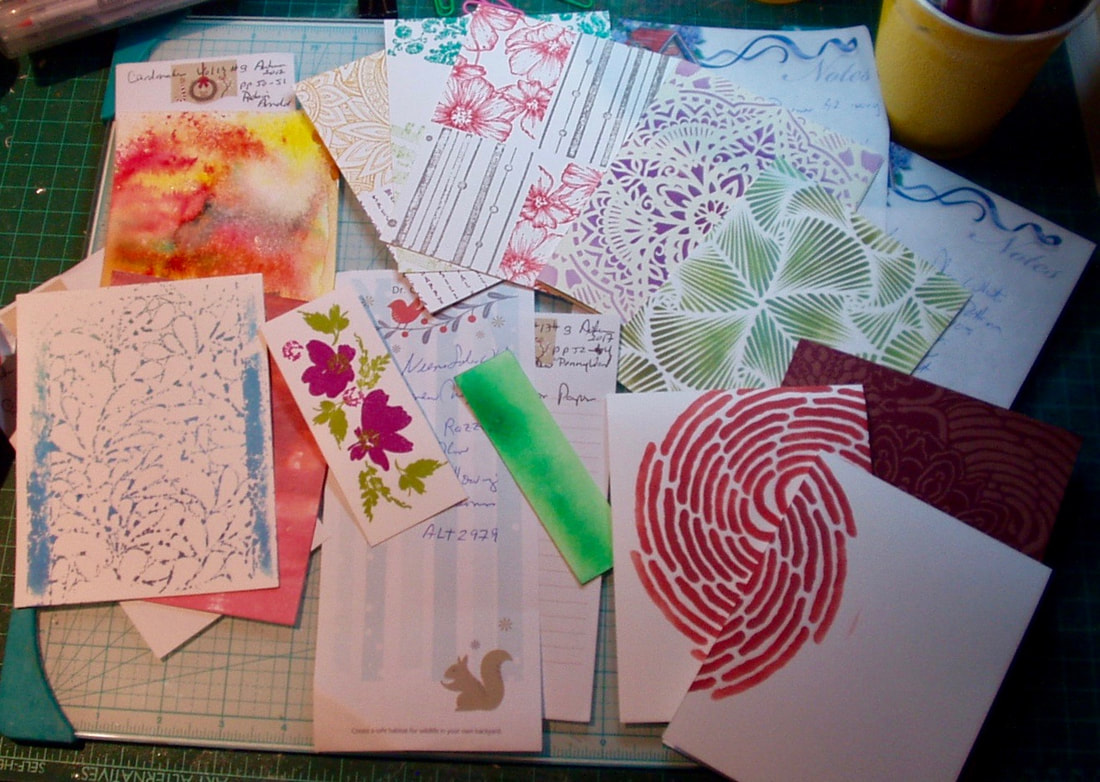
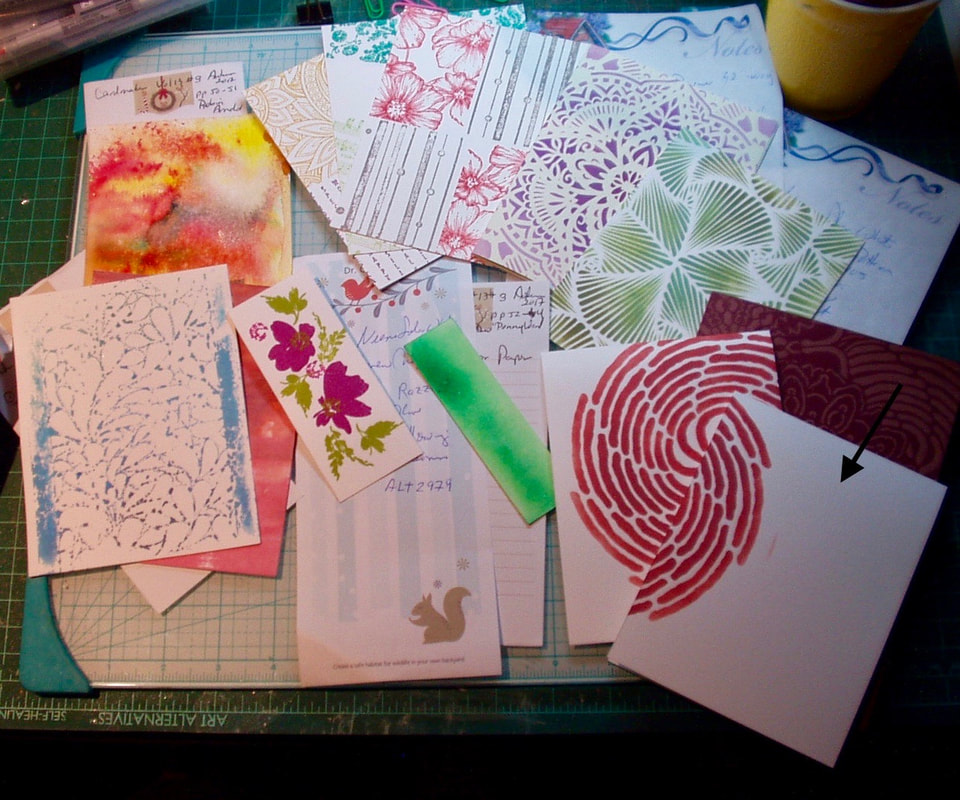
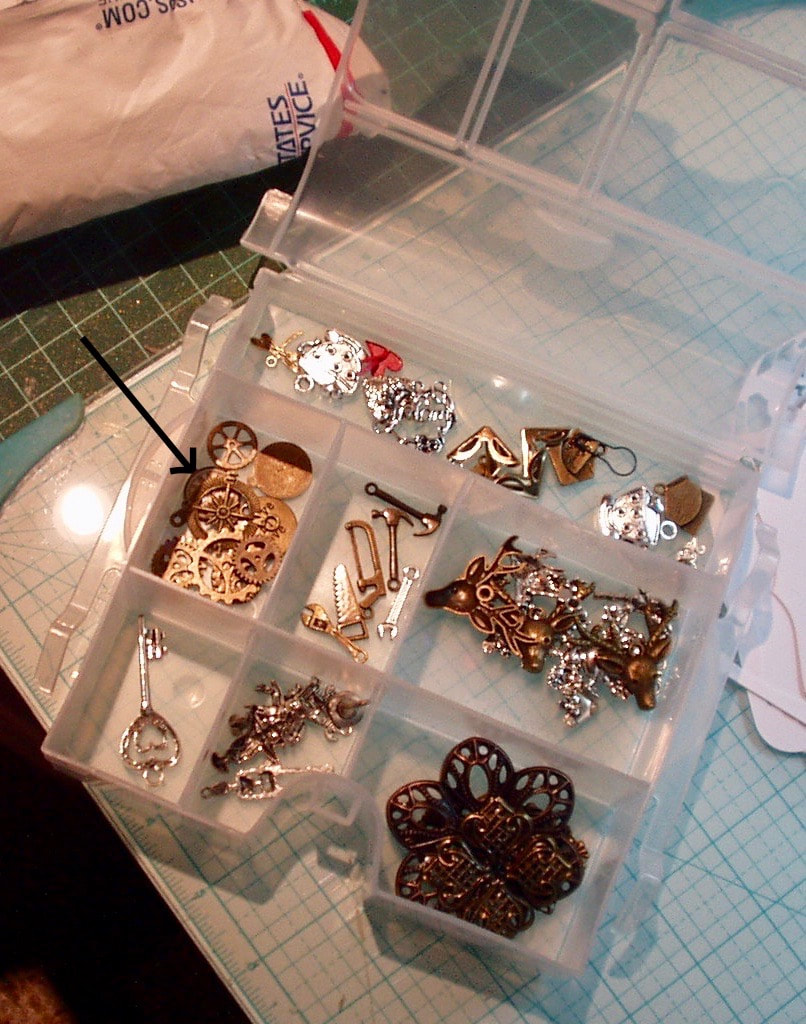
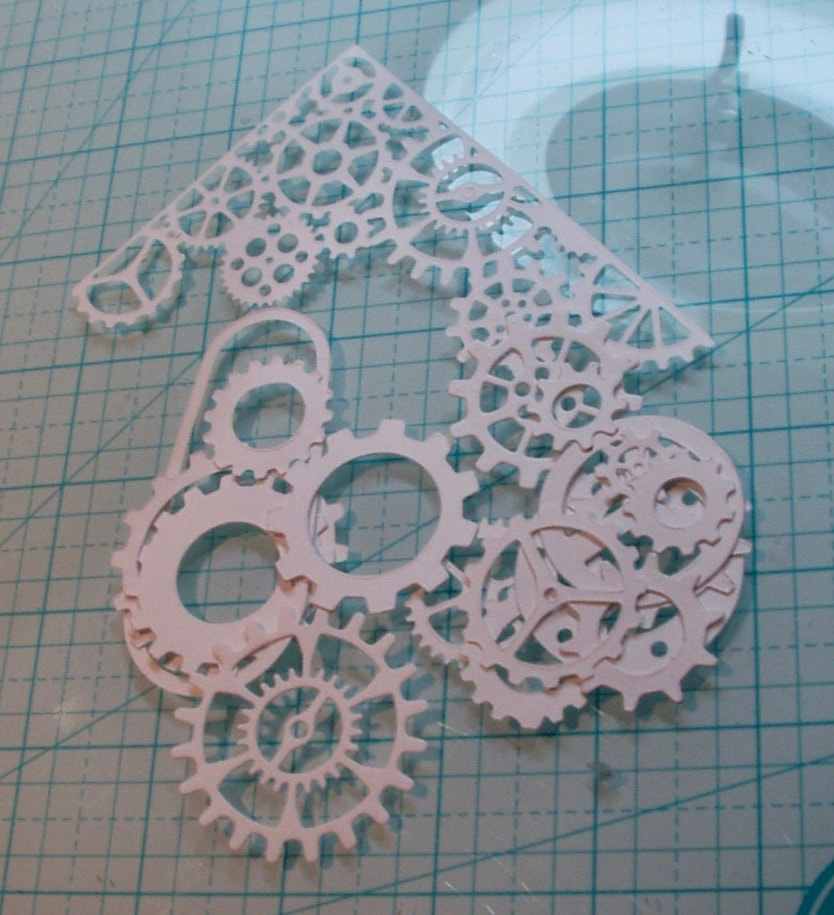
I couldn't find a functioning 2.45" punch so I cheated little on my coin size and went with a three-inch scallop punch to cut into that glittery scrap. Also used were a two-inch circle punch and a 1.75 Inch circle punch with which I cut circles from several scraps of purple (glimmer card, washi tape, mulberry paper and Bazzill textured card) and some gold (a scrap of text on scrapbook paper and a piece of gold-embossed Neena Solar White). I scavenged my "leftovers" for some words and some shapes (I settled on a lattice, a gear and a label) that were in my set-aside envelopes of die-cuts and that coordinated with the colors I was using. Basically, I glued and layered!
I couldn't find a functioning 2.45" punch so I cheated little on my coin size and went with a three-inch scallop punch to cut into that glittery scrap. Also used were a two-inch circle punch and a 1.75 Inch circle punch with which I cut circles from several scraps of purple (glimmer card, washi tape, mulberry paper and Bazzill textured card) and some gold (a scrap of text on scrapbook paper and a piece of gold-embossed Neena Solar White). I scavenged my "leftovers" for some words and some shapes (I settled on a lattice, a gear and a label) that were in my set-aside envelopes of die-cuts and that coordinated with the colors I was using. Basically, I glued and layered!
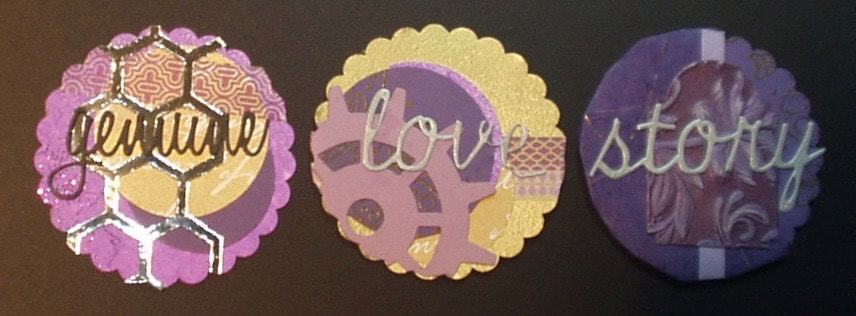
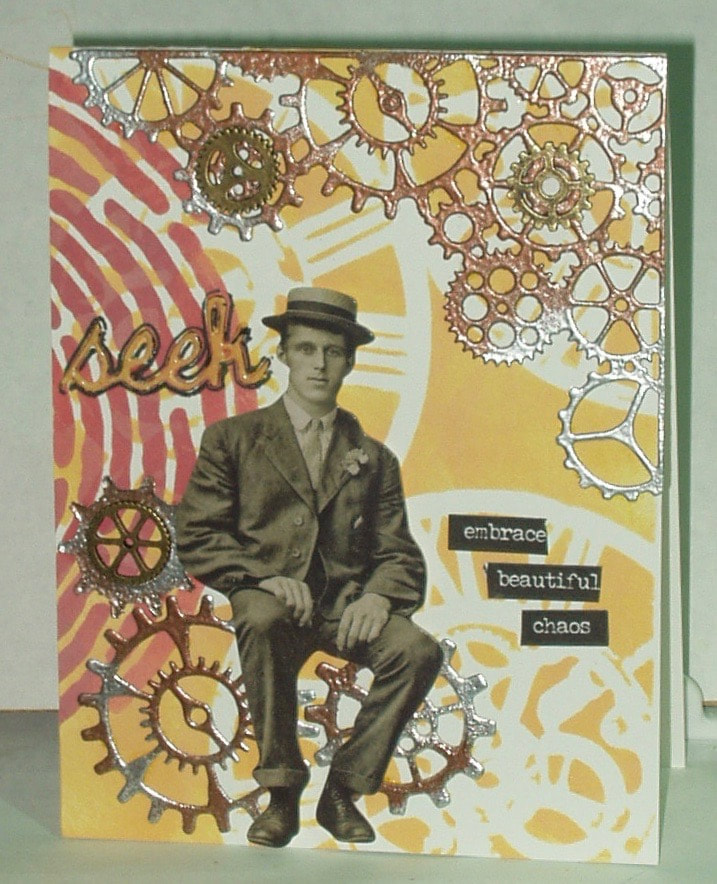
I wasn't really trying to make a trio that worked to gather --- but they did seem to end up telling a story!


 RSS Feed


