Frilly & Funkie are challenging us to make something interactive in their February 28, 2018 challenge.
Now I confess I have had terrible luck with interactive cards. They simply do not WORK for me --- either they get stuck or they fall apart or... I suspect my klutzy fingers have a lot to do with this. But I decided to try anyway, and this card likely will not last past the first attempt to work it. Still...
I started with a series of templates for a "Waving Arm Card" by Sara Sandburg at www.cardmakingparadise.com. My first step was to cut out the pieces and assemble them as the basic card:
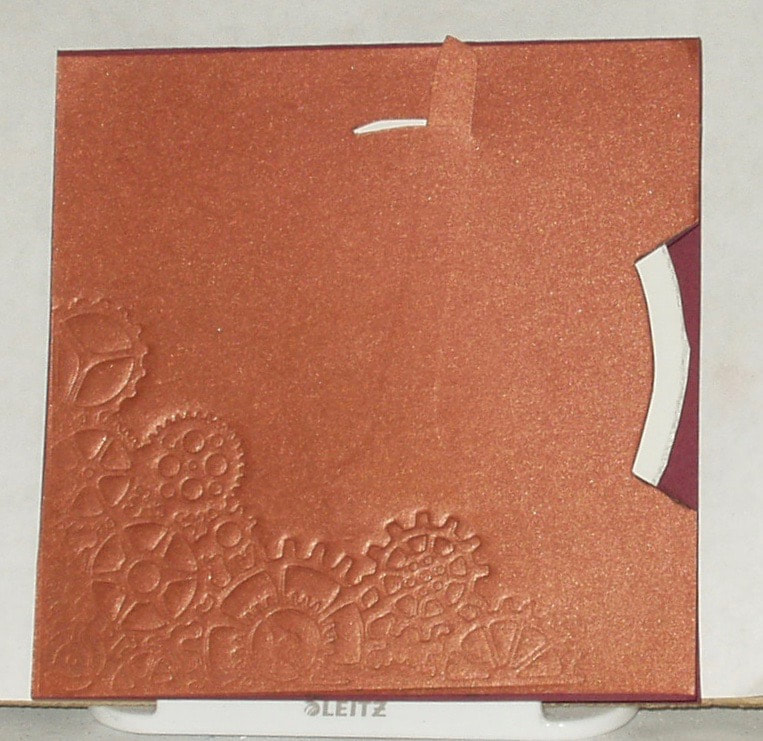
You can see the "arm" at the top and, the "wheel" at the side. This was the first build --- it was rebuilt twice in the course of embellishing the card and probably, like I said earlier, will last one more circuit before the wheel goes off its paper-based bearings.
Since I was using brushed metallic card, I decided to go industrial and embossed the lower right with a Sizzix thinlits die and a Spellbinders embossing pad. I rubbed Distress Crayon over it to bring out the gears (didn't work really well through).
Next was embellishing the card with more gears, using more brushed metallic card in a lighter copper color:
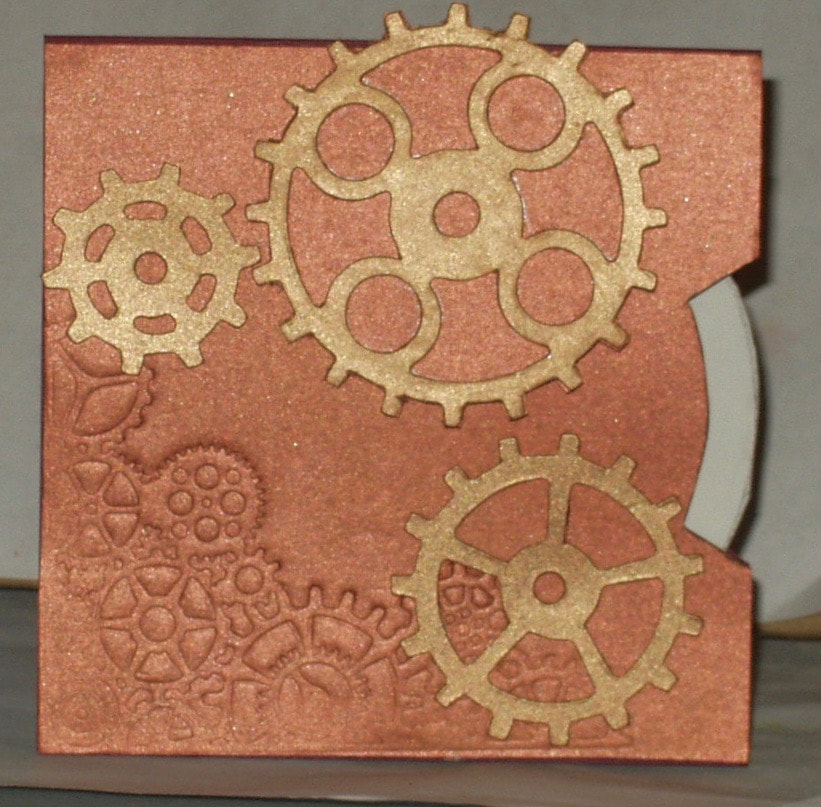
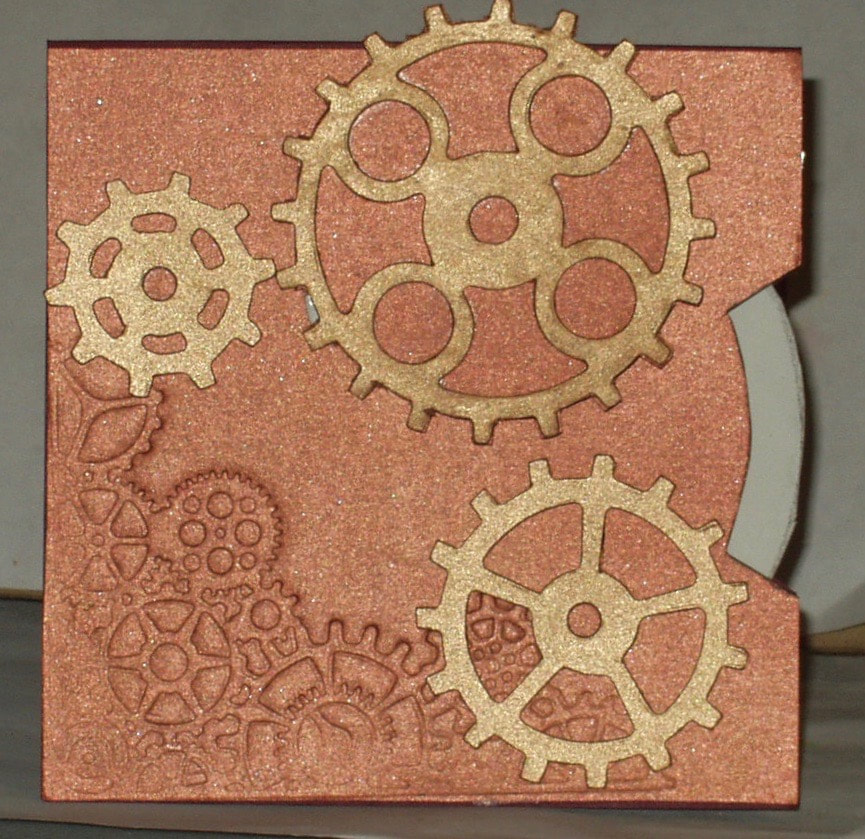
The larger gear at the top was layered on a circle of the darker copper so that the card behind would be blocked from view when the moveable gear was "resting"...
Spin the wheel on the right clockwise and here is what happens:
Spin the wheel on the right clockwise and here is what happens:


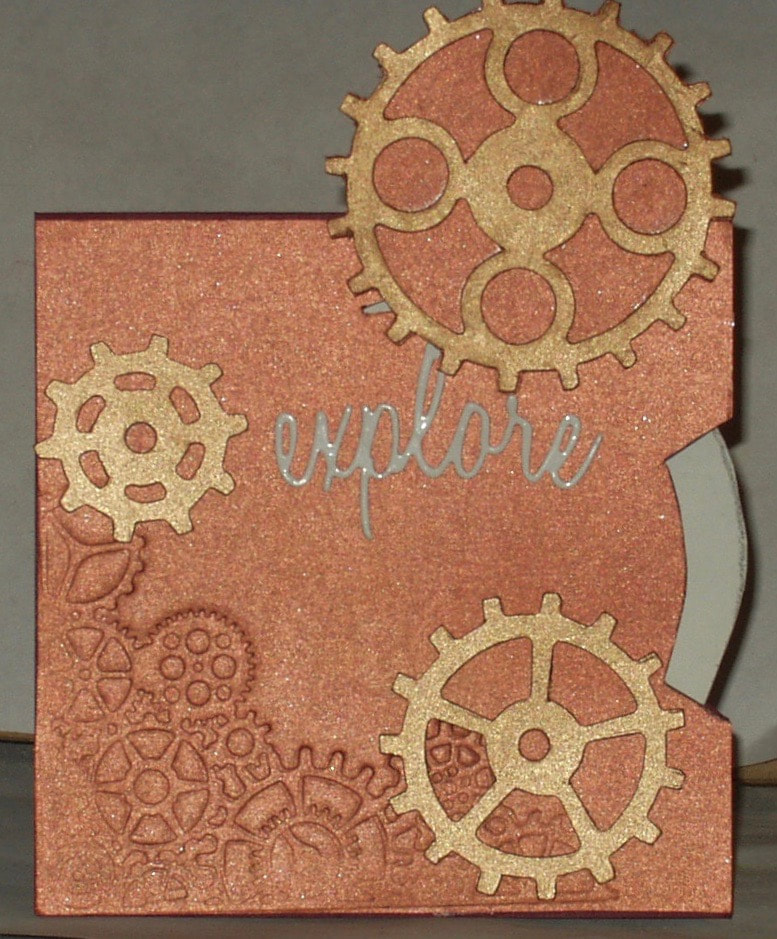
The gear moves up (1) counterclockwise, (2) gradually exposing the message below it before it (3) reverses direction and comes back over the top and (4) down to cover the message again.
Lessons learned:
Products used in the making of this card were:
Lessons learned:
- use stronger card (or even stencil mylar) for the workings and card base
- use stronger tape
- and don't ever do this again! LOL
Products used in the making of this card were:
- Dies: Sizzix Thinlits "Gearhead" (6621184) and "Adventure" (660224); Sizzix BIGZ "Gadget Gears #2" (661193)
- Papers: pre-folded burgundy card base, cut to 5 x 5; scraps of brushed copper and brushed light copper card from Stampin' Up! and gloss white card
- Adhesives: redine 1/8" Embossing Tape; Simon Says Stamp Craft Tacky Glue
 RSS Feed


