Carol Stamps
  • Carol Stamps
  • Compendium of Curiosisties 3 Challenge - Gallery
  • Tim Holtz
    • 12 Tags of ...
    • Creative Chemistry 101
    • Creative Chemistry 102
    • Creative Chemistry 103
    • Summer of Creative Chemistry 2016
    • #hipforsummer 2017
    • #sharewithsizzix
    • #holtzforhalloween
    • #holtzfortheholidays
    • Share-a-Scare
    • Tim Holtz Christmas photo holder
  • Simon Says Stamp Challenges
    • Simon Says Create
  • Frilly and Funkie Challenges
  • Sunday Stamper
  • More Than Words
  • Creative Carte Blanche
  • Altenew
  • Seven Hills
  • Hero Arts
  • WOW! Embossing Powder
  • Graphic 45
  • Dyan Reaveley classes, 2015
  • Marjie Kemper Classes
  • OnLine Card Class
  • Just playing around
    • Art Swaps
    • Club Posh
    • Stencil Girl
    • Ranger Kits
    • Stamptember
  • Lindy's Stamp Gang
  • WOW! Challenges
  • Ellen Huston
  • Virginia's View Challenge
  • Marjie Kemper classes

A Stupendous Unboxing!

5/31/2018

1 Comment

 
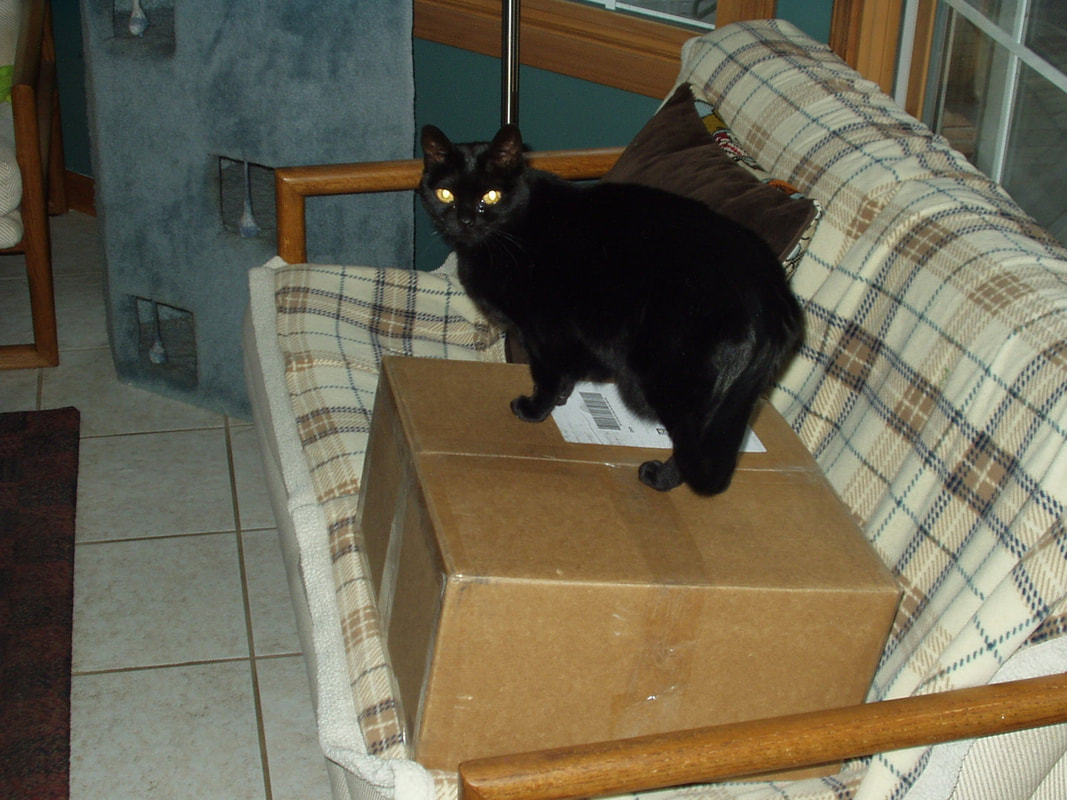
From the time Tim Holtz, Dina Wakely, Wendy Vecchi and Ryan Reaveley announced their new releases this past winter before CHS, I was pre-ordering, and pre-ordering and pre-ordering From Funkie Junkie Boutique! Many of tehe pre-ordered items came in all at once and they sent them up this past week. Even my cat was impressed:
Picture
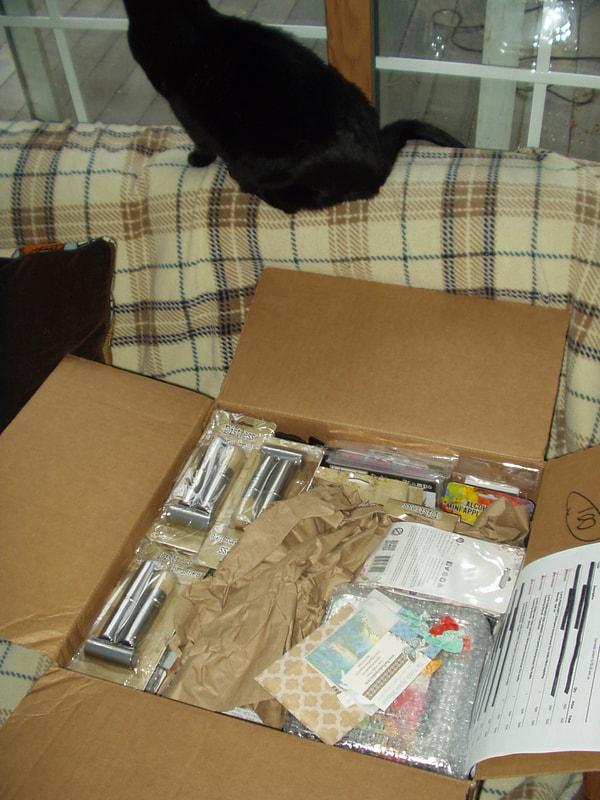
 The unboxing is a study in the fantastic packing by the people there... here is the box after removing one wadded up piece of brown paper which was packed in to keep things from shifting:
Picture
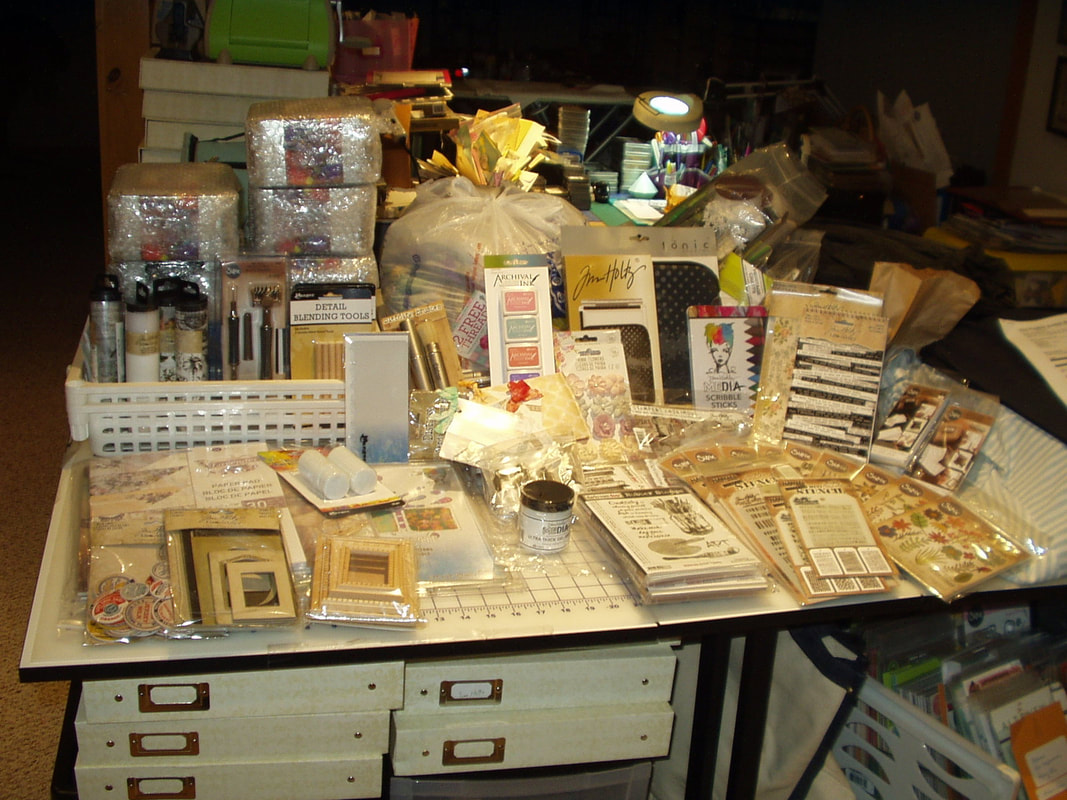
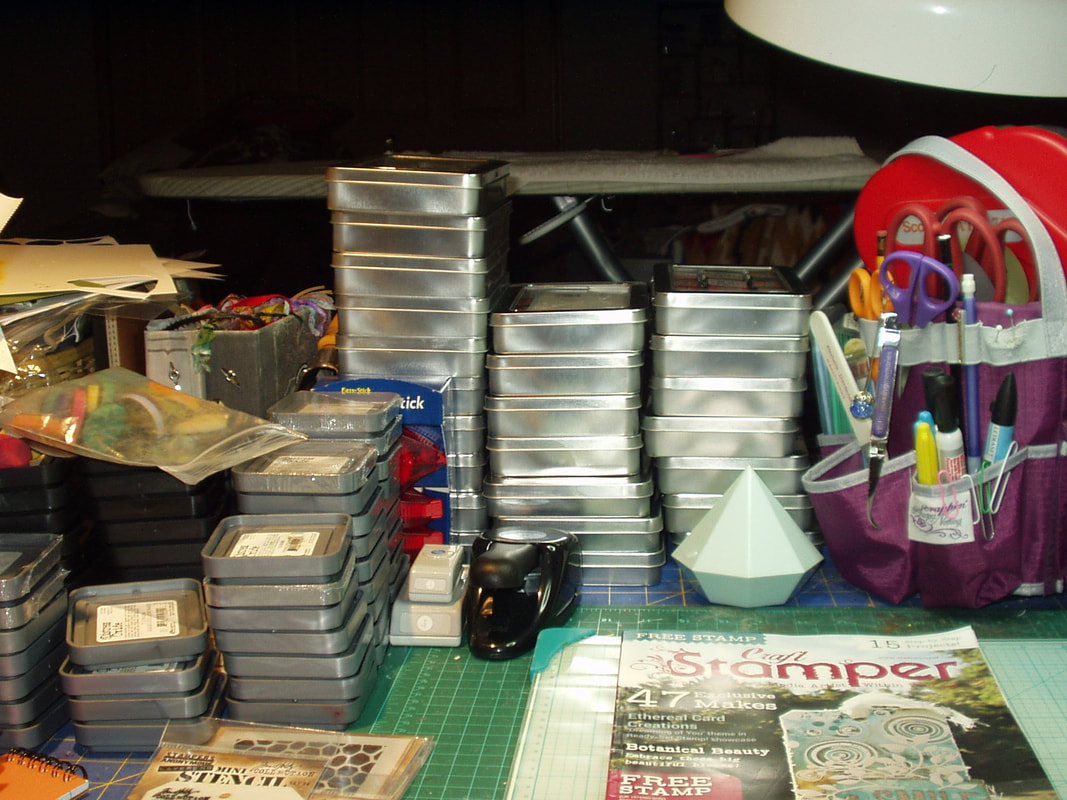
And here are what I THOUGHT were all the contents, spread out on my cutting table. Stamps, papers, Idea-ology and Sizzix, Inks and tools - this haul covers the gamut!:
Picture
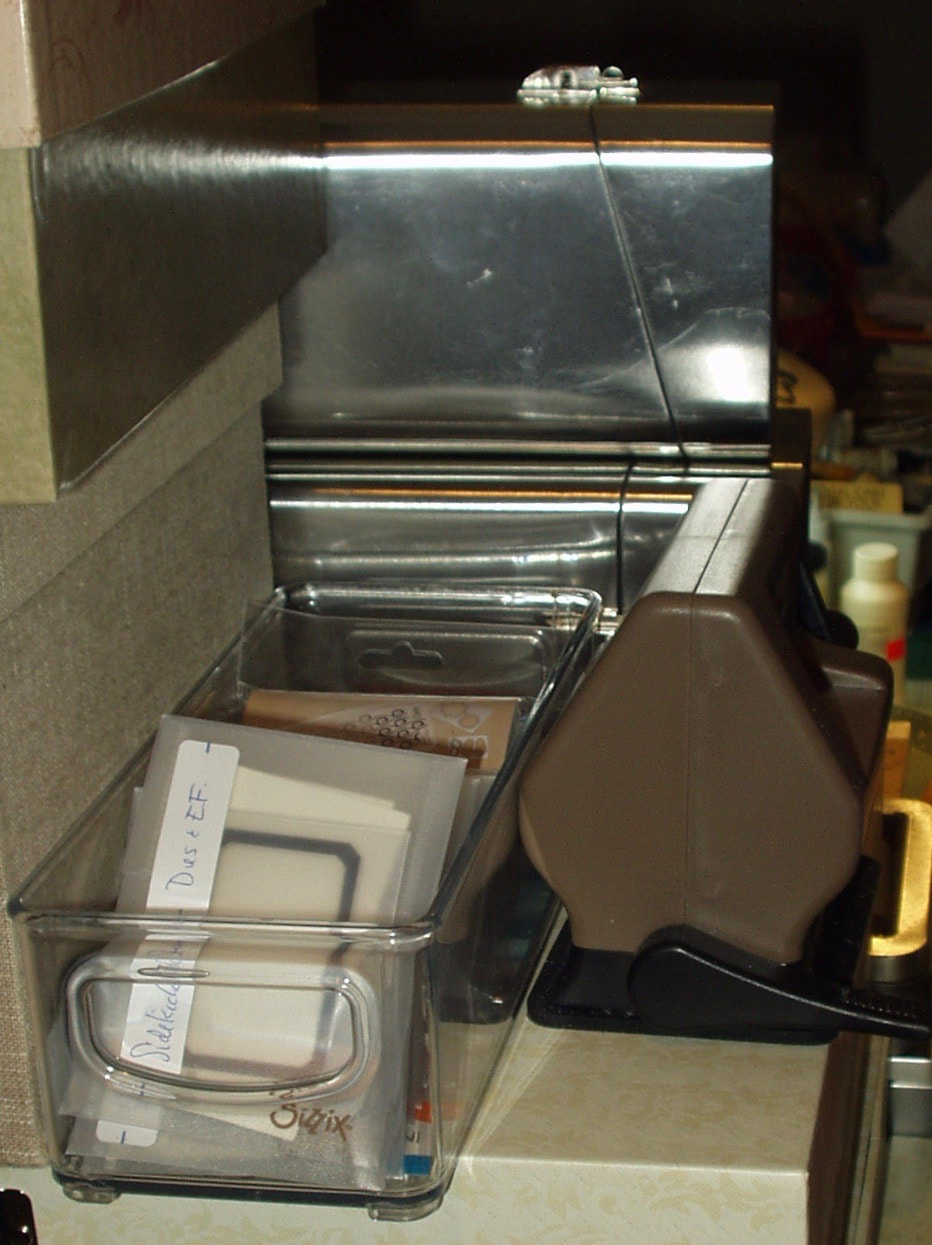
But I was wrong about that being all of it!  Four of those Alcohol Ink Storage tins that were wrapped in bubble wrap at the back were stuffed with yet more goodies which I discovered as I was unwrapping the to put away!
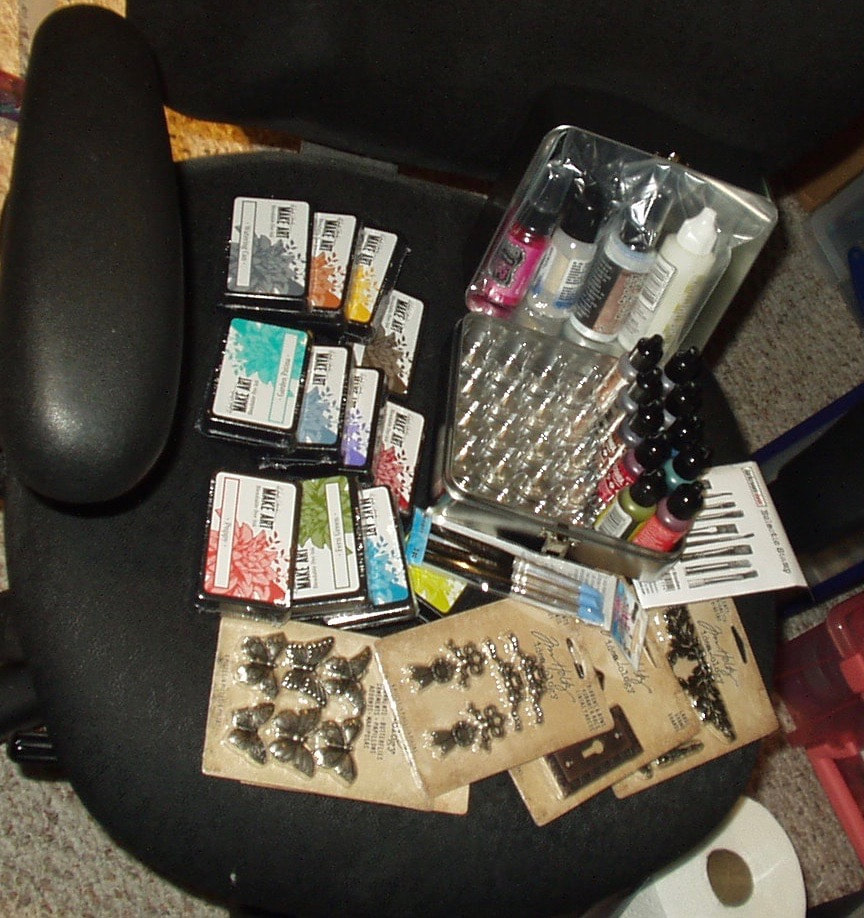
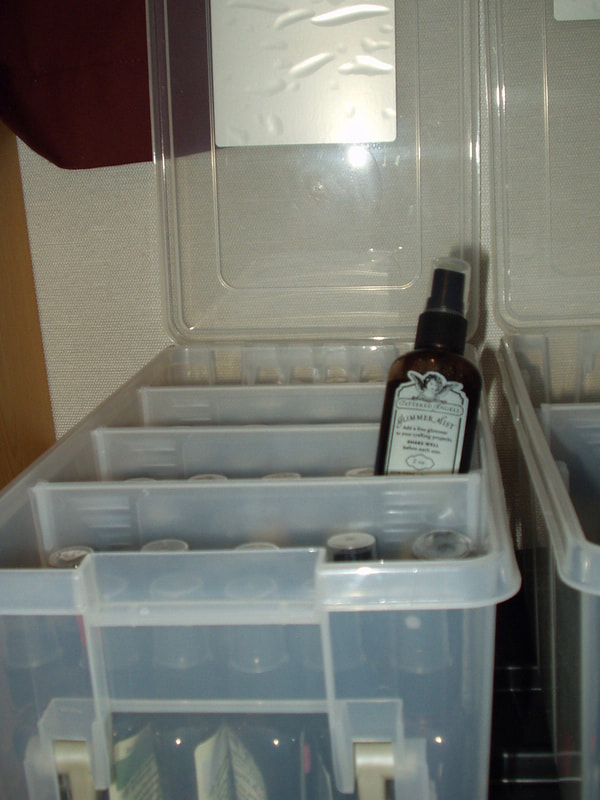
Picture
No space wasted!

​I would list the contents but they took up nearly 14 pages on the packing list --- only two items still on back-order!

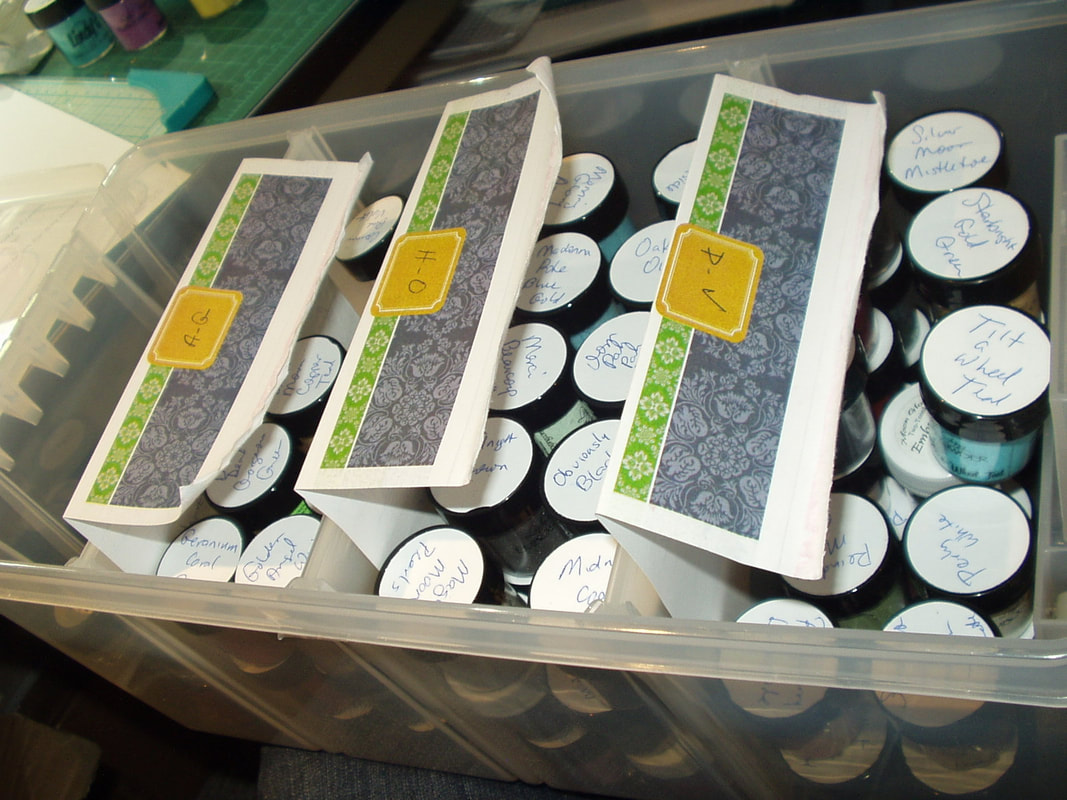
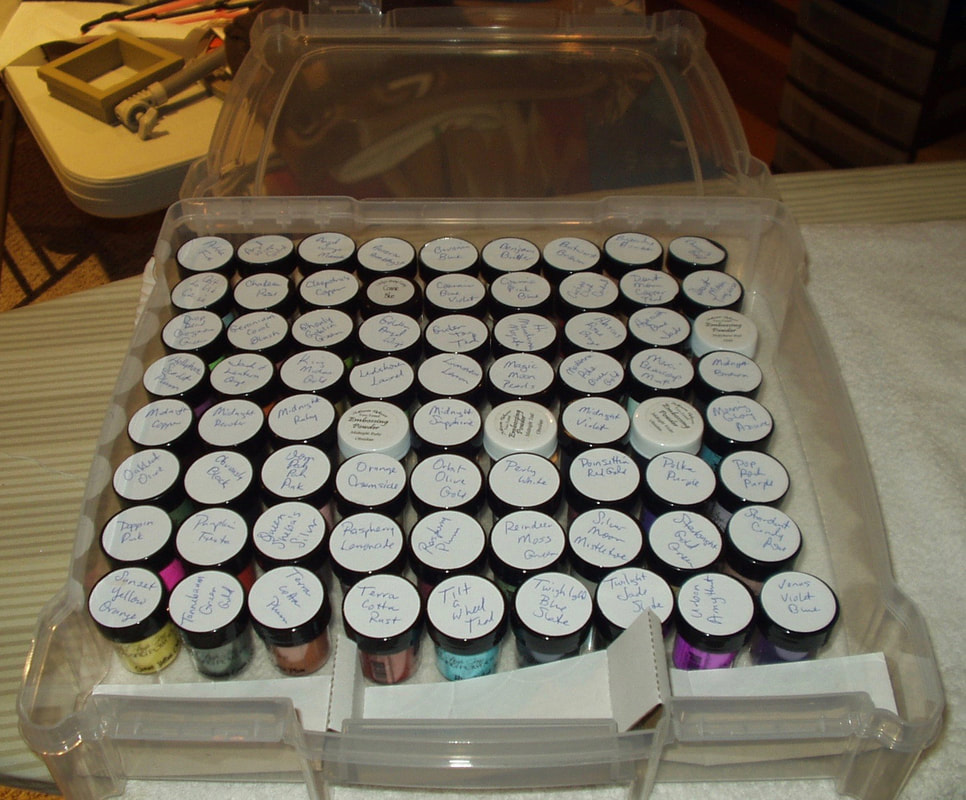
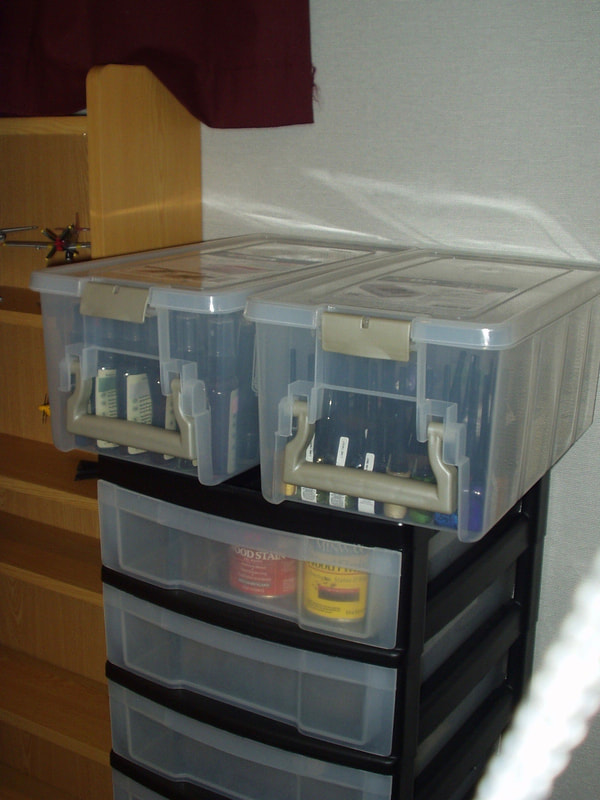
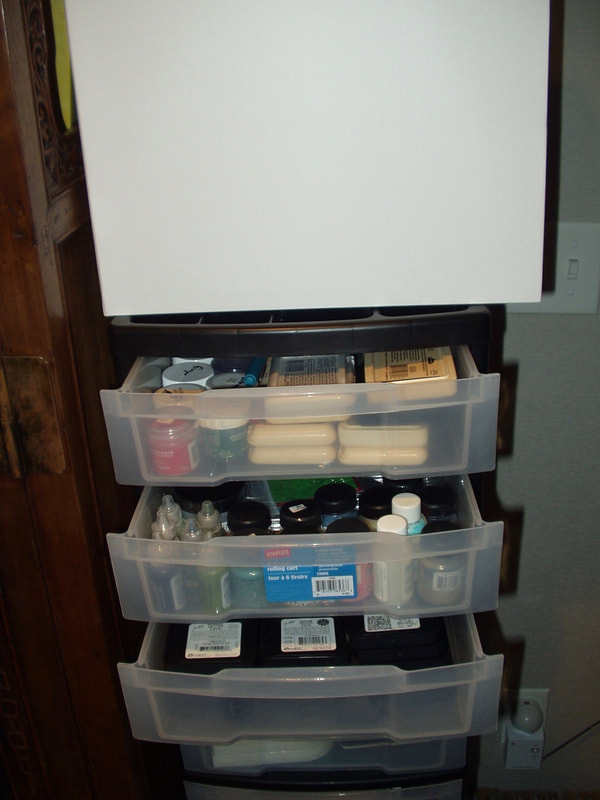
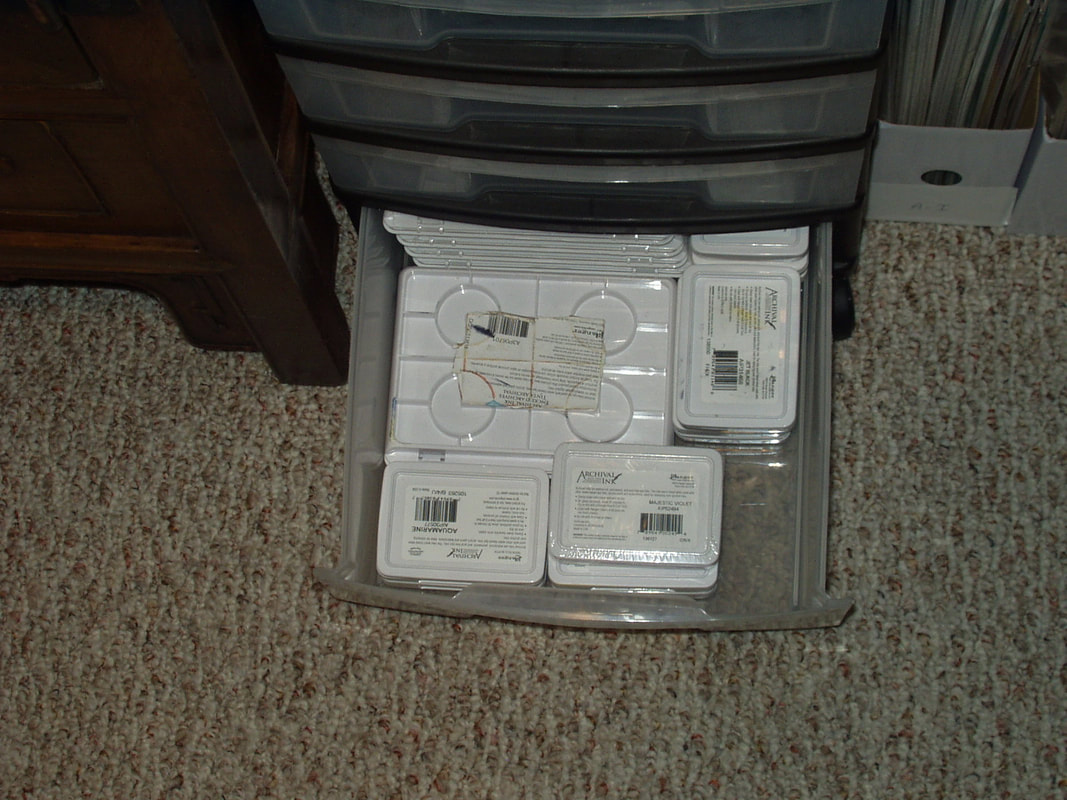
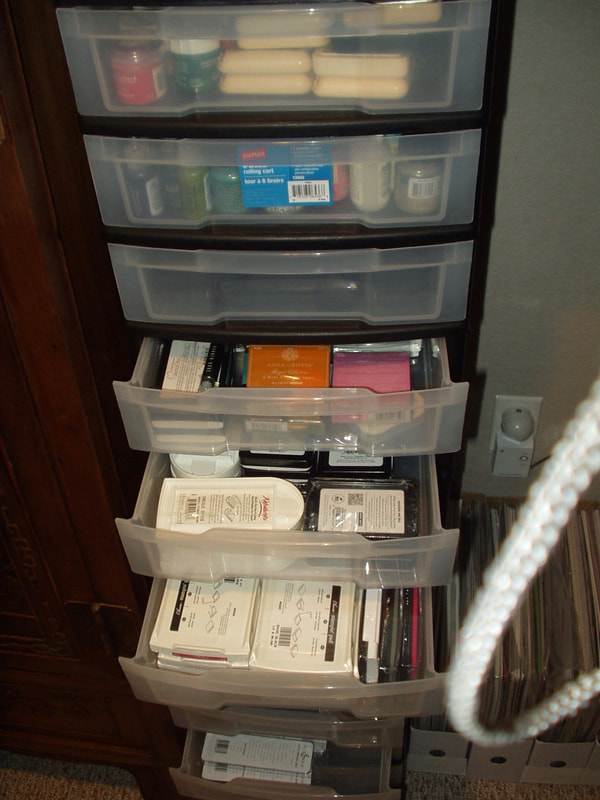
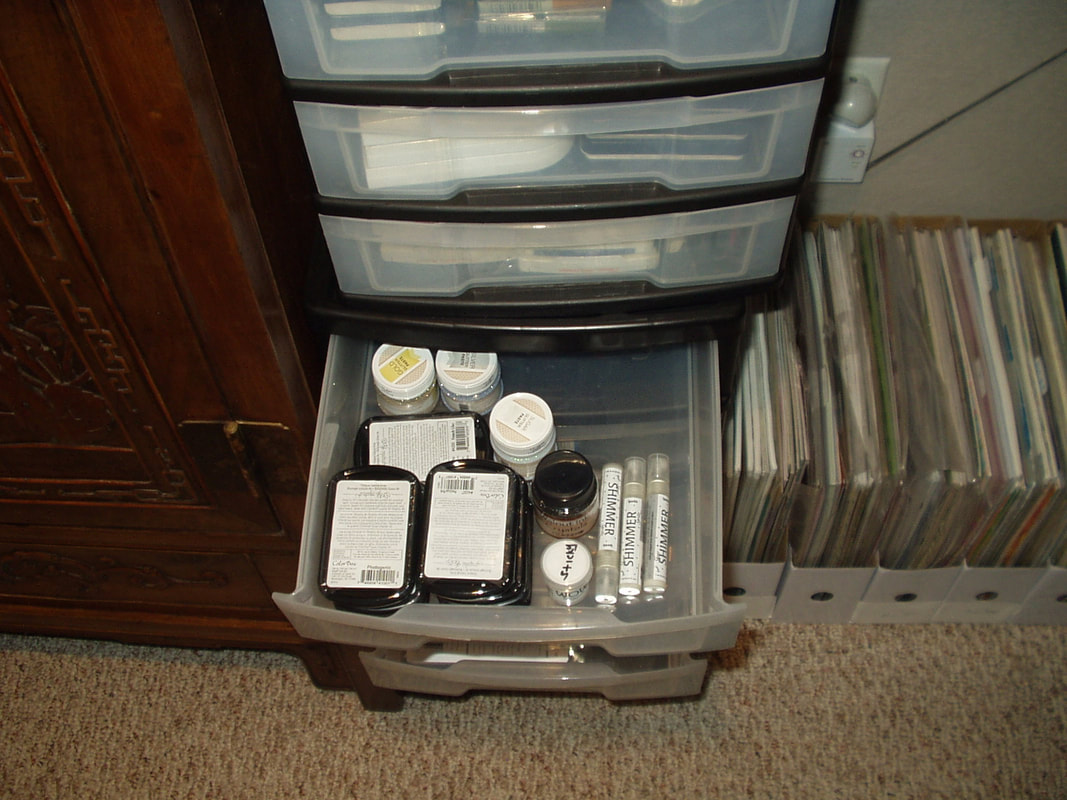
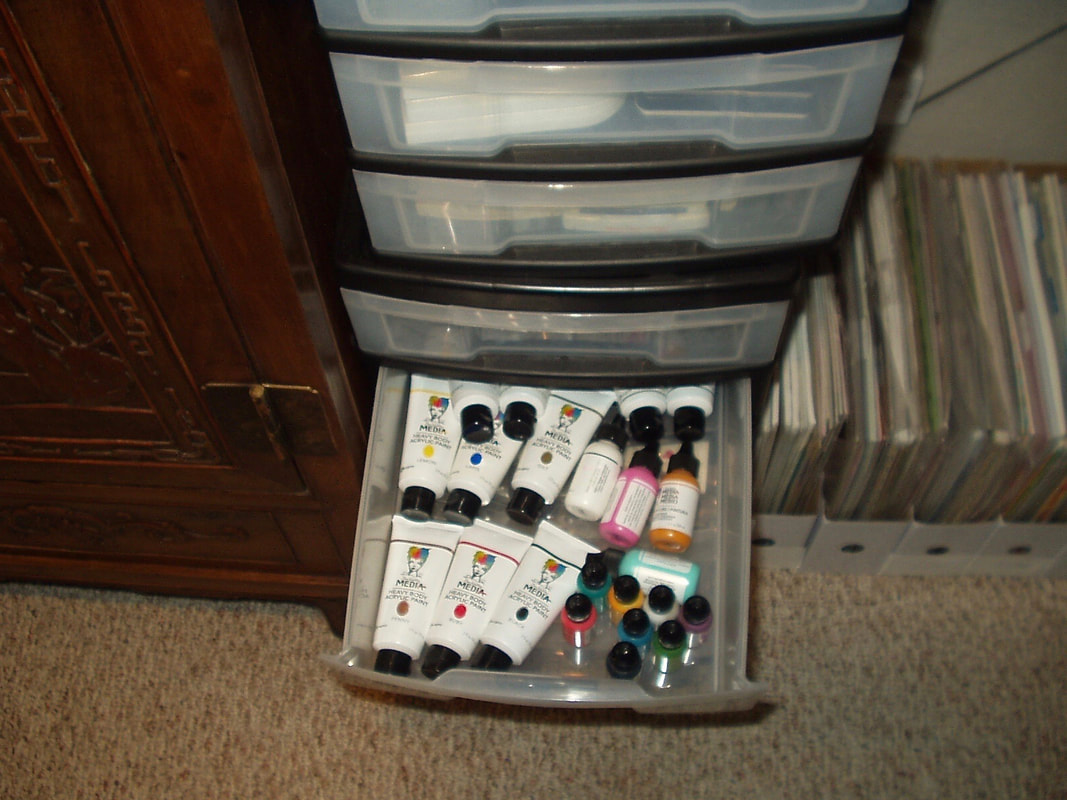
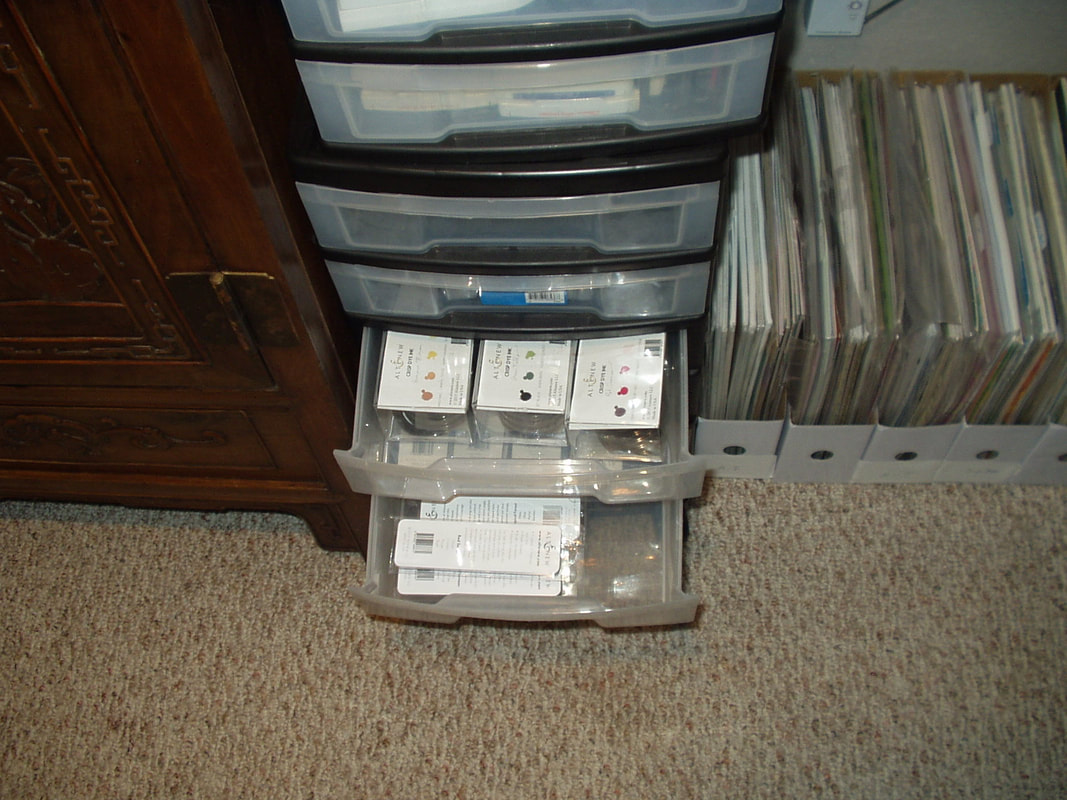
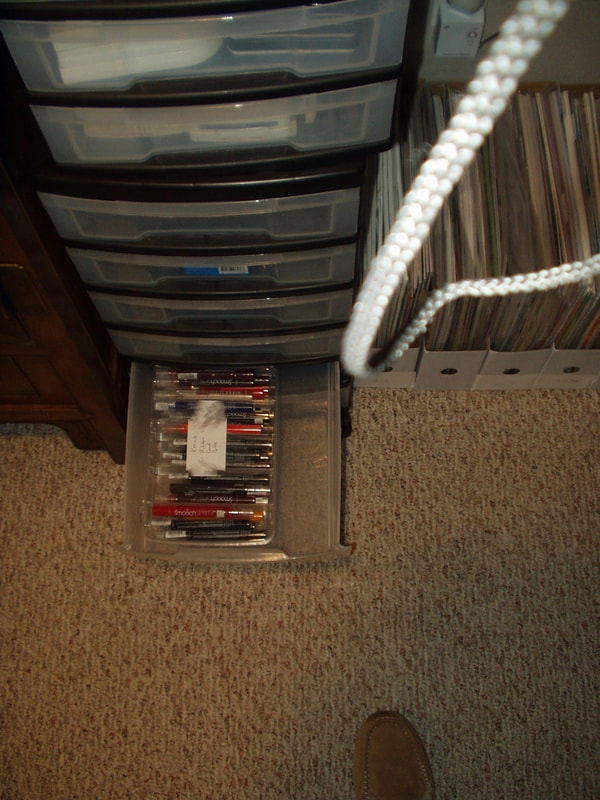
​My chore --- to find places to put it all! Good thing I had emptied all those drawers in the Sterlite units during my "organization"!

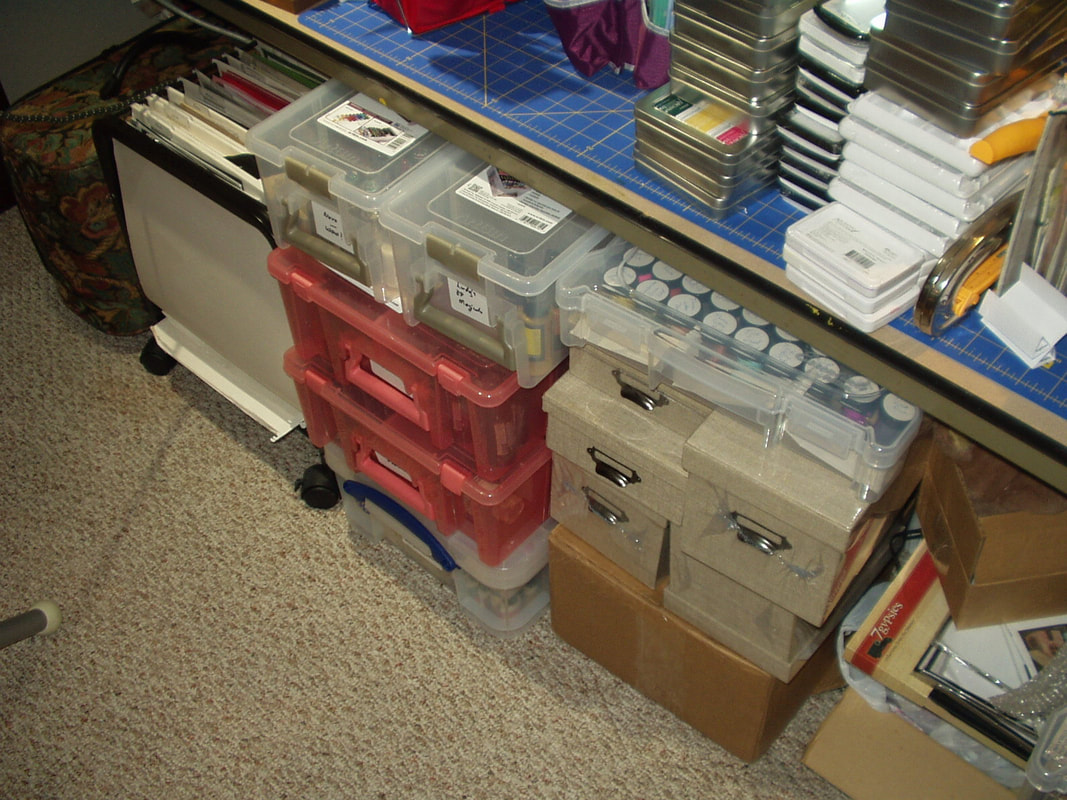
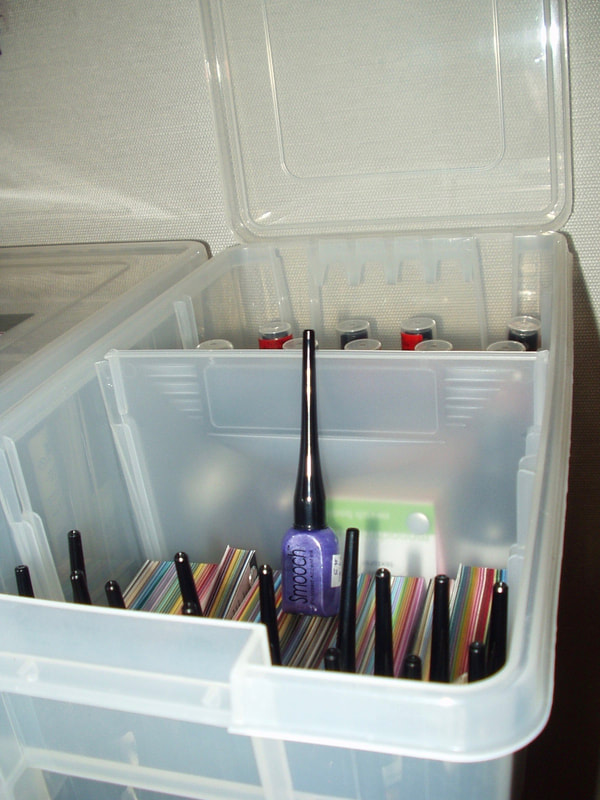
I managed to find a place for everything but five packets of detail blending sticks and six blending brushes; they  joined the stash in boxes on the floor by my chair.

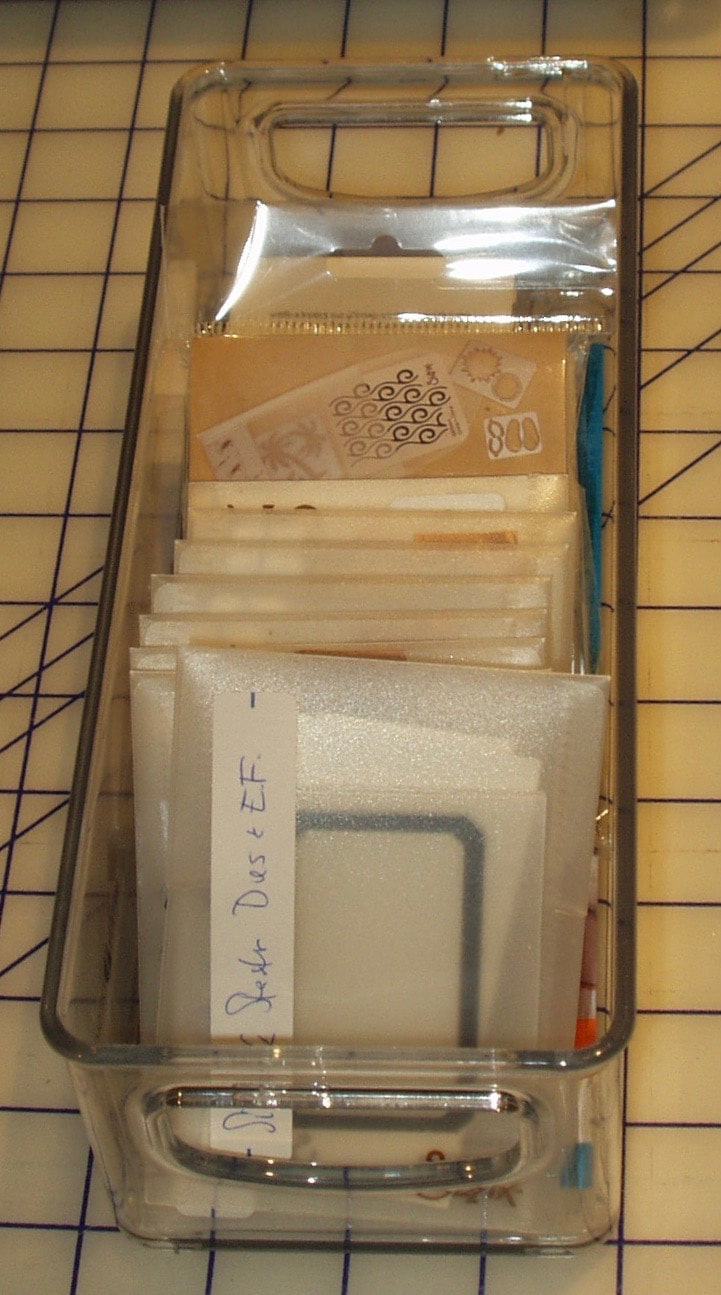
​Now, if only I can remember where I put the gel plates when I get around to using them!
1 Comment

My May Progress in my 2018 Organization Resolution

5/31/2018

0 Comments

 
Back at the end of December, 2017, I blogged about the mess my craft space was in, and how I hoped that, in 2018, I would make some progress in getting it all put back together and neatened up. I posted my January progress here. My February progress report on that organization is here. My March organization efforts can be found here. And my April report is here. 

Things slowed down a bit in May, partly because I was going through physical therapy for some serious shoulder and arm pain and was more interested in lying flat with a hot pad than going up and down stairs, lugging stuff around. But I did get some organization done. Mainly, it was moving things around, getting like-with-like and filling a few ArtBin containers which now have temporary homes.

Back in April, I did some reorganizing of my Lindy’s Gang embossing powders but there were still nearly 80 pots of powder (not counting duplicates) and finding the one I wanted was not significantly helped by just labeling the tops. I had mentioned that I probably needed to alphabetize them and set up an iPad checklist.

Well, on May 1, I needed some embossing powders and, as I pulled the colors I needed, I alphabetized all the pots in the three slots available in a deep ArtBin container:


Picture
Still, while I now knew the general location of the different pots I needed, searching for them resulted in having to take out as many as 20 pots in order to successfully locate one or two, because they were stacked three deep!!! And of course, they never went back in the slot the same way. So I sat down and ordered an ArtBin container that would store the pots in a single layer and was still large enough to hold all of them. and this  final arrangement  has room for a 9 more colors (I’m hoping that, now that I can see the names, I won’t be duplicating any more and can focus only on buying colors that I have a need for…)
Picture
 This flatter container fits nicely on two empty Tim Holtz die storage boxes (I’m planning ahead in the event of a dire event of discontinuing these boxes! I heard rumors once! LOL), next to the deeper bins of Sprays. Magicals and embossing powder duplicates are still in the deeper container with the empty slots accommodating overflow from my Lindy’s spray bins (pink).
Picture
See that stack of ink pads and mini-pad storage tines on my table top? The ink pads were dealt with in my May 23 ink-pad-sort, described below The tins, however still live on the table top as do my Distress Oxide inks pads.. One step forward, two steps back, I guess...
Of course, the disadvantage with this method of storage is that, in order to reach marker and pencil sets (bin with the blue handle) or a particular Lindy's Spray (pink bins), I have to continually shift (heavy) bins around. I really need a shelf system where each bin has it's own level...but that's not likely to happen in the near future so...

I filled
a second of these flat bins with Tim Holtz paper and chipboard ephemera from Idea-ology and this is temporarily stashed under my work space next to more spare storage boxes …
Picture
(Note to self: find a similar solution fo the rest of my Idea-ology metal, resin and the like, and for my Prima flowers!)

On May 5, 2018, I purchased a small Interdesign bin for my Sizzix Sidekick dies. I placed each packet into one of the new Sizzix storage pockets and labeled the pockets with the name and SKU of the set. They fit nicely in this smaller bin, and currently allow room for a package of extra pockets as well as the cutting plates and embossing mat, Both the bin and the Sidekick fit nicely on top of some stamp storage boxes behind my Distress Marker Tins and beside my (occupied) Tim Holtz die storage boxes:
​


On May 23, I got fed up with the fact that I had at least three Iris drawers crammed with various sprays that I never used because I couldn't FIND anything. So... two more deep ArtBin containers were called into service.

Bin #1 gor most (not all) of my Tattered Angels (Glimmer Mist) sprays:
Picture
Bin #2 got the overflow of Tattered Angels (chalk sprays), my Smooch bottles and some Bazzill color samples to temporarily act as dividers:
Picture
I WAS going to store them like this, side by side on top of a pair of stacked Iris carts holding my husbands painting supplies:
Picture
But this was a bit unsteady so I bailed on this plan and placed them in the shelves behind husband's work table (the oak shelving to the left of this Iris cart). These shelves are narrow and will only hold the bins side-ways (they were originally CD storage shelves) but will do for now... Next step - label and sort within bins so I can find the color I want.

After pulling all these sprays from the Iris carts where I had stashed them, I freed up a lot of space for ink pads and related products. When possible, I moved mini-pads to Tim Holtz mini storage tins. Otherwise, products were stored by brand.

The current Iris Cart drawers are, as follows,

A). Four drawers of Ranger Inks, Distress Inks, embossing powders, Stickles and the like (click on the photo to see it full length):
Sadly, one can't remove drawers from Iris carts so if things need to be shifted, whole drawers need to be unloaded and swapped out. For example, I'd like to keep Ranger all together, but right now, Archival inks are in the bottom drawer while others (Adirondack, Distress, etc.) are in the top three)

B). Four drawers of miscellaneous brands. I tried to keep like with like but there were too many brands that I had only a few items of, and so these drawers are still a mixed bag. 
Many of these had been in smaller Sterlite drawers on top of my large cabinets of stash and were basically not easily accessible, so that means that there are three or four drawers in these smaller drawer units now available to stash things in I don't use that often. Sadly, not all ink pads from the Sterlite units were moved and, in addition, there are a larger number of ink pads from various companies stored in four cassette tape cases inside my large cabinets. These remain relatively inaccessible and I need a solution for them...

C. A drawer of gesso, acrylics and enamel drops from Wendy Vecchi and Dina Wakely:
Picture
D. Two drawers of Altenew ink pads (the minis were subsequently move to some of the Tim Holtz mini ink storage tins on my desk and replaced with the new Wendy Vecchi Art Blendable Dye inks and reinkers)
Picture
E. And a drawer for Smooch Sprays which all fit in a smaller Artbin case but wouldn't fit with the bottles of Smooch in the larger ArtBin container):
Picture
So there you have it --- a major reshuffling of inks and sprays. Next step --- check all these ink pads and discard dried and decayed ones (I know that several of the Color Box petal pads I used to accumulate are no longer viable, for example) and then find a way to categorize them (other than "miscellaneous", "Ranger", etc) and access them (stacked three or four deep, it isn't possible to know when opening the drawer what I have ... and there is always that row of pads at the very back that can't be seen unless all the others are moved so they can be pulled into view...).

My work top looks a little neater now, with only storage tins where the stacked ink pads were. The storage tins are (stacked left to right) a stack consisting of miscellaneous minis (like Hero Arts, Memory Box, Delicata, Versamark and more) i Tim Holtz Mini storage tins, a stack consisting of  three tins of Archival minis and four of Altenew Minis, and a stack of Distress Minis and blending brushes:
Picture
Still, there are stacks of Distress Oxide Inks and Distress Inks taking up quite a bit of potential space over there to the left so I need to solve that problem too. I fill these by color family and then, within the family, alphabetically. But I need labels on the tin edges i order to find the specific brand and color range, I think.

On to June...

0 Comments

Challenge: Anything Goes for May 30, 2018

5/30/2018

2 Comments

 
"Anything Goes" is teh theme for the Simon Says Stamp Wednesday Challenge, May 30, 2018.

I was playing around with some paper scraps and decided to make a card that I could enter into this challenge.

I started with a scrap of patterened card and a pre-folded white notecard. I matted the patterned card with glossy back card:
Picture
I die-cut some flowers and a sentiment from the same glossy black card scrap. After adhering both to the card front, I added an Idea-ology "Big Chat" sticker and some white pearls to get a clean-and-simple but graphic black-and-white card:
Picture
Products used in the making of this card were:

  • Dies: Sizzix Thinlits “Tattered Florals” (661806) and “Friendship Words - script” (660225)
  • Papers: Essentials by Ellen “Modern Graphics” paper pack (EEPP001); The Paper Studio notecards “white” (225359); scrap of glossy black card
  • Embellishments: Idea-ology “Big Chat” stickers (TH931292); Memory Box Pearl Stickers “white”
  • Adhesives: RedLine 1/8” Embossing Tape; Ranger Wendy Vecchi “Perfect Card Adhesive” (WVA62134)
2 Comments

Challenge: Masculine

5/30/2018

3 Comments

 
Simon Says Stamp Monday Challenge Design Team wants cards that are masculine in style/theme for the May 28, 2018 challenge.

Now I don't know about you, but I find "masculine" cards hard to do.  I find it surprising how many stamp companies have images for everything BUT masculine --- there are a few sports (mainly golf and soccer), photography, tool (hammers, saws, etc.) and drink (beer and wine) images out there, but these don't HAVE to be strictly for the men in our lives in the days of (hoped-for) gender equality. So 
It generally comes down to color (grunge and industrial works) for me, with images being a little less specific. 

For this card, I started with a background. I stamped a series of concentric circles in Versamark and heat embossed with white embossing powder. I then sprinkled on three of the grungier, more metallic Lindy's Gang Magicals and spritzed with water, blotting, re-wetting, drying and repeating until I got the coverage I was looking for (more or less). I rubbed the embossed images as clean as I could (Magicals do tend to stick to embossing powder - and my finger nails -  if you load them on too heavy, I find).
Picture
Next, I stamped "Rain Man" from Tim Holtz in Archival "Jet Black" several times (the Magicals resisted this overstamping) and a series of numbers in Versamark and more white embossing powder. "Rain Man" looks like he is semi-transparent and the "apocalypse behind him is showing through him:
Picture
I thought "Rain Man" needed a little more definition so I outlined him with a black gel pen and added a small talk sticker in black:
Picture
I chose that sentiment because this card front reminded in in a perverse way of that tequila advert running now on cable tv about the end of the world... about holding close what you find most dear. I know, nothing about things made new but, being a fan of apocalyptic fiction, I can't help but think that the "end of the world" only leads to something totally new (just ask the dinosaurs next time you meet one!)!

It needed a little something though so I added some frosted crystals to the centers of the three largest circles: 
Picture
Products used in the making of this card were:

  • Stamps: Max Latimer “circles” (cover stamp, Craft Stamper Magazine, June 2018); Stampers Anonymous “Mini Purely Random” (CSS27848)
  • Inks: Versamark; Lindys Gang Shaker Magicals “Bratwurst Brown”, Cowabunga Copper” and Back Forest Black”; Fude Ball 1.5 “black”; Archival “Jet Black”
  • Embossing Powders: Top Boss “white”
  • Papers: The Paper Studio “white” (225359)
  • Embellishments: Idea-ology “Small Talk - Occasions” (TH93245); Prima “Say It In Crystals” (584788)

​I'm also entering this in the Simon says Stamp Wednesday Challenge, May 30, 2018: Anything Goes.

3 Comments

Challenge: Sunshine/Summertime Inspired

5/26/2018

0 Comments

 
The sign team over at Simon Says Stamp says, for May 2018 Work It Wednesday: " SUMMER is only one month away! We want to see how YOU are inspired by sunshine and summertime".

I decided to try a technique I saw demonstrated by Jennifer McGuire. I searched my stamps for a relatively large outline of a bouquet of flowers, stamped it in Archival "Jet Black", painted it with Distress Markers and die-cut it with a corresponding die:
Picture
While this stamp was of cherry blossoms, ,they aren't a summery flower so I decided to go with bright yellow like in the flannel bush vine https://garden-photos-com.photoshelter.com/gallery-image/Climbing-Vines-Stock-Images/G0000oz3L4YVTBaw/I00002qVBXfPuYPk
I took a cream-colored card base, trimmed the "back" down slightly",  turned it over so the back was on top, scored the die-cut and glued it to the card "front" and folded it over to form a flap over the card "back" (it that doesn't make sense, check out Jennifer's video!). I then layered the card on a bright yellow matte and took a scrap of the same yellow to layer a sticker sentiment on it. The card, when closed looks like:
Picture
The color went a little pinkish in this photo --- it's much lighter yellow in real life, much more like the top and bottom photos.
And when opened it looks like so:
Picture
Products used in the making of this card were:

  • Stamps: Essentials by Allen “Mondo Sakura” (EESTJ-082-18)
  • Dies:  Essentials by Allen “Mondo Sakura” (EEDIEJ-124-18)
  • Inks:  Archival “Jet Black”; Distress Markers “Mowed Lawn”, “Twisted Citron”, “Squeezed Lemonade”, “Mustard Seed”, “Wik Honey”, Fossilized Amber”, and “Spiced Marmalade”
  • Papers: DoCraft Papermania A4 card blanks “cream”; scraps of cream and yellow card
  • Embellishments: Idea-ology “Small Talk - Occasions” sticker (TH93245)
  • Adhesives: RedLine 1/8” Embossing Tape; Ranger wendy Vecchi “Perfect Card Adhesive” (WVA62134)
0 Comments

Mini-Challenge: Keep

5/26/2018

0 Comments

 
The May 2018 mini-challenge at More Than Words is to make a card, postcard, tag or ATC which features the word "Keep". In a way, I did three of these!

First of all, I took two ACT blanks (one green, one brushed gold) and cut a tag from each. I die cut the wood "seek" from the green gard and layered the green over the gold, offsetting the two slightly (can't see it in this photo but it does show in the final one):
Picture
ATC-sized tag...
I added a gold organza ribbon to the tag, die-cut the word adventure from metallic gold card; blended "Fossilized Amber" Distress Oxide Ink over a "SmallTalk" sticker, and layered them all on a patterned green notecard:
Picture
Products used in the making of this card were:

  • Dies: Sizzix SideKick Starter Kit Die (25093) and SideKick “Seek” (662714); Sizzix Thinlits “adventure” (660221)
  • Inks: Distress OXide “Fossilized Amber”
  • Papers: Marco’ Paper ATC Color assortment; scrap of metallic gold card; Lawn Fawn Fundamentals notecards “spruce” (LF763)
  • Embellishments: Idea-ology “Small Talk” (TH93193); scrap of gold organza ribbon
  • Adhesives: Xyron 500 Sticker Maker; RedLine 1/8” Embossing Tape; Ranger Went Vecchi “Perfect Card Adhesive” (WVA62134)
0 Comments

Challenge: Layers of Lace

5/24/2018

2 Comments

 
Using lace, lots of lace, different kinds of lace - that's the premise for the May 23, 2018 Challenge by the Frilly & Funkie Blog.

I searched my crazy quilt stash for laces, lacy trims and the like and decided on an ivory-and-black theme.

I started by layering a band of lace, a strip of crocheted edging and black grosgrain ribbon on black card stock.I attached a black patterned organza ribbon to a scrap of Neena Solar White. I then attached the black card to the white scrap and covered the seam with a strip of ivory grosgrain ribbon. I added some glittery grey/ivory flowers to the mix (after trimming off their green leaves):
Picture
I stamped a sentiment in Versamark, heat embossed it with "Oyster Glintz" embossing powder, and mounted it behind a white resin frame. I attached the frame/sentiment combo to the lace panel over a triple fold/loop of the patterned black organza ribbon. I then mounted the panel on a top-folding white card using foam layering tape. Some black pearls finished the card:
Picture
Products used in the making of this card were:

  • Stamps: Altenew “Birds of a Feather” (ALT2051)
  • Inks: Versamark
  • Embossing Powders: WOW! “Oyster Glintz” (WU03R)
  • Papers: Neena Solar White; scrap of black
  • Embellishments: Hobby Lobby Decorative Trims “Ivory” crocheted lace (604439) and “Ivory” grosgrain ribbon (67862); Debs Lace (3860s433); scraps of black grosgrain ribbon and patterned black organza ribbon; Prima Marketing Prima Flowers “Salvage District (586485 and 595081); Prima Shabby Treasures (89098); Hero Arts Pearls “Midnight Black” (CH172)
  • Adhesives: RedLine 1/8” Embossing Tape; Scotch Brand “Magic Tape” and “Foam Layering Tape”; Ranger Wendy Vecchi “Perfect Card Adhesive” (WVA62134)
2 Comments

Challenge: Use More Than One Stamp

5/24/2018

1 Comment

 
Over at the Simon Says Stamp Wednesday Challenge Blog, the design team wants us to use more than one stamp in the May 23, 2018 challenge. 

To be honest, that isn't normally a challenge for me. I tend to use multiple stamps or none at all --- there are few examples in my repertoire where I have made a card with only a single stamp.

Anyway, I set out to create a card using a set in my "try" pile: the Concord & 9th "Many Mandalas" set, which has oodles of stamps to choose from. I chose four...

I started with one of the mandalas and two of the sentiment stamps:

Picture
I stamped the mandala in a greenish blue ink from a My Monthly Hero kit (no ink color name on the cube) and the sentiments in Hero Arts "Fiesta Teal". They do look different in real life --- my flash tends to affect colors more than I would like.

This stamp set comes with a template which allows you to layer stamps to create more complex mandalas. I tried it out, using the fourth stamps from the set in Hero Arts "Pine". Then I added some Heidi Swapp "bling" to finish up this clean-and-simple card:

Picture
Products used in the making of this card were:

  • Stamps: Concord & 9th “Many Mandalas Set” 10192)
  • Inks: Hero Arts “Fiesta Teal, “Pine” and a grey blue from My Monthly Hero
  • Papers: Square Blue card base
  • Embellishments: Heidi Swapp “Bling” (HS564003)
1 Comment

Challenge: Inspired by a Song

5/22/2018

0 Comments

 
Simon Says Stamp Monday Challenge wants us to be "inspired by a song" for the May 21, 2018 challenge. I decided to go with my favorite song ever, as sung by my favorite bass-baritone ever, backed by a Welsh Male Voice Choir! It's the National Anthem of Wales: "Hen Wlad Fy Nhadau" (loosely translated as "Land of My Fathers") as sung by Bryn Terfel! Maybe it's my Welsh blood (my maternal grandfather was a Johnes, one of the many spellings of the most common Welsh surname Jones, and it means John's son...) but this music gives me goose bumps!

I started by creating a green card with a subtle (I hope) background of harps (the harp is one of the national emblems of Wales - and I fear that I don't have any stamps portraying leeks!):
Picture
Next I dug out one of my two Welsh Dragon stamps, stamped it in red (the red dragon is symbolic of the Welsh Celts defeating the Saxon white dragon, is thought to be King Arthur's battle flag symbol, and is prominently displayed on the current Welsh flag). I fussy cut the dragon and layered him atop a green strip with the opening words of the anthem:
Picture
Products used in the making of this card were:
  • Stamps: Highlander Celtic Stamps "Welsh Dragon" (C298); La Blanch "Harper" (1383); and Karen Foster Snap-Stamps "Mini-Formal Alphabet" (00377)
  • Iks: Hero Arts "Moss" and "Red Royal"; FudeBall 1.5 "black" gel pen; Marvy Uchiday "Liquid Gold" marker
  • Papers: Soiree As card; scraps Neena "Solar White" and "olive green"
  • Adhesives: RedLine 1/8" Embossing Tape; Rager wendy Vecchi "Perfect Card Adhesive" (WVA62134)
0 Comments

Challenge: Stencil It, v 2.0

5/20/2018

2 Comments

 
I was abutting away some new stamps and dies and came across a stencil set that I wanted to try out. Since both Simon Says Stamp Challenges this week (Simon Says Stamp Monday, May 14, 2018 and Simon Says Stamp Wednesday, May 16, 2018)  are to use stencils, I decided to make a second card focused on the stenciling. 

This stencil set had four layers in it and I decided to go with a color scheme of yellows and oranges. I blended four different Distress Oxide inks, one per stencil, onto Neena Solar White cardstock:
Picture
The final manila was a little over 6 by 6 inches, too large for the greeting card blanks I have (and I don't have any 12 by 12 card stock in the right color from which to make a larger card), so I trimmed the mandala to fit what I had, and mounted it on a top-folding card in a yellow that matched the inks used:
Picture
I die-cut some words from a scrap of black card three times and layered them so they would have some dimension. I glued them to the card to finish:
Picture
The products used in the making of this card were:
  • Stencils: Birch Press "Mandala Layering Set"
  • Dies: Sizzix Thinlits "Vacation Words - script" (661288)
  • Inks: Distress Oxide Iks "Squeezed Lemonade", "Wild Honey", "Spiced Marmalade" and "Carved Pumpkin"
  • Papers: Neena "Solar White"; "wild Honey card stock; scrap of black
  • Adhesives: RedLine 1/8" Embossing Tape; Raber Wendy Vecchi "Prefect Card Adhesive" (WVA62134)
2 Comments
<<Previous

    Author

    Born in New Jersey, I grew up in Southeastern Ohio. Attended university at Bowling Green State University (B.Sci  in biological science, 1964), University of Southern California (M. Sci in biological science, 1967) and University of Florida (Ph. D in zoology, 1971).
    Worked in environmental consulting for a little more than a decade and then seven years as an instructor in biological science at various community colleges in California and Texas. Moved to London in 1992, then Beijing (1996) and Saudi Arabia (1998), before returning to NW Ohio in 2002. I am currently living in NW Ohio with my husband and three Bombay cats.  I love to read (mystery, science fiction, history) and stitch (have done crewel, currently experimenting with free embroidery and needlepoint but blackwork and cross stitch are my main genres); have been known to knit; and now I'm heavily into papercrafting!
    Retired upon the return to the US so lots of time for our hobbies...

    Archives

    June 2023
    January 2022
    October 2021
    December 2020
    November 2020
    October 2020
    September 2020
    August 2020
    July 2020
    June 2020
    May 2020
    April 2020
    March 2020
    February 2020
    January 2020
    December 2019
    November 2019
    October 2019
    September 2019
    August 2019
    July 2019
    June 2019
    May 2019
    April 2019
    March 2019
    February 2019
    January 2019
    December 2018
    November 2018
    October 2018
    September 2018
    August 2018
    July 2018
    June 2018
    May 2018
    April 2018
    March 2018
    February 2018
    January 2018
    December 2017
    November 2017
    October 2017
    September 2017
    August 2017
    July 2017
    June 2017
    May 2017
    April 2017
    March 2017
    February 2017
    January 2017
    December 2016
    November 2016
    October 2016
    September 2016
    August 2016
    July 2016
    June 2016
    May 2016
    April 2016
    March 2016
    February 2016
    January 2016
    December 2015
    November 2015
    October 2015
    September 2015
    August 2015
    July 2015
    June 2015
    May 2015
    April 2015
    March 2015
    February 2015
    January 2015
    December 2014
    November 2014
    October 2014
    September 2014
    August 2014
    July 2014
    June 2014
    May 2014
    April 2014

    Categories

    All
    12 Tags Of 2015
    12 Tags Of 2016
    2018 Craft Space Clean-up
    All About ATCs
    Altenew
    Altenew Academy
    Art Swap
    Christmas Project
    Club Posh
    Compendium Of Curiosities
    Create 2014
    Create 2017
    Creative Carte Blacnhe
    Creative Chemistry 101
    Creative Chemistry 102
    Creative Chemistry 103
    Dina Wakely
    Dyan Reaveley
    Ellen Hutson
    Frilly & Funky
    Funkie Junkie Style
    Graphic 45
    Guest Designer
    Hero Arts
    #hipforsummer
    #holtzforhalloween
    #holtzfortheholidays
    Honey Bee
    InkRoad
    #Jennifer Mcguire
    Just Playing Around
    Lindy's Stamp Gang
    More Than Words
    OnLIne Card Class
    Seven Hills
    #sharewithsizzix
    Simon Says Stamp
    Stamptember
    Summer Of Creative Chemistry 2016
    Sunday Stamper
    Tim Holtz Kits
    WOW!

    RSS Feed

    Picture
    Picture
    Picture
    PAST PARTICIPATION

    Picture
    Picture
    Picture
    Picture
    Picture
    CHALLENGE BLOGS
    Simon Says Stamp Monday Challenge Blog
    Picture
    Picture
    Picture

    So proud!

    Picture
    for my August 2015 tag!
    for my entry into "Author, Author". October 5, 2016
 honored to be asked to be guest designer for Simon Says Stamp Monday Challenge, September 2017

for my entry in the Frilly and Funkie November 22, 2017 Challenge: Give Thanks
for my entry in the Frilly and Funkie December 9, 2017 Challenge: Most Memorable Gift
for my entry in the Funkie Junkie Boutique Blog Challenge, August 14, 2019 "Let’s Do It Again"

Online Card Classes

Picture
Picture
Proudly powered by Weebly