The month of STAMPtember® is winding down and I thought I'd play a bit with the special releases from Simon Says Stamp and participating brands that I purchased along the way.
I was intrigued by Laura Bassen's trio of Inspiration cards on the second day of the STAMPtember® blog hop, and just HAD to buy that stamp set and coordinating stencil ("Grid Play").
I used the set in response to the fourth Simon Says Stamp Monday Challenge for STAMPtember®: Heavy Metal. But I decided to try various metallic embossing powders instead of color and the stencil instead of stamps to CASE Laura's blue card.
I started with a scrap of Neena “Solar white” card and stamped a grid using Archival Shadow Grey and the Simon Says Stamp new release “Grid Play”. On that grid, I used the “Grid Play” stencil and Versamark to stamp vertical rows of overlapping circles. Each row was heat-embossed with a metallic embossing powder before the next row was stenciled, resulting in a pattern of “Metal” on the grid:
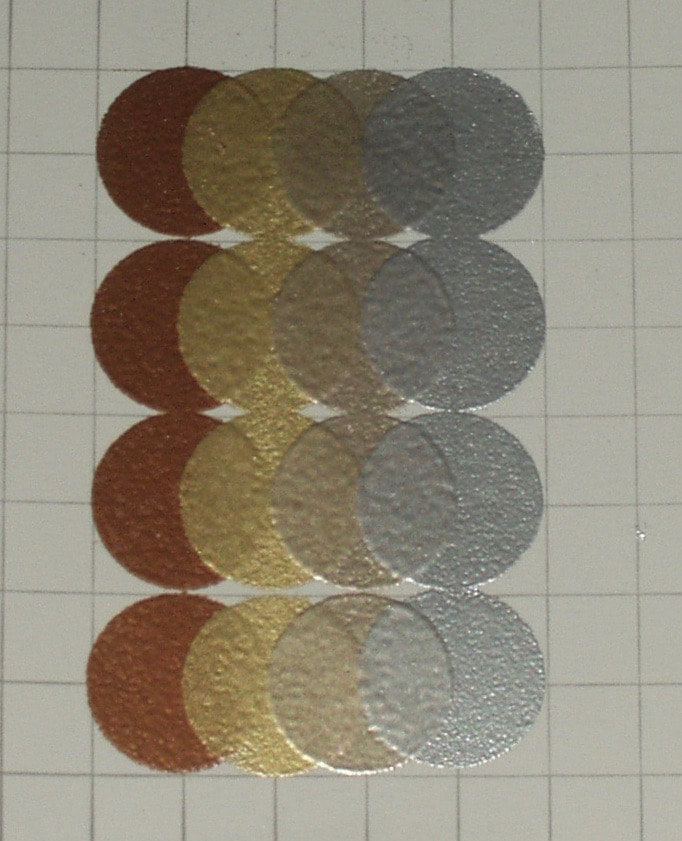
the metals are, from left to right, copper, gold, platinum and silver
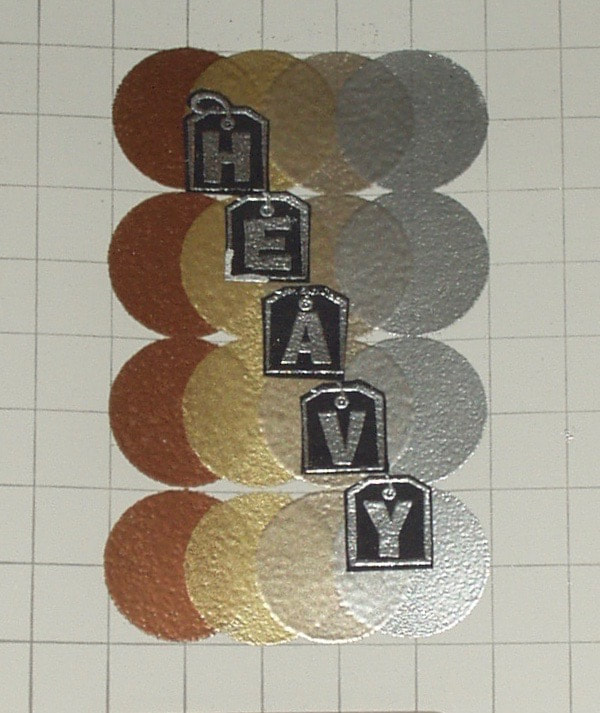
I used a very old wood-mounted set of alphabet stamps to create tags that spelled out the word “HEAVY” and attached each to the grid
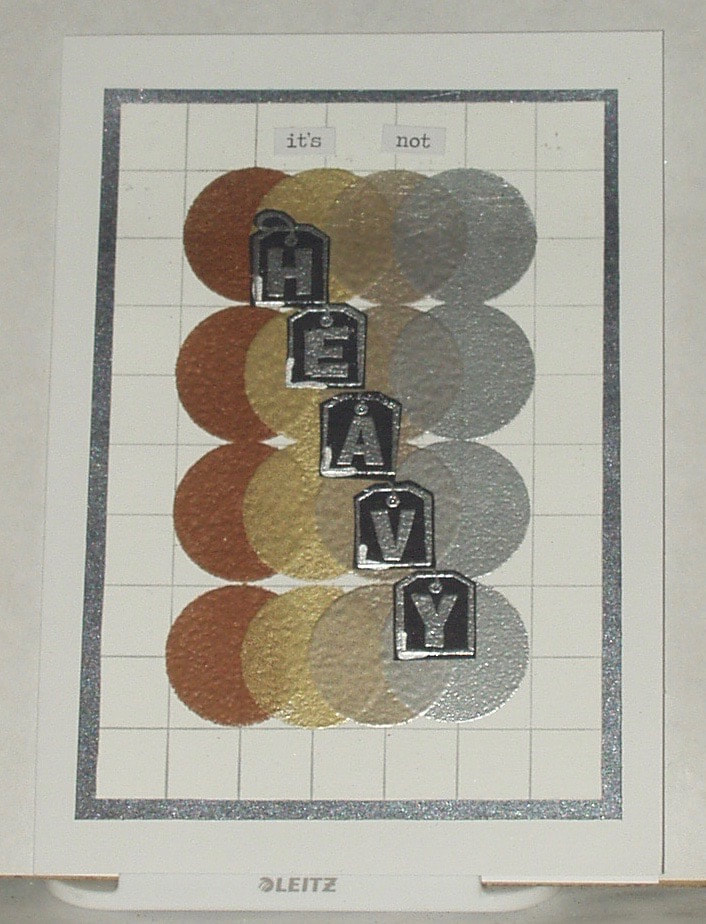
I trimmed the card, added some CHitChat stickers, and then matted it on Excalibur Steel” paper and on a white pre-cut card:
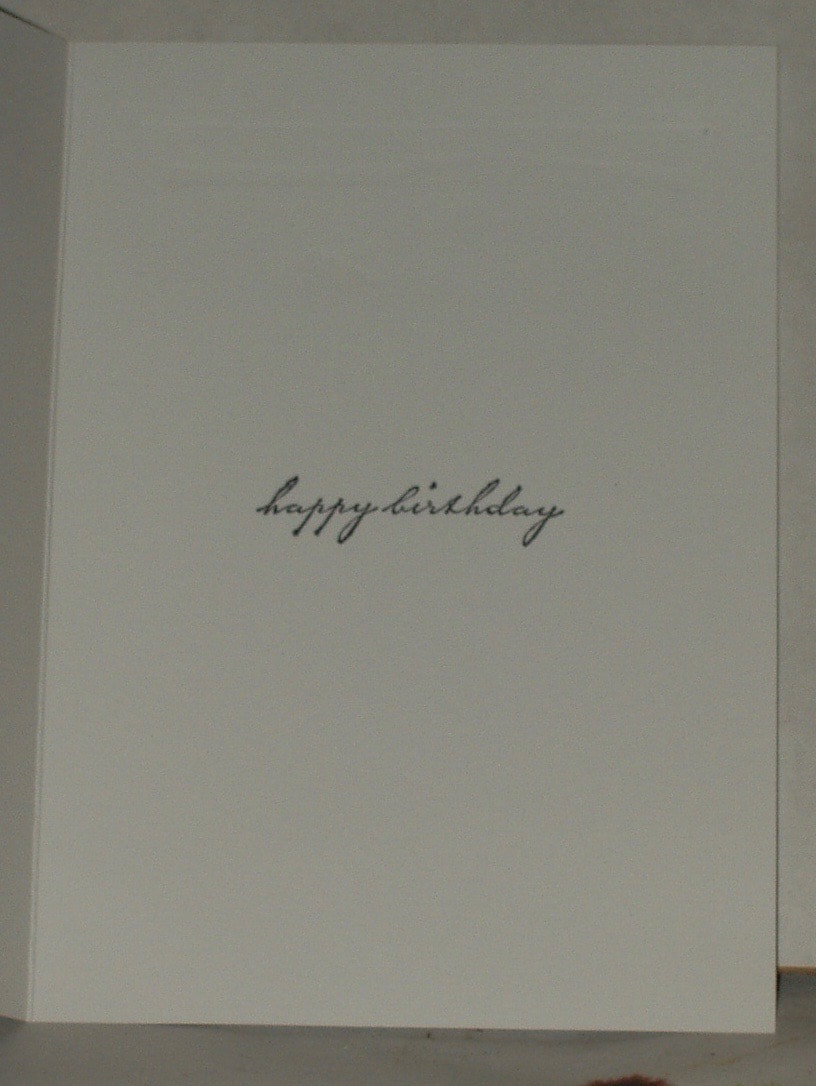
I finished the inside with a simple greeting:
So I thought I'd try agWhat resulted was a clean-and-simple metallic birthday card, one metal of which (gold) can be considered heavy!
Products used in the making of this card were:
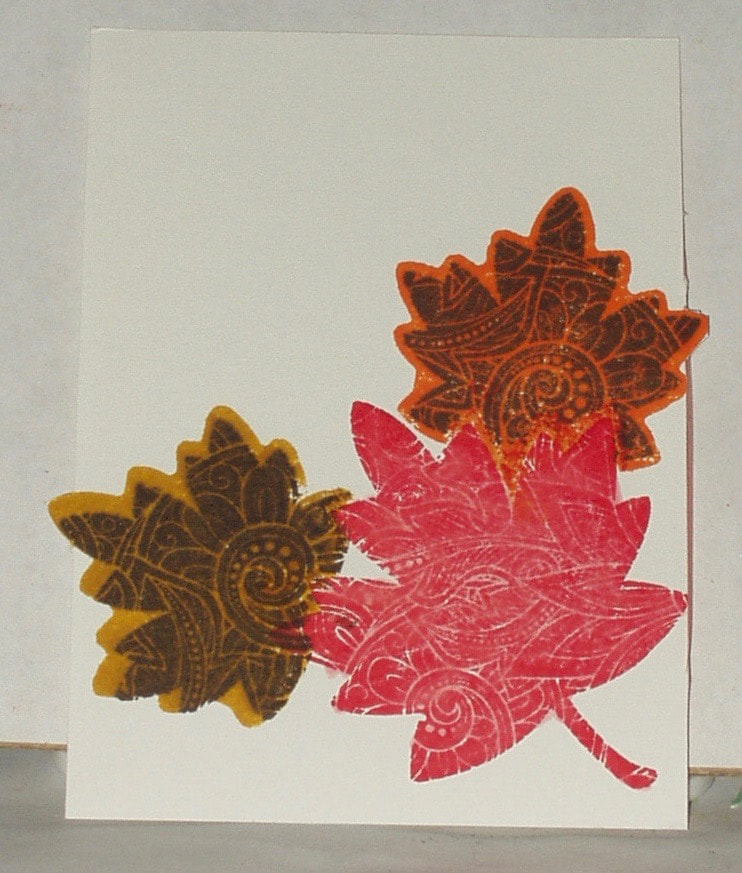
The second stamp set I played with was the Simon Says Stamp release "Ornate Leaves". I had used it before, twice --- once embossing the leaves for a resist and once as a popped-up pumpkin on a fall card. Neither worked exactly how I wanted them to, however. So I thought I'd try again!
I have to make a confession through --- I find it darned hard to distinguish the etched side of these stamps from the backs and way too often have ended up stamping with the solid backs instead or the patterned side. This time, when I did it, I decided to make that the technique... hey, mistakes open doors, right? So, when I mis-stamped my second leaf on this card, I overstamped in a darker color with the patterned side.
I stamped the leaves on white card using Distress Inks and Markers, masking the first leaf when stamping the second two. I used Distress markers to fill in the areas that missed around the edges of the red leaf and filled the pattern on the red leaf with a lighter-colored Distress Marker as well...
Products used in the making of this card were:
- Stamps: Simon Says Stamp “Grid Play” (SSS101797); Hampton Art “Tag Alphabet” (0045); and Memory Box "Happy Birthday" (B1054)
- Stencils: Simon Says Stamp “Grid Play” (SSST121498)
- Ink: Archival “Shadow Grey”; Versamark; Liquid Silver pen; Archival "Jet Black"
- Embossing Powders: WOW! “Metallic Silver Super Fine” (WC08SF); “Metallic Platinum Regular” (WC06R) and "Metallic Gold Rich Regular” (WC04R); Anita’s Embossing Powder “Copper” (23106)
- Papers: Neena “Solar white”; Scraps of matte black card; Wasau Paper Metallic Collection “Excalibur Steel on Black Knight” (46321); Paper reflections Create Your Own cards “white” (GRC02116)
- Embellishments: Idea-ology "Chitchat" stickers (TH92998)
- Adhesives: ScorTape
- Tools: MISTI stamp postioner
The second stamp set I played with was the Simon Says Stamp release "Ornate Leaves". I had used it before, twice --- once embossing the leaves for a resist and once as a popped-up pumpkin on a fall card. Neither worked exactly how I wanted them to, however. So I thought I'd try again!
I have to make a confession through --- I find it darned hard to distinguish the etched side of these stamps from the backs and way too often have ended up stamping with the solid backs instead or the patterned side. This time, when I did it, I decided to make that the technique... hey, mistakes open doors, right? So, when I mis-stamped my second leaf on this card, I overstamped in a darker color with the patterned side.
I stamped the leaves on white card using Distress Inks and Markers, masking the first leaf when stamping the second two. I used Distress markers to fill in the areas that missed around the edges of the red leaf and filled the pattern on the red leaf with a lighter-colored Distress Marker as well...
I have to say that stamping with dark ink over a slid background really really works for me! And luckily, that leaf stamp was symmetrical (unlike the larger leaf) so it was possible to overtime more accurately.
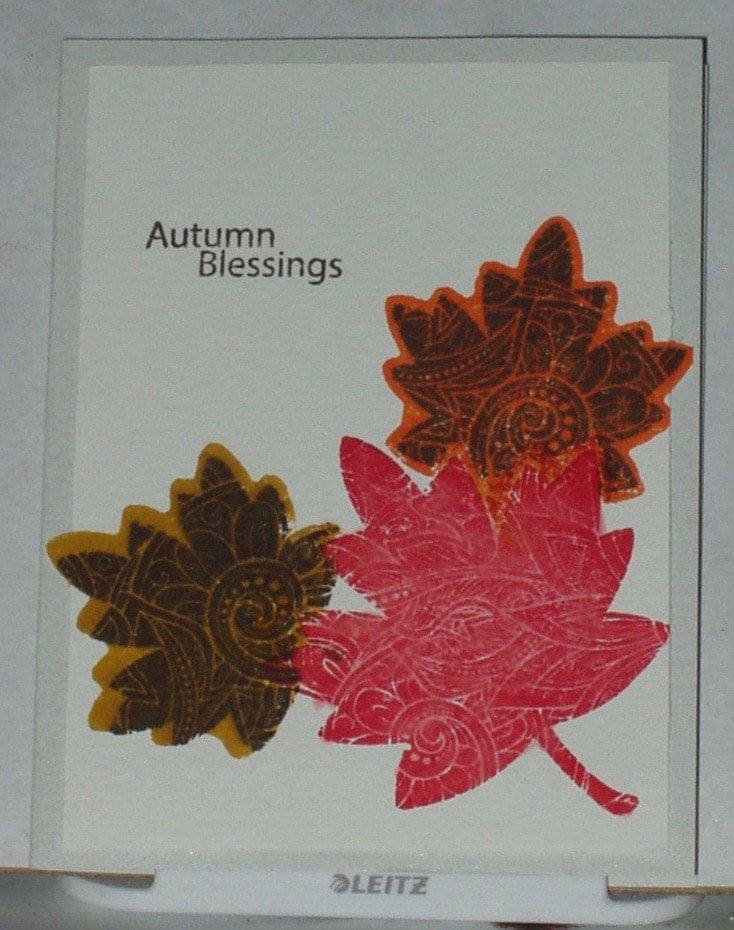
Note that when I trimmed the scrap of white card to fit my notecard, I had to cut around some leaf tips...It gives the card a bit more dimension than jay a simple rectangular base card.
I stamped a sentiment from the same stamp set in Ground Espresso and mounted the trimmed white card on a notecard:
Products used in the making of this card were:
My third purchase was one of the new Simon Says Stamp metal embossing plates and an "Intricate Die Metal Adaptor Plate. I followed the technique demonstrated by Vicky Papaioannou on her blog and which was featured on the STAMPtember® blog hop. I uses a different embossing plate and a different combination of inks (wish I could find the brushes she uses but they appear to be out of stock EVERYWHERE!) on Ranger Watercolor Paper:
- Stamps: Simon Says Stamp “Ornate Leaves” (SSS101765)
- Inks: Distress Inks “Candied Apple”, “Carved Pumpkin”, “Fossilized Amber” and “Ground Espresso”; Distress Markers “Fossilized Amber”, “Spun Sugar” and “Candied Apple”
- Papers: Golden Oaks Papers “Sparkle-silver” (P1043) and scrap of white
- Adhesives: 1/8* Red Line Embossing Tape
My third purchase was one of the new Simon Says Stamp metal embossing plates and an "Intricate Die Metal Adaptor Plate. I followed the technique demonstrated by Vicky Papaioannou on her blog and which was featured on the STAMPtember® blog hop. I uses a different embossing plate and a different combination of inks (wish I could find the brushes she uses but they appear to be out of stock EVERYWHERE!) on Ranger Watercolor Paper:

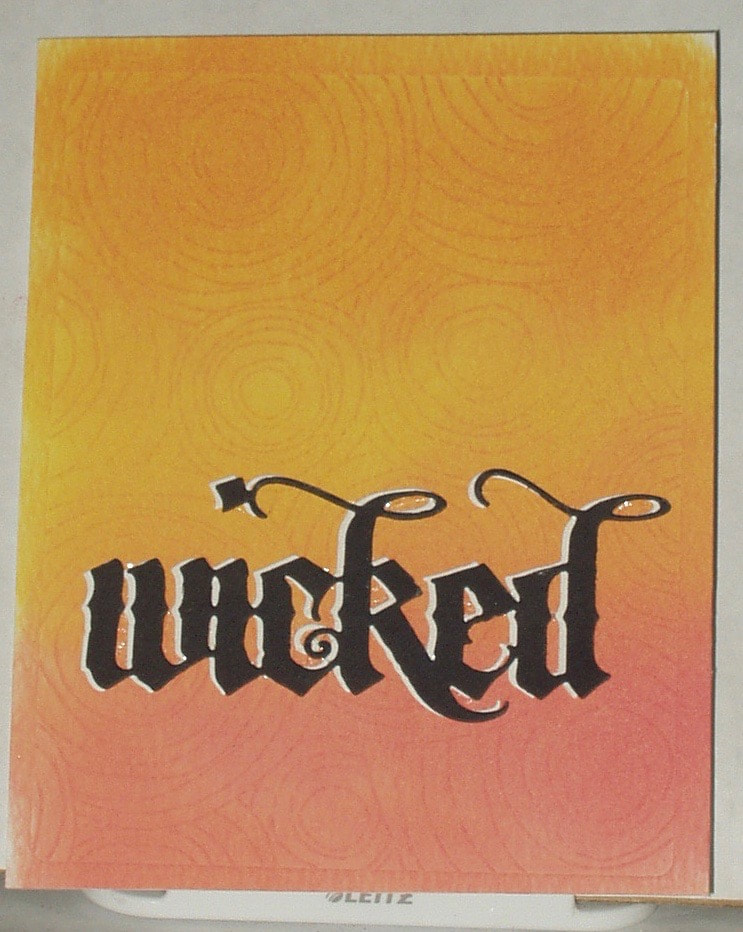
This technique does in deed result in a subtle, but visible, embossing on the paper.
I mounted this on a pre-folded card after trimming to fit.
I die cut a word twice, once from whit and once from black, stacked them, and added them to the background.
I mounted this on a pre-folded card after trimming to fit.
I die cut a word twice, once from whit and once from black, stacked them, and added them to the background.
I'm entering this card in the Sizzix Promotion "Holtz for Halloween" #holtzforalloween.
Products used in the making of this card were:
My fourth, and last purchase during STAMPtember® (I'm not counting the September Monthly kit or the Crafters for a Cause box or what I hope to do tomorrow - purchase the STAMPtember® Card kit!) was he tim Holtz special release of a stamp set and a stencil. I really don't see how to use the stencil with the stamps in that set - yet - but I did have an idea from the August 2017 issue of Cardmaking & Papercraft Magazine (Issue #172, "Quick Makes" on pap 35 - 40; specifically "Dream of Me" on pp 37 and 38). My card looks NOYHING like that one but I used that card as a model for a layout...
I started with a background, using a cut of a 12x12 patterned paper, a couple of strips of Design Tape, and a sentiment from the stamp set, stamped in Versamark and heat-embossed in white:
Products used in the making of this card were:
- Embossing Plates: Simon Says Stamp “Circle Doodles” (SSSE301103)
- Dies: Sizzix Thinlits “Vintage Spirits” 662385)
- Inks: Distress Oxide “Spiced Marmalade”, “Wild Honey”, “Abandoned Coral”
- Papers: Paper reflections whit card (GRC02116); Ranger Watercolor Paper (ISW39532); scraps white and black card
- Adhesives :RedLine 1/8” embossing tape; Xyron 250 sticker maker
- Tools: Intricate Die Metal Adapter Plate
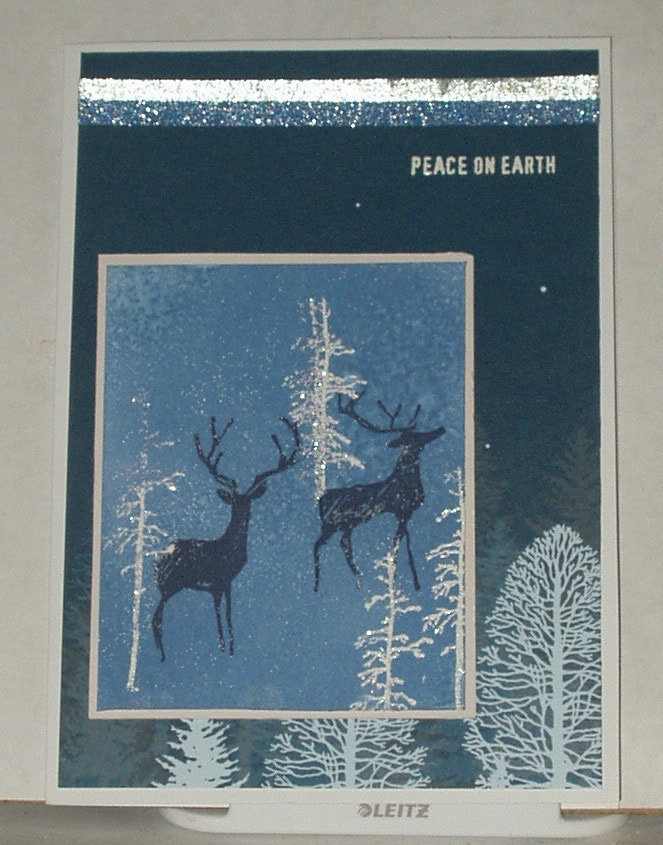
My fourth, and last purchase during STAMPtember® (I'm not counting the September Monthly kit or the Crafters for a Cause box or what I hope to do tomorrow - purchase the STAMPtember® Card kit!) was he tim Holtz special release of a stamp set and a stencil. I really don't see how to use the stencil with the stamps in that set - yet - but I did have an idea from the August 2017 issue of Cardmaking & Papercraft Magazine (Issue #172, "Quick Makes" on pap 35 - 40; specifically "Dream of Me" on pp 37 and 38). My card looks NOYHING like that one but I used that card as a model for a layout...
I started with a background, using a cut of a 12x12 patterned paper, a couple of strips of Design Tape, and a sentiment from the stamp set, stamped in Versamark and heat-embossed in white:
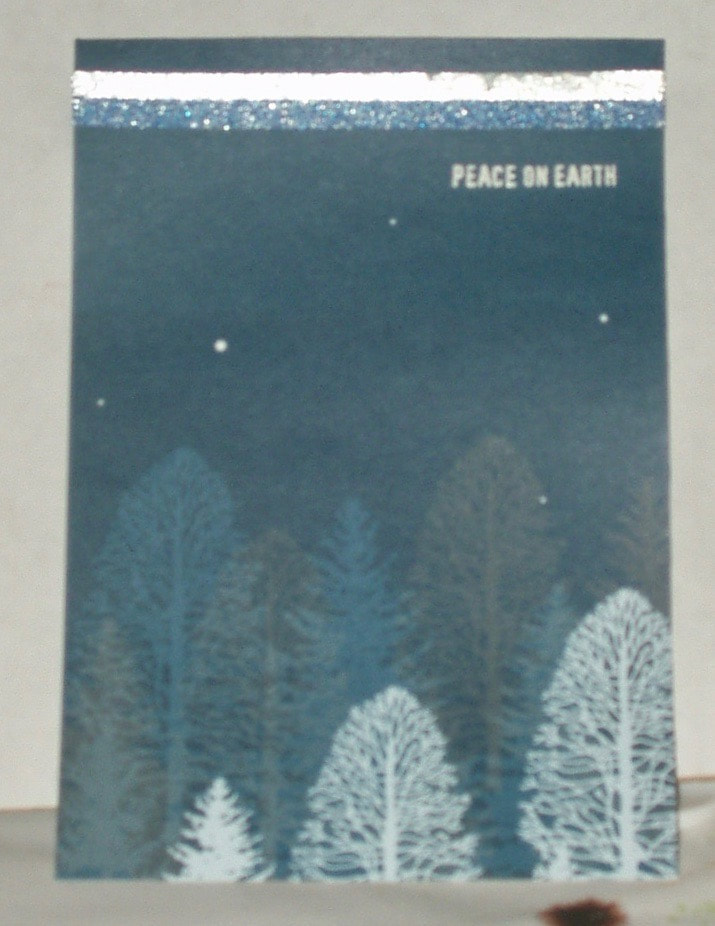
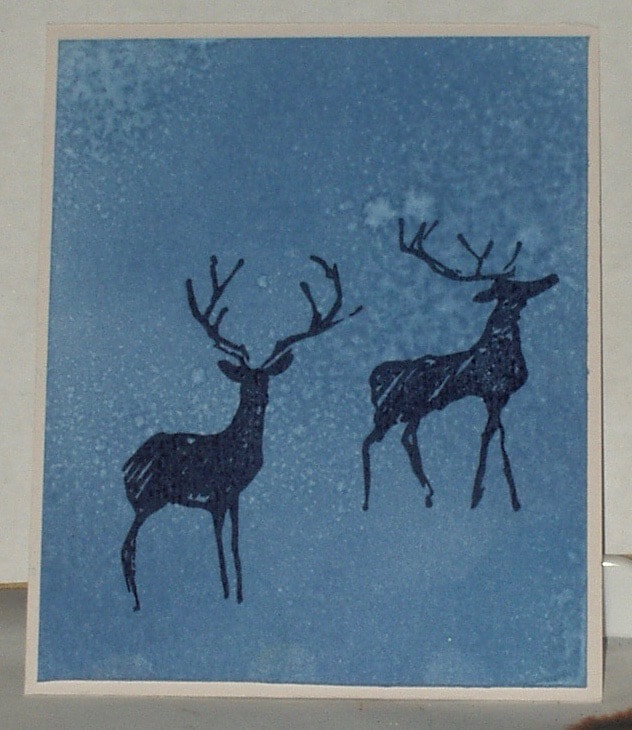
I took a section of watercolor paper, blended Distress Oxide "Faded Jeans" onto it and then spritzed with water. I mounted that on a scrap of heavy white card and stamped the two reindeer from the stamp set in Archival Ink:
Using my MISTI, I positioned one of the trees on the image (four times), adding WOW! Vanilla Sparkle Embossing Powder each time, brushing the powder off of the deer when I wanted the trees to be behind them, and heat embossing:
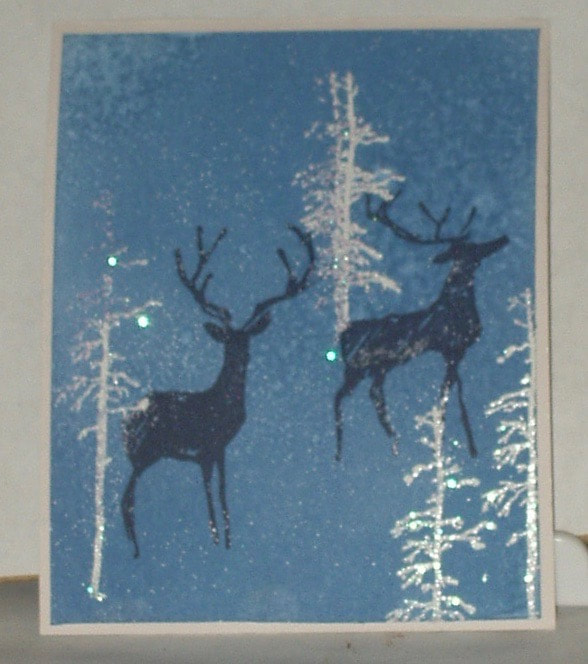
I mounted background on a pr-folded white card and the the deer scene on this base card:
Products used in the making of this card were:
- Stamps: Stampers Anonymous "Stamptember 2017"
- Inks: Distress Oxide "Faded Jeans"; Archival "Jet Black"; Versamark
- Embossing Powders: WOW! Vanilla Sparkle" (WS58R); Top Boss "white"
- Papers: Paper Reflections Greeting Card "white" (GRC02116); Ranger Watercolor Paper; scraps of white card and patterned paper
- Embellishments: Idea-ology Design Tape "French" (TH93355) and "Journey" (TH93358)
- Adhesives: RedLine 1/8" Embossing Tape
 RSS Feed


