This series of challenges, based on the contents of Tim Holtz's book, Compendium of Curiosities, VOl. 3, is hosted by Linda Ledbetter from her blog Studio L3 and she is assisted in this challenge by a design team of eight talented artists, two stores and the team of Tim Holtz and Mario Rossi II. Linda and the design team put together their interpretations of the bi-weekly challenges, the stores offer gift certificates for winners in alternating weeks (challenge #30 challenge is sponsored byThe Funkie Junkie Boutique)and Tim and Mario have donated a cache of goodies from which a prize is assembled for the design team’s choice.
The rules are simple:
• One must work from the book and not reveal Tim's techniques (If you don't have the book, you can get one from Tim... there 's still time as there are three or four techniques in the book left to do in this series of challenges!)
• You need to link your creation to Linda's blog
• You need to visit the design team's blogs and leave comments on their interpretations.
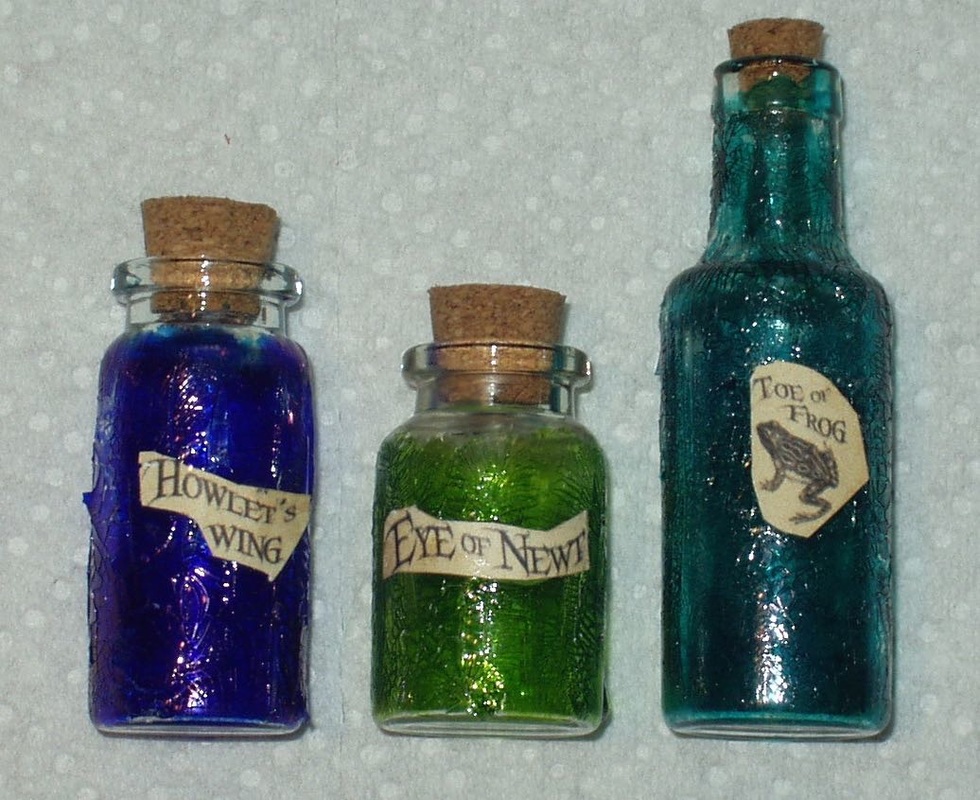
This week’s challenge is to implement the technique described on Page 54 (Faux Cracked Glass). For this, I took three of Tim’s tiny vials/bottles and three colors of alcohol inks (Botanical, Mermaid and Indigo):
The rules are simple:
• One must work from the book and not reveal Tim's techniques (If you don't have the book, you can get one from Tim... there 's still time as there are three or four techniques in the book left to do in this series of challenges!)
• You need to link your creation to Linda's blog
• You need to visit the design team's blogs and leave comments on their interpretations.
This week’s challenge is to implement the technique described on Page 54 (Faux Cracked Glass). For this, I took three of Tim’s tiny vials/bottles and three colors of alcohol inks (Botanical, Mermaid and Indigo):
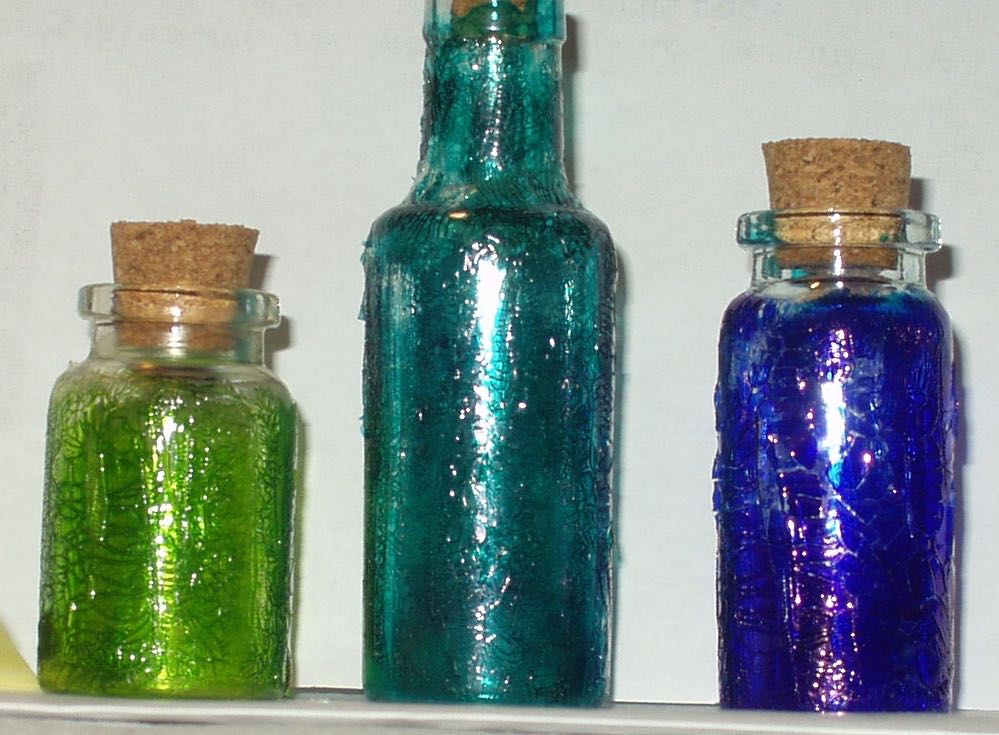
They looked like vintage medicine bottles to me so I thought “why not an apothecary, Victorian style?” But as all my plans go, it morphed into something different!
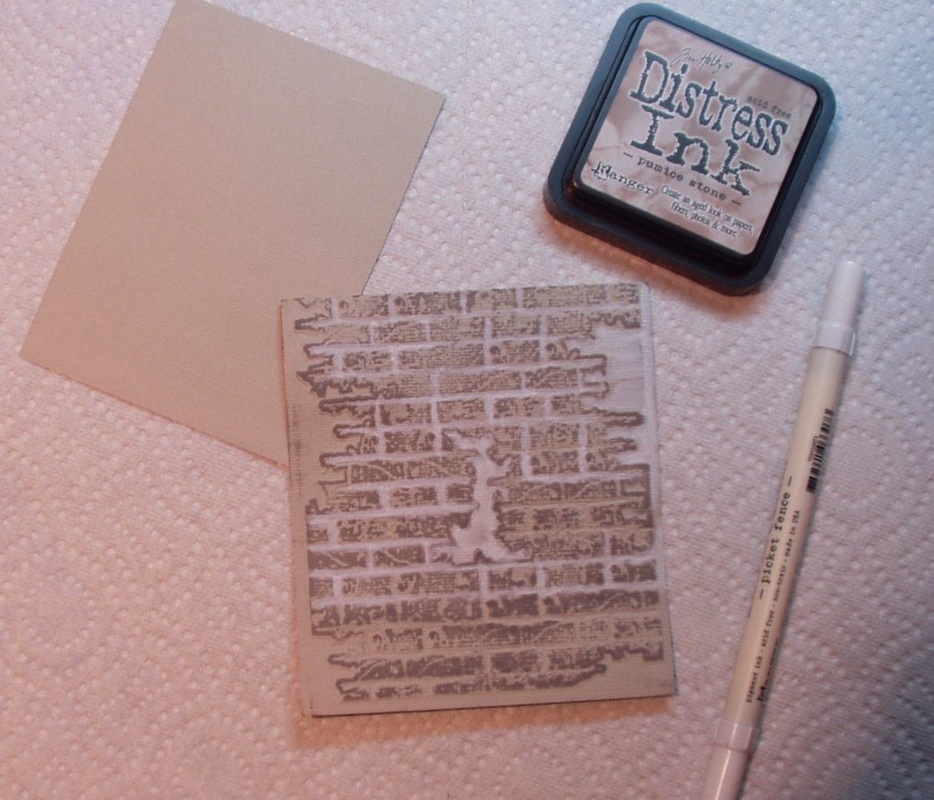
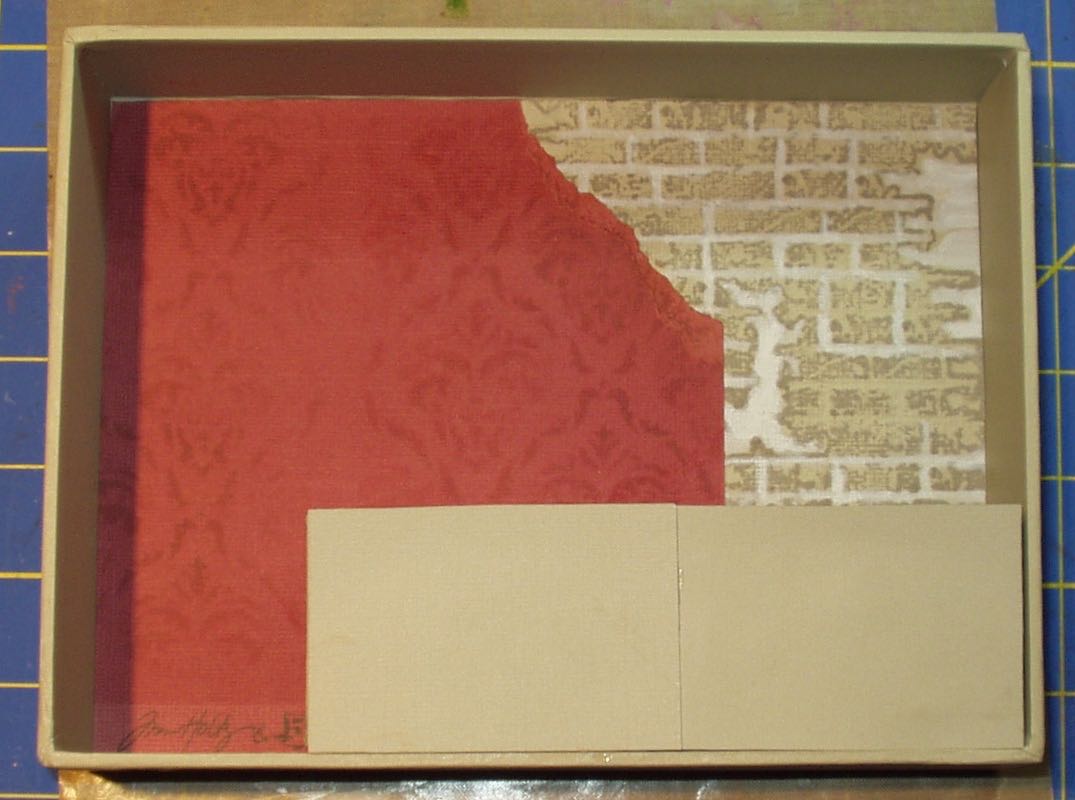
I pulled a Configurations (8 x 6) from my stash and stripped it of all but two of its little interior boxes. I then set about decorating the box. First, a brick wall using Core-dinations Adirondack paper, the “Bricked” embossing folder (656644), “Pumice Stone” Distress Ink to color the raised bricks and “Picket Fence” Distress Marker to color in the mortar:
I pulled a Configurations (8 x 6) from my stash and stripped it of all but two of its little interior boxes. I then set about decorating the box. First, a brick wall using Core-dinations Adirondack paper, the “Bricked” embossing folder (656644), “Pumice Stone” Distress Ink to color the raised bricks and “Picket Fence” Distress Marker to color in the mortar:
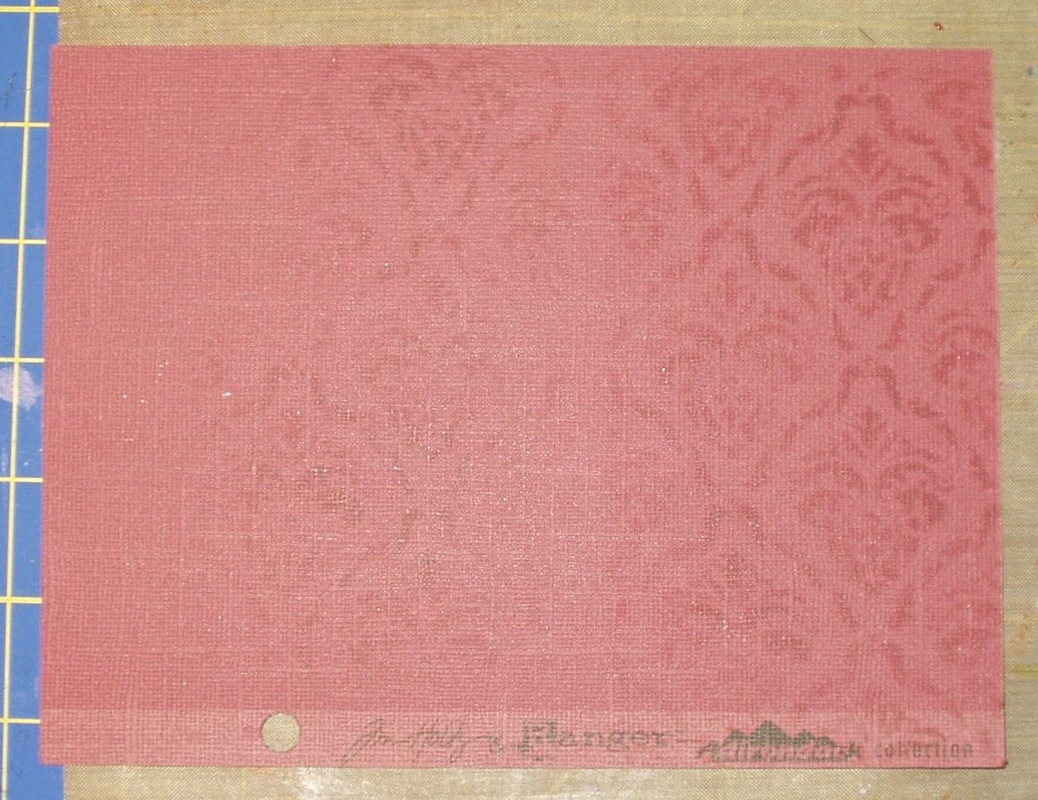
Then some Victorian gothic wallpaper using more Core-dinations paper and the “Gothic” layering stencil (THS 026) and “Vintage Photo” Distress Ink (I tried “Barn Door” and “Fired Brick” but they simply didn’t show up on the paper):
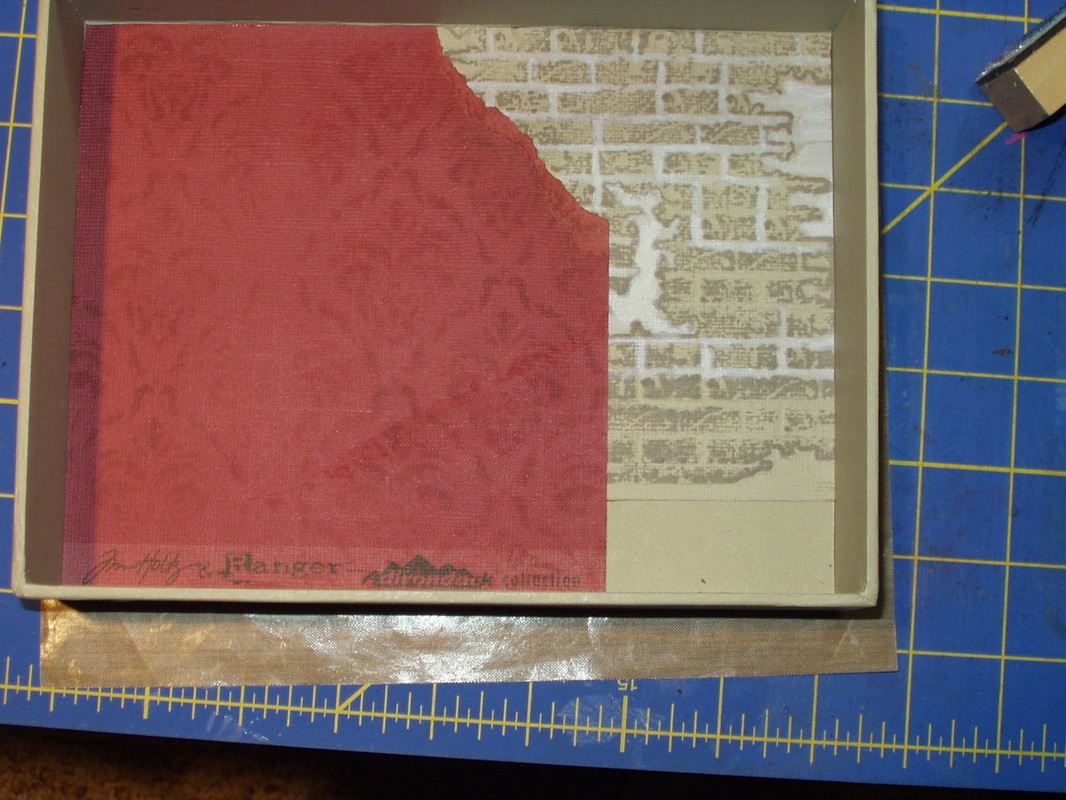
Tearing a corner of the “wallpaper” (in order to expose the brick wall behind it) and blending a little more “Vintage Photo” on the tear, I layered it over the “brick wall” and created the back wall of the Apothecary Shop:
I covered the bottoms of the two reserved boxes from the Configurations set with more Co-ordinations paper and glued both to the “floor” of the box - these will be the shop “counter”:
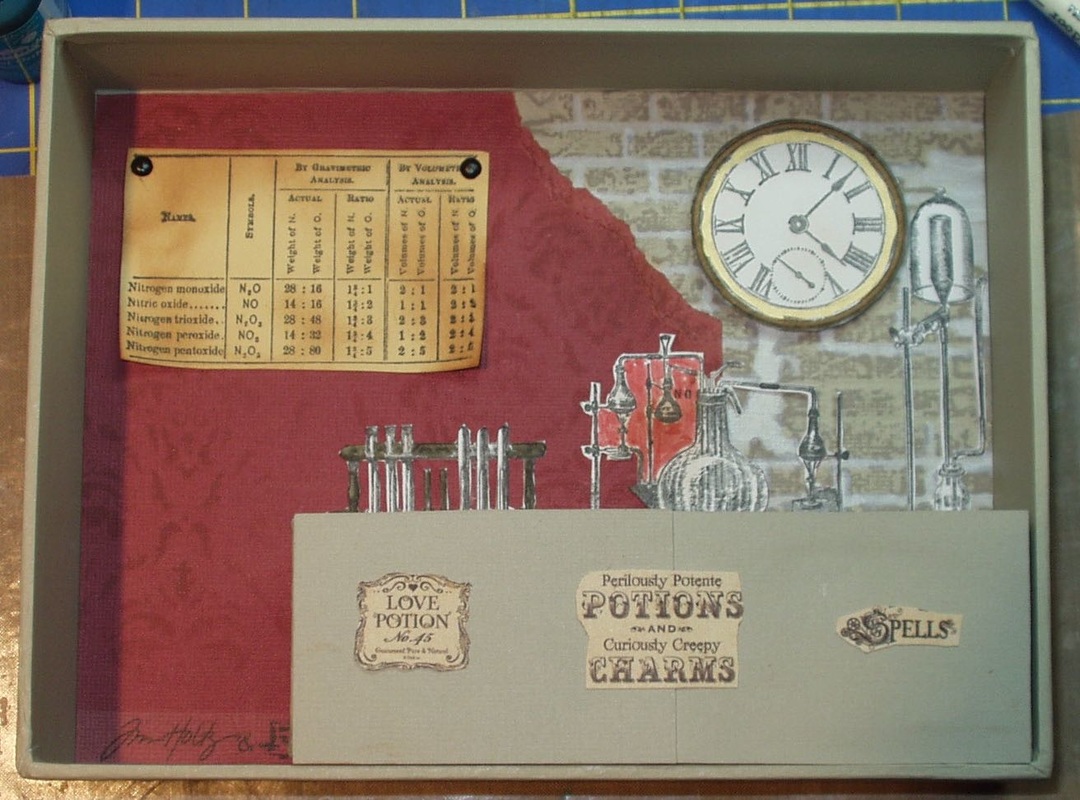
Then I set about decorating the shop. I used a Deep Red stamp (“Roman Clock” SKU 3x404237), inked with India Ink Black on white card stock and colored in with a Marcy Uchida Liquid Gold Pen and a “Gathered Twigs” Distress Marker; it was fussy cut and then “hung” on the wall using foam dots.
Next, more India Ink Black and white card stock and a selection of laboratory gear from the stamp set “Laboratorie” (CMS 173): I fussy cut each, colored the test-tube rack with “Walnut Stain” Distress Marker, and glued all the lab apparatus to the back wall so it looked like it was set up on a table behind the “counter”.
Finally, I stamped yet another “Laboratorie” stamp on beige card stock, cut it out, curled the corners and distressed with “Vintage Photo” Distress Ink. Two black brads (Hot off the Press) served as “nails” to hang this chart on the wall. I cut out some “posters” from a sheet of Graphic 45 6x6 paper (“Steampunk Spells”) and pasted them to the front of the “counter”. My shop is now “furnished”:
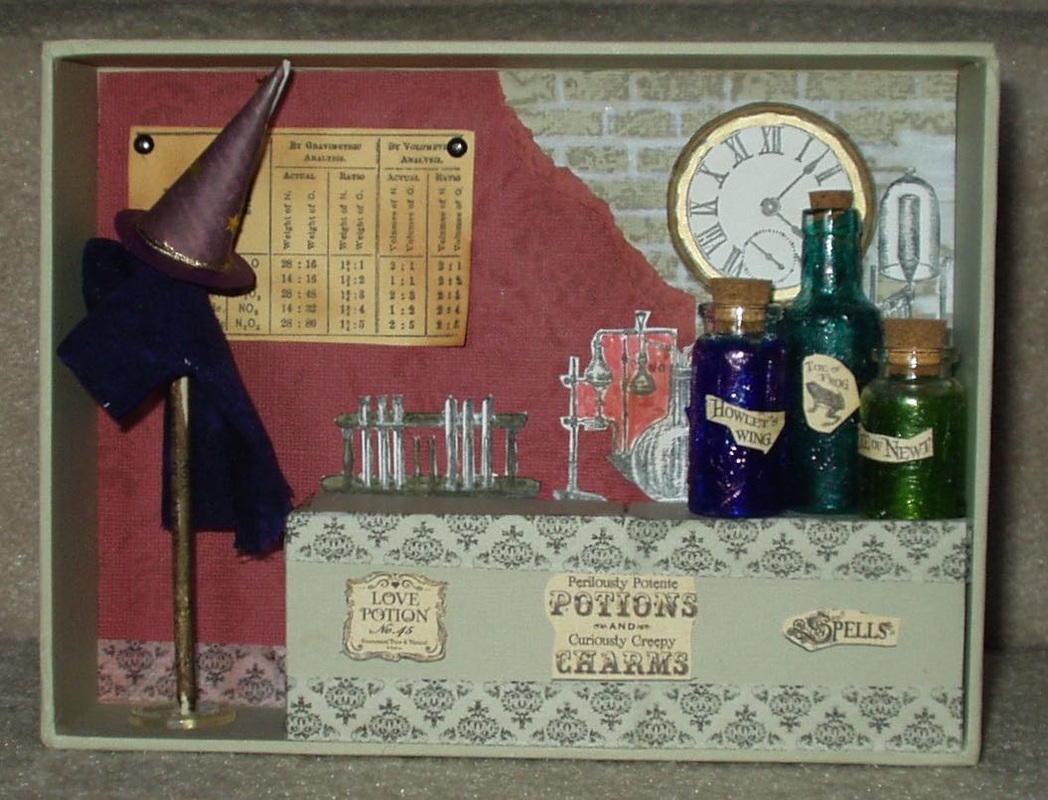
The bottles needed labels so more pics cut from that Graphic 45 paper and:
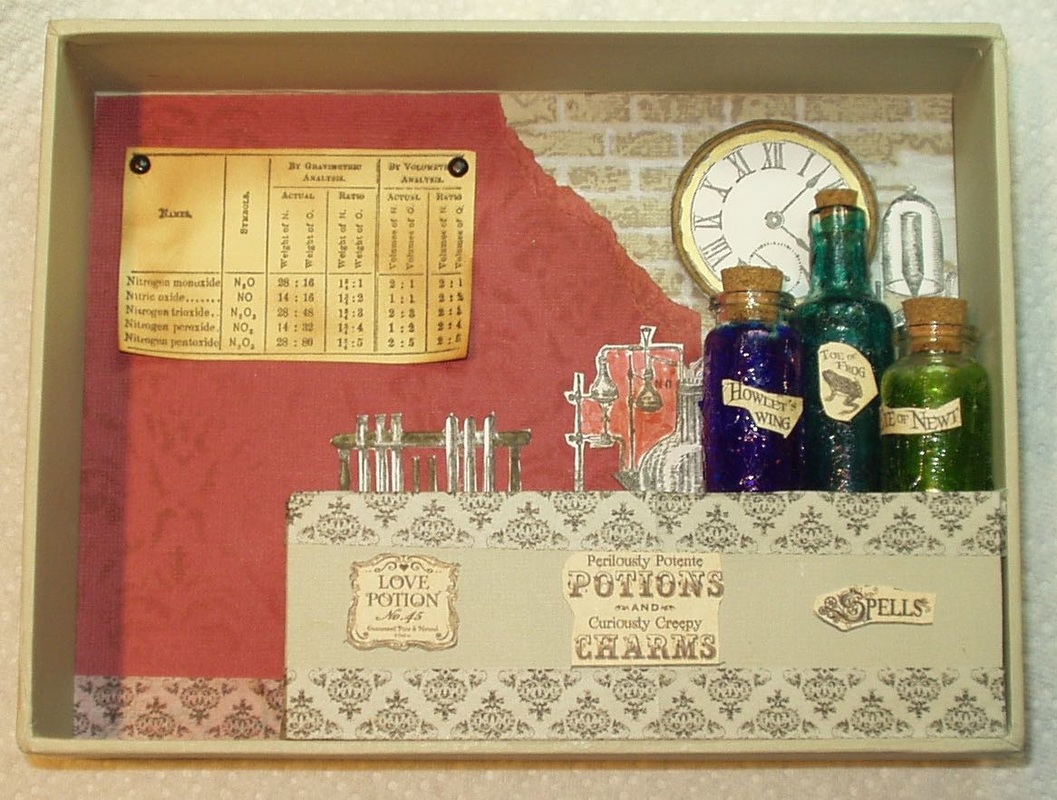
A little “Laboratorie” Tissue Tape to trim the top and bottom margins of the “counter” and the baseboard along the back “wall” and placement of my vials on the counter top, and my shop is no longer an Apothecary but a “Little Shop of Horrors”, offering spells and curses and all sorts of tonics with not-so-beneficial uses.
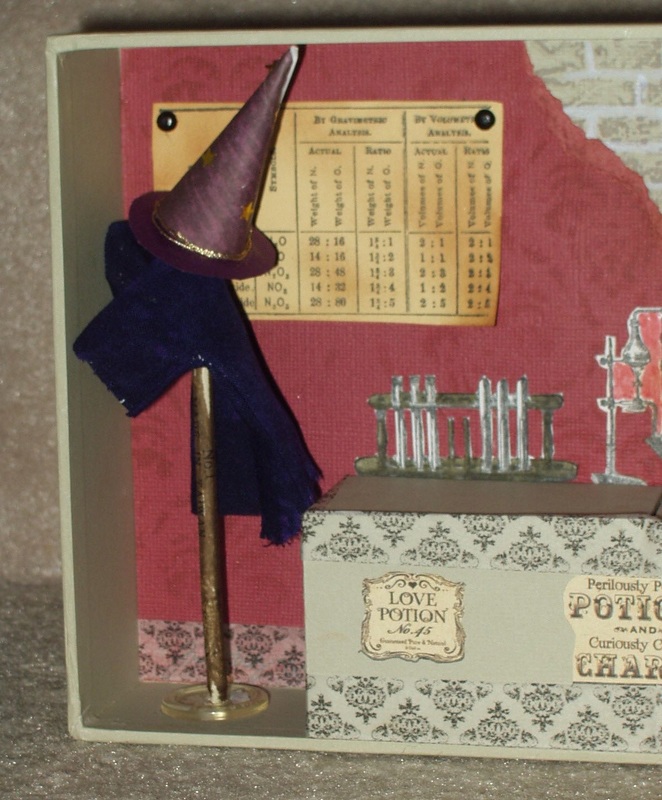
All it needs now is a proprietor, who seems to have left his deep purple lab coat (cut from a piece of royal purple silk) and tall pointy hat (made from purple card stock, gold star sequins and a length of Kreinik gold braid) on the coat rack (created from a paper stump painted with “Walnut Stain”, and a large clear button) and gone walk-about! He’ll be back in the flick of a bat’s tail!
I hadn’t been thinking Halloween, but it could very well come out to decorate at that time of year.
 RSS Feed


