Ranger has been issuing mystery box offers on a monthly basis and, if you know me, a mystery box is something I fid hard to resist. Here is my August 2018 Mystery Box:
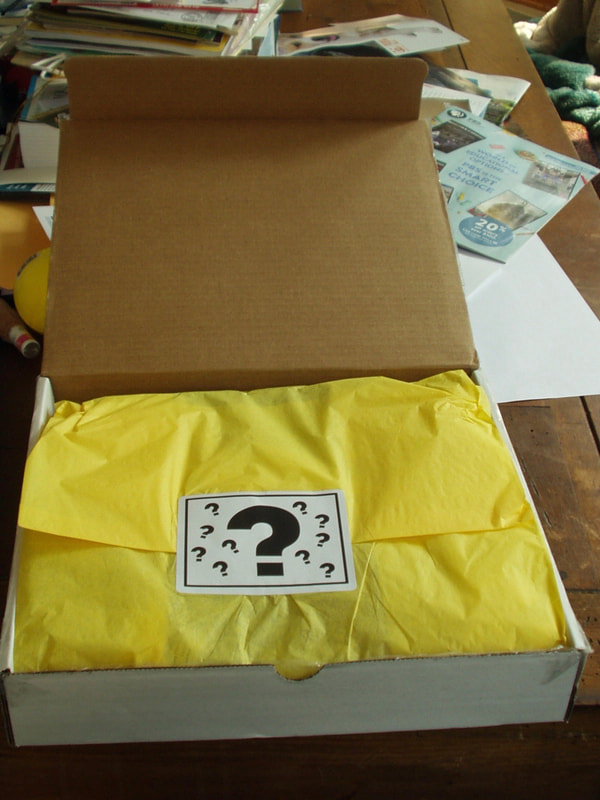
Contents?
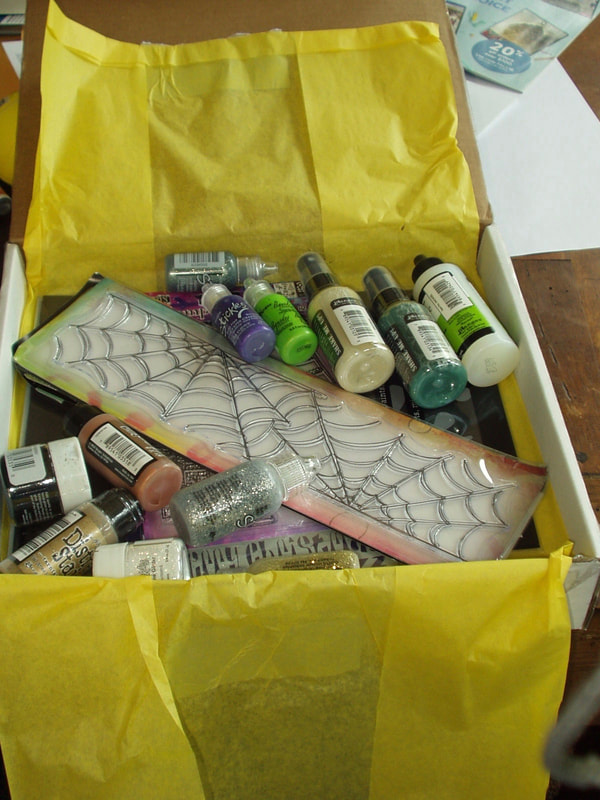
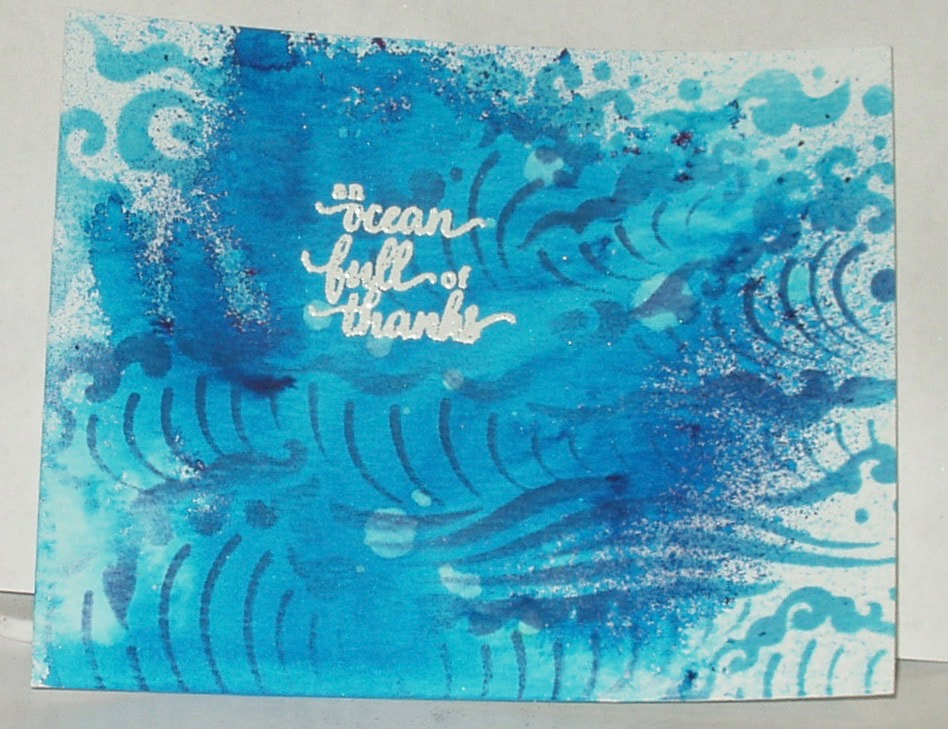
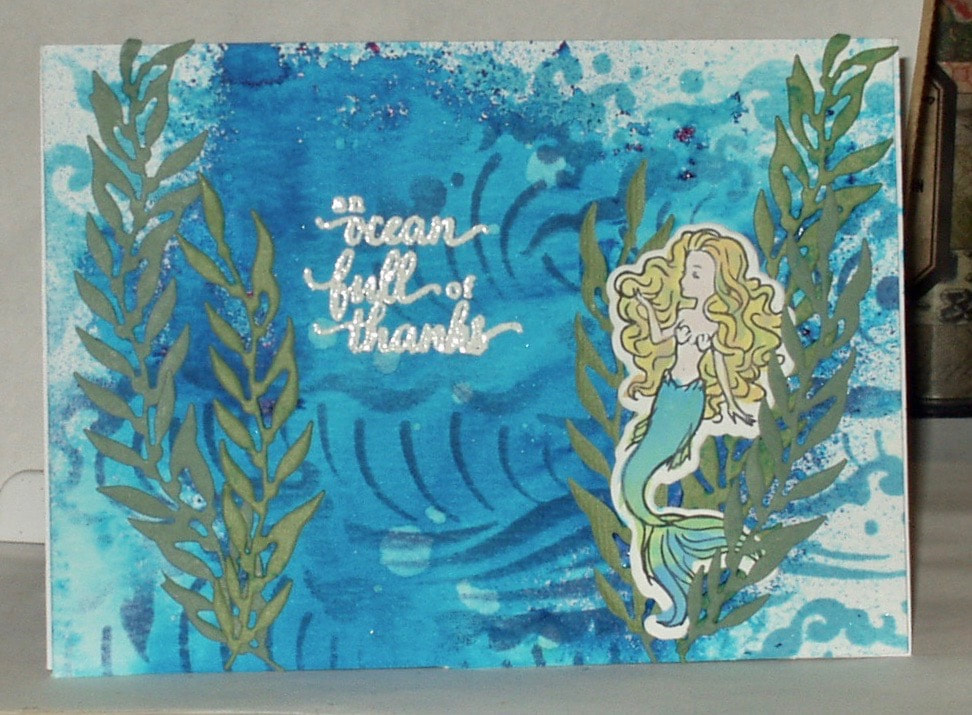
Black cardstock, 2 Dianne Really Dylusions stamp/stencil sets (one halloween and one Christmas): 2 glitters; 2 Distress metallic stains; 3 small and two large bottles of Stickles; Perfect Pearls sprays and pearlized "ink"; and a bottle of fabric medium!
Black cardstock, 2 Dianne Really Dylusions stamp/stencil sets (one halloween and one Christmas): 2 glitters; 2 Distress metallic stains; 3 small and two large bottles of Stickles; Perfect Pearls sprays and pearlized "ink"; and a bottle of fabric medium!
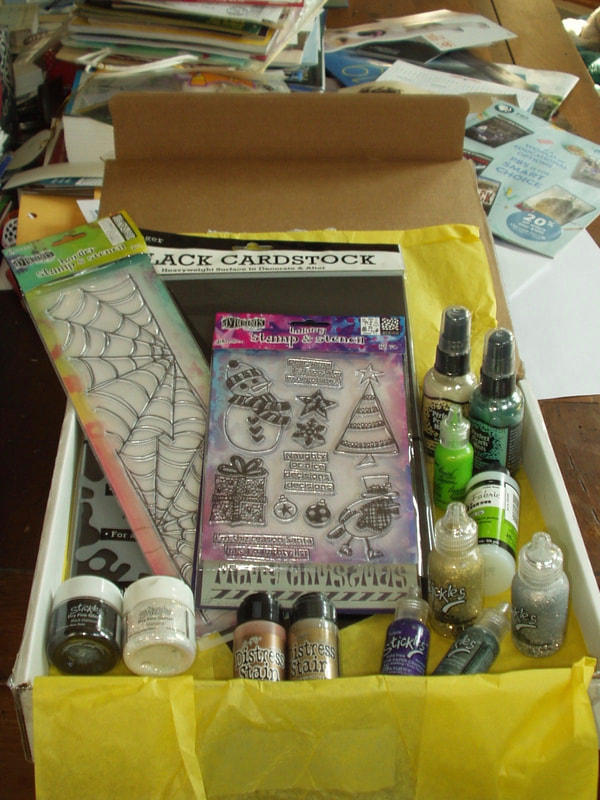
Only a few of these are items I already have in stash and they (cardstock, Distress Stains) are consumables so always welcome. The rest are either new colors or new products for me. A good haul, in my opinion!


 RSS Feed


