- Stamps: Altenew “Birds of a Feather”
- Inks: Altenew Crisp Dye Inks “Frosty Pink”, “Coral Berry”, “Ruby Red” and “Grapevine”; hero arts My Monthly Hero grey; Archival “Jet Black; Distress Markers “Seedless Preserves” and “Black Soot”
- Papers: Paper Studio white note card
The color palette for the April 2018 Inspiration Challenge at the Altenew Blog is as follows: 
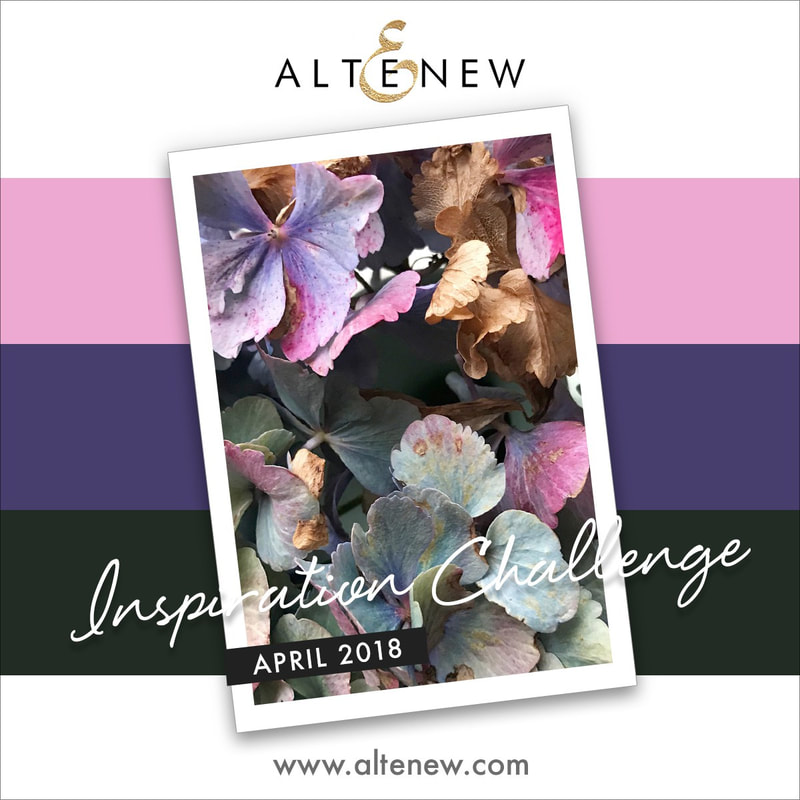
I elected to go more with the pinks, although I did use black, white and a small amount of purple in my card. Products used in the making of this card were:
1 Comment
The Frilly & Funkie Challenge for April 11, 2018 was: "Let's make a vintage or shabby chic project in jewel tone colours such as deep purple, emerald green, jade green, burgundy, bright turquoise to name a few AND to make your project extra special, add some sort of jewel or gem, which can be anything from a dollar store find to a piece of broken jewelry." I have a drawer full of adhesive gems that I haven't found a previous use for (there was a time when I was buying every shape and color I saw!) so I decided to use some of them as the inspiration for my card. Maybe not so elegant but definitely bejeweled! I started with the jewel tone color requirement. I sorted through my 12 x 12 papers and found a deep purple solid that I thought would work. I cut a piece of that to fit an A2 card front, stamped it with Versamark and heat embossed it with "Bright Orchid Violet" embossing powder from Comotion: That color was almost exactly the color of a set of Memory Box card blanks that I had so I taped the paper to the card: Now for the jewels (from two similar, but different, color ways) which fit nicely in the stamped/embossed pattern I sacrificed one of the Memory Box cards, traced the center shape of the stamp and cut it out, and added a gold-embossed sentiment, a slightly darker edge and a gold border: Some foam dots and the sentiment was placed in the center of the pattern: Lots of glitter, gold and glitz. Not exactly my style and certainly not "elegant" but definitely jewel toned and bejeweled! I think this is more "funky" than "frilly" ...
Products used in the making of this card were:
The Simon Says Stamp Wednesday Challenge for April 11, 2018 was to "Add Some Texture". In addition, they are focusing on Tim Holtz products For me, the easiest way to add texture is texture paste through a stencil. And a ring of Tim Holtz layering stencils as well as a new set (meaning never opened but calling my name) of Tim Holtz stamps were handy so... I started by creating a top-folding card from some yellow card and applying tinted (with Distress Ink reinker for "Abandoned Coral") texture paste through the layering stencil called "honeycomb". This pattern and the colors provided the basis for my eventual card design . While the texture paste was drying, I stamped three bees from the stamp set "Entomology" in Archival "Jet Black" on a scrap of Neena Solar White card, colored them with Distress Marker "Scattered Straw" and clear Wink of Stella, and fussy cut them (we NEED dies for these insects, Tim!): Next I needed a sentiment "band" for my card. I cut a length of metallic gold mesh ribbon from my stash and added a die-cut strip of glossy black card to it: I adhered the band to the middle of the card base: and attached the bees: Products used in the making of this card were:
Simon Says Stamp Monday Challenge wants us to be inspired by a fable, myth of story in their challenge for April 9, 2018. Years ago, in the days on wood-mounted-only stamps and no die cut machines, a friend dragged me to a stamp show and I bought a lot of unmounted red rubber, some of of I had actually started the process of cutting up and mounting, But I never quite got to putting them on wood blocks and they have lived in a plastic bin under my work space ever since. Among them were some Alice-in-Wonderland themed stamps. Now Alice in Wonderland isn't neessarily a story that "inspires" me but when I saw Lols' demonstration for this challenge, I got an idea for a belated birthday card in the form of a two-sided tag (This tag actually evolved because I stamped a "White Rabbit", an "Alice", a "Mad Hatter" and a "playing card soldier" in Archival Black on white card before deciding on my theme.). One side became the White Rabbit apologizing for being late and the obverse the Mad Hatter welcoming the celebrant to a tea party! I started with the "Mad Hatter" side first. I stamped tea cups in Archival "Shadow Grey" on the tag and blended the edges with Distress Oxide "Vintage Photo". I added a sentiment from the tea cup stamp set and colored it with Distress Markers., I fussy cut the "Mad Hatter" and colored him with Distress Markers and a gold pen and touched him up here and there with a black pen. He was then glued to the tag using Craft Tacky Glue. Now for the "White Rabbit". Like the "Mad Hatter", I fussy cut him and colored him with Distress Markers and a gold pen. His tag background was some pocket watches from another mounted red rubber stamp sheet, also stamped in Archival "Shadow Grey" with "Distress Oxide "Vintage Photo" blended edges. The rabbit was attached using Craft Tacky Glue. I stamped two banners for his apology, using alphabet stamps in my stash, Archival "Jet Black" ink and scrap white card, and attached them with embossing tape. The final embellishment was a crinkle ribbon that matched the coats of both the "White Rabbit" and the "Mad Hatter". "So Sorry... I'm Late!" on the front... "Hope Your Birthday Stacks Up to be Wonderful!" on the back: Products used in the making of this tag were:
I'm also entering this in the Simon Says Stamp Wednesday Challenge of April 4, 2018: Happy Birthday Simon Says tamp Monday Challenge wants "a trio of something" on their challenge for April 2, 2018. In other words, they want us to "think in threes"! Because I'm still trying to recover from a nasty cap ought left over from that flu, to say nothing of a reply really painful right shoulder adn wrist (cause unknown but it's bad enough that I'm calling my physician tomorrow), I decided to try to make one card that fits this challenge and two others:
Products used in the making of this card were:
Back at the end of December, 2017, I blogged about the mess my craft space was in, and how I hoped that, in 2018, I would make some progress in getting it all put back together and neatened up. I posted my January progress here. My February progress report on that organization is here. On March 3, I set to work on the last of the CDs that contained stamps sets: Each CD case had one or two sets of clear stamps or cling rubber stamps: I started by removing the stamps from the CD cases and inserting them into Avery Elle 5x5 stamp bags or Altenew medium storage pouches, depending on size: The bagged stamps went into the InterDesign Fridge and Freeze storage bins from January and February, the CD rack and empty cases went back into the basement “storage” and the two notebooks that had been looking for a place to rest found it next to the 2" notebook containing smaller clear stamps in coin pockets: Shortly thereafter, I came down with a nasty case of flu and am still recovering, so no other reorganization was done in March.
|
AuthorBorn in New Jersey, I grew up in Southeastern Ohio. Attended university at Bowling Green State University (B.Sci in biological science, 1964), University of Southern California (M. Sci in biological science, 1967) and University of Florida (Ph. D in zoology, 1971). Archives
June 2023
Categories
All
PAST PARTICIPATION
CHALLENGE BLOGS
So proud!
for my entry in the Funkie Junkie Boutique Blog Challenge, August 14, 2019 "Let’s Do It Again"
Online Card Classes |